

The roof over your house protects its interior from damage due to rain and snow. It also may provide ventilation in warmer weather conditions.
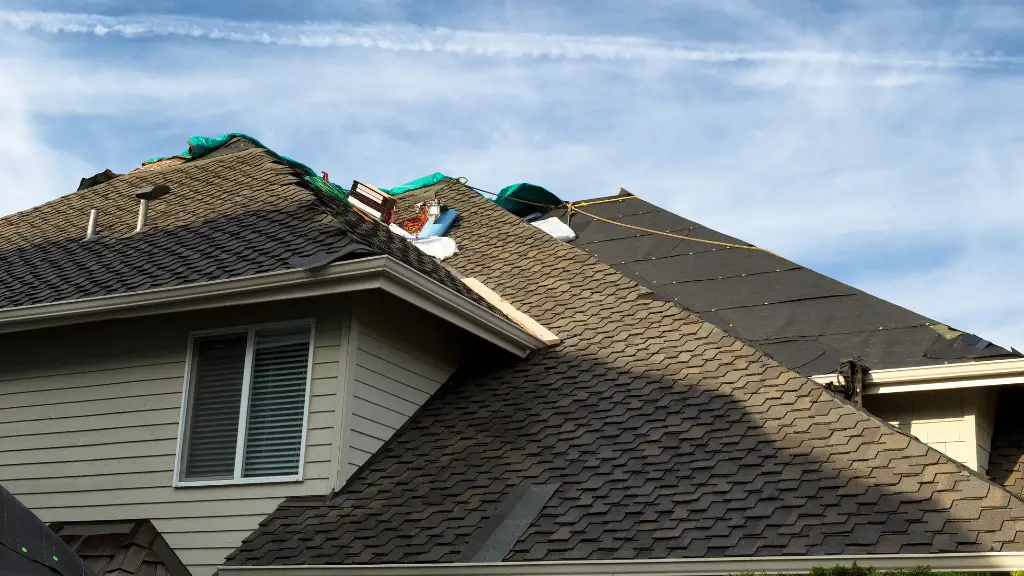
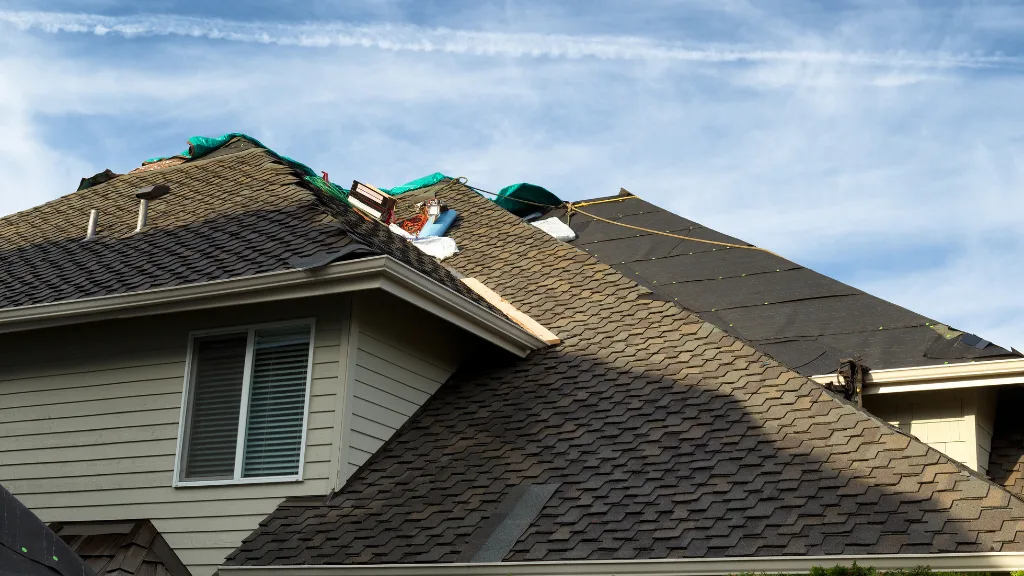
Over time, roofs can become worn down and require replacement with new shingles. This is known as a roof replacement, and can be done in stages or with one complete tear-off.
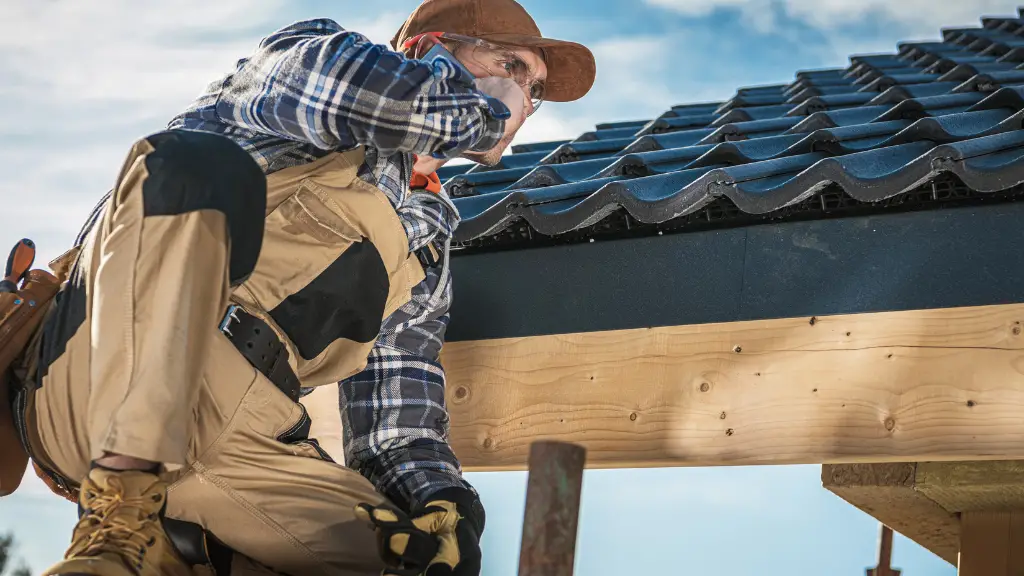
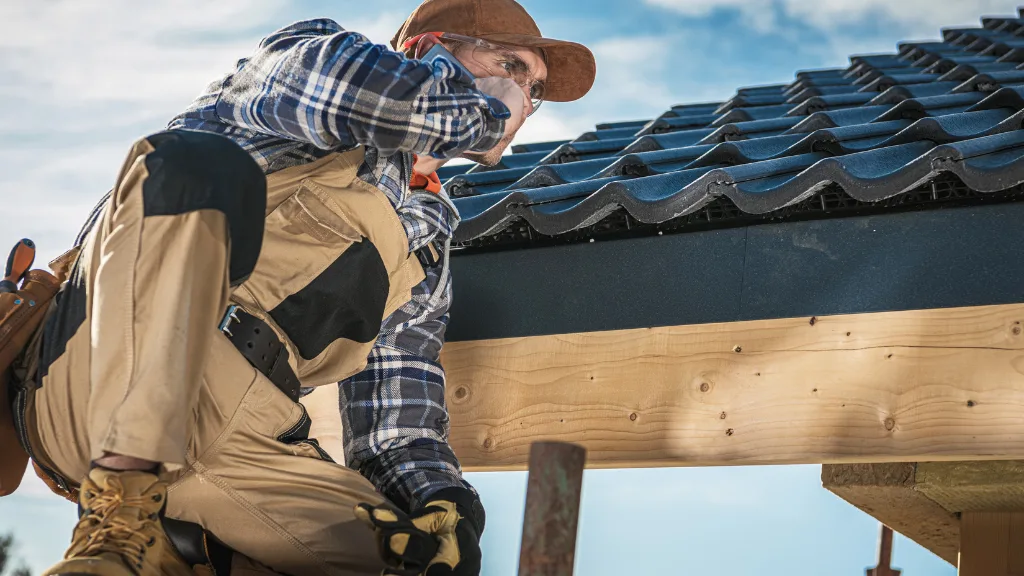
It is best to hire professionals for this type of project because it requires heavy equipment, safety harnesses, and knowledge of industry standards. If you want to do the job yourself, there are many tools that will make it go more smoothly.
In this article, we will discuss how to tear off a roof and reroof a house. We will cover the tools that you need to do the job well, as well as some tips for avoiding common mistakes.
If you’re going to be tearing off your house’s roof, it is best done in the spring or fall so that you can avoid winter weather conditions.
Steps to Take When Reroofing a House
Here are the steps to reroof a house:
Step 1: Gather all of your tools and safety equipment before you begin. This includes:
- Ladders, both regular and extension ladders
- Hammer and nails for nailing the tar paper to the roof decking.
- Tarps or drop cloths to lay down underneath ladder supports, so that no nails puncture the tarp.
- Safety harnesses for any workers who are on top of the roof, as well as extra safety equipment to use with heavy machinery like dumpsters and cranes.
Step 2: Remove all debris from your old shingles by hand or with a machine that will break them into smaller pieces so they can be gathered more easily.
Step 3: Lay down the tar paper, starting at one side of your roof and working towards the other.
Use a tape measure to ensure that it will be even on both sides before you lay it out on top of the decking boards. When nailing this into place, use either galvanized nails or plastic cap shingle nails.
Step 4: Lay down the starter strip at one edge of your roof. When nailing this into place, use galvanized nails or plastic cap shingle nails to make sure they are secure in the decking boards.
This should be about an inch below where you will put your first row of shingles so that water does not pool underneath them.
Step 5: Put the first row of shingles down in a staggered fashion, to make sure that water will not pool underneath them.
Start with the lower part and work your way up towards the top. Make sure you overlap each one by about an inch so there are no gaps for water to get through.
It is also important to stagger these shingles around any vents, in order to prevent water from pooling up when it rains.
Step 6: Continue putting shingle rows down all the way across your roof until you reach the other side of where you are working.
Again, make sure they are staggered so that no vent is covered by two consecutive rows of shingles. Also make sure that the starter strip is covered by these rows, so water will not pool underneath.
Step 7: When you have laid down all of your shingles and are ready to nail them into place, start with the first one on each side again.
Use a pneumatic gun or power hammer drill to put nails in at an angle where they will hold the shingles securely.
Step 8: If you find any bare spots where there are not enough rows of shingles, use a special roof repair kit that contains extra nails and patches for this specific purpose.
Also make sure to check around your vents or skylights for missing pieces before nailing them down as well.
Step 9: Make sure everything is secure and there are no missing pieces or bare spots before you cover your roof with underlayment. This will make the surface smooth, which in turn helps water to drain off of it more easily when it rains.
Step 10: When putting down this underlayment material, you should use a special adhesive that has been approved for use with it.
You can then put down a layer of tar paper over this, followed by the drip edge that you will use to protect your roof from water damage around the edges.
Step 11: Put on your plywood sheathing next, although only if necessary for certain types of roofs or areas prone to high winds. If so, nail these sheets into place and then put shingles right over them.
Step 12: Finally, add the finishing touches to your roof by adding a ridge cap that will help it shed water more easily.
You can also use this opportunity to install gutters if they are not already in place in your home and you want to make any necessary repairs before putting these new materials on.
Step 13: You can also add a cap shingle over the ridge of your roof, and use either galvanized nails or plastic cap shingles for this as well.
This will help you to complete your new roof design that will be both functional and aesthetically pleasing when it is finished!
By following these steps, you can make sure that your roof is watertight, secure, and looks great!
How Tools Can Be Useful for Reroofing a House
A roof rake is best used to remove the old shingles.
A pry bar can help you lift up harder-to-remove shingles, and a hammer will allow you to nail down replacement shingles that are already laid out on your roof before removing any of the old ones.
Using a roofing nailer will help speed up the process of laying down new shingles.
A safety harness can protect you from falling off your roof while removing old shingles, and earplugs are helpful for preventing hearing damage by reducing noise levels around heavy machinery.
A winder is the best tool to use in pulling off old shingles. If you need to cut through nails before removing them, a pair of tin snips will do the job well.
A pry bar can help remove stubborn or difficult-to-get rid of nails easily and quickly without damaging wood underneath when used with a hammer.
If you’re going to remove the underlayment, a utility knife will help cut through it easily.
A scraper can be used for scraping off any leftover roofing materials from your roof after tearing it down and laying new shingles or tar paper. It is best to work on one area of the roof at a time so that you don’t get tired and make mistakes.
Plywood is best used as a temporary replacement for your roof until you can reroof it completely, especially if the plywood will be covered by tar paper or shingles.
You may need to rent some of these tools depending on what you already have at home. If you are unsure about any of these tools, ask a professional or visit your local hardware store for advice.
Common Mistakes to Avoid When Reroofing a House
The most common mistakes homeowners make when reroofing a house are the following:
- Not hiring professionals to do the job. Not understanding the process of reroofing properly before starting on it, which can lead to time delays and wasted materials if done improperly.
- Failure to use safety equipment that is needed for working at heights or around heavy machinery like a roof rake or nailer.
- Choosing outdated shingle designs, which won’t protect your house from the elements as well.
- Choosing a shingle color with a poor UV protection factor, which will fade quickly and require more frequent replacement in the future.
- Not doing enough research on local building codes before reroofing that may pertain to certain types of roofing materials or design styles.
- Not considering the future of your roof when reroofing. For example, you may need to install gutters on an upper story if they are required for lower levels but were not previously present.
In order to avoid these mistakes, it is best to hire a professional roofing company for reroofing your house.
These professionals will have the necessary safety equipment and knowledge of industry standards as well as shingle types, colors, styles, etc., which you may not be familiar with if this is your first time doing such a project.
Final Thoughts
A tear-off and reroof is a big job. It’s important to get a thorough understanding of the process and possible pitfalls. This is especially true if you are not experienced in roofing work or don’t have the time, money, or skills required for this type of project.
Hiring professionals will ensure your safety, save time on delays due to mistakes, and provide adequate equipment for doing the job well.
If done improperly or without necessary safety measures like harnesses and ear protection, this project can be dangerous.
