Roofing felt adhesive is a great way to avoid leaks in your roof. It’s also an important part of making sure that the shingles stay on top of the roof and don’t slide off when it rains.
Applying this product isn’t always easy, however, and there are some mistakes that people make time and time again when they’re applying their first layer of adhesive.
In this blog post we will discuss how one can apply roofing felt adhesive correctly so you can get peace of mind about your home.
What is a Roofing Felt Adhesive?
A roofing felt adhesive is a durable, high quality adhesive used by roofers to hold down roofing felts.
The right type of glue can be the difference between a good and bad job, so it’s important to know what kind of products are available when hiring someone for this type of work.
Applying a Roofing Felt Adhesive
Felt is a roofing material that can be used as an alternative to shingle.
Felt is a popular roofing item that protects structures from elements such as rain and snow. Roof felt is used as tiles or slates on buildings.
Bitumen roof felt is the most commonly used type of roofing material.
The Tools Needed
Before you start, better understand what tools to use.
1. Claw Hammer – a roofing felt adhesive is a sticky substance, and only the right type of hammer will be able to get it off your hands. A claw hammer can help you scrape excess glue from surfaces before they dry.
2. Tape Measure – a roofing felt adhesive is not a permanent sealant, and you’ll need to measure how much material you’re using. If you run out of product too soon it can be frustrating to have to start over again.
3. Stanley Knife – a sharp Stanley knife will be used to cut roofing felt before applying it.
4. Flat Pry Bar – a flat pry bar can also be used to remove old felt from a roof.
5. Brush (50mm) – a brush will be used to apply roofing felt adhesive. It makes sure that the glue is spread evenly and that excess pieces are removed from surfaces after they dry.
6. Roofing Cap Sheet – a roofing cap sheet is a strong, durable piece of material that can be used with felt.
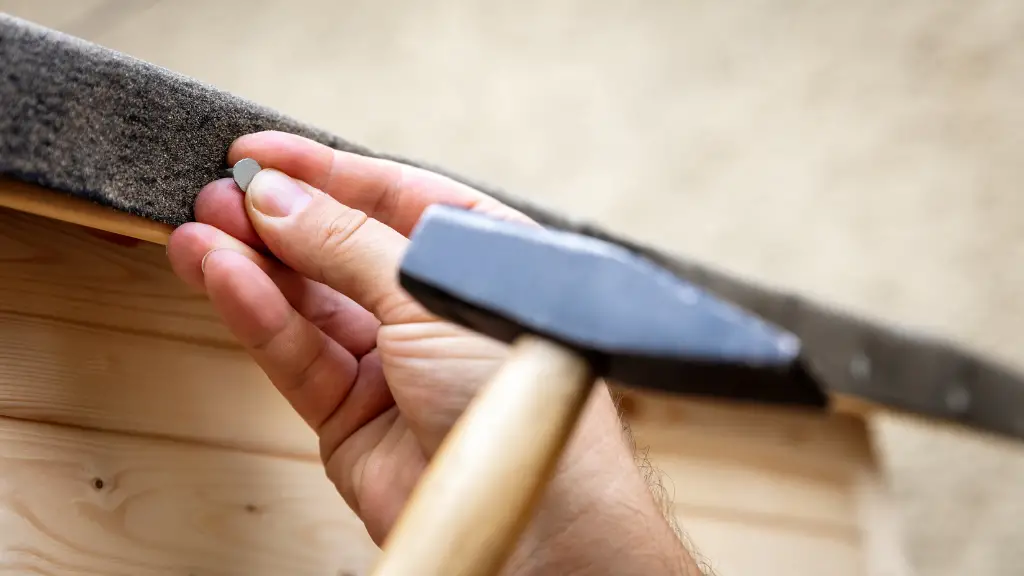
7. Roof Nails – roof nails are recommended to be used with roofing felt adhesive.
These will hold the material into place and allow it to dry properly so that you can stop worrying about leaks and other problems in your home due to a poorly installed roofing felts.
8. Roof Felt – roof felt is a durable material that can be used to cover surfaces. It’s easy to install and will protect your home from the elements.
Make sure you use roofing felt adhesive when installing it so there are no leaks or other problems in your building down the line from poor installation.
9. Roof Felt Adhesive – roof felt comes with an adhesive already applied to the bottom of it, but you may want to add some extra glue if your building is especially large.
Steps for Properly Applying Roofing Felt Adhesive
Roofing felt adhesive should not be used on every surface that needs a roof. It’s important to use this product in specific areas where leaks are likely to occur.
If you need a permanent sealant, something like silicone caulk is recommended.
Roofing felt adhesive should be applied in the following order:
1. Clean the roof surface – before you begin to use the roofing felt adhesive, make sure that your surface is clean and free of dirt or other debris.
If you apply glue to a dirty area it will be no better than applying nothing at all.
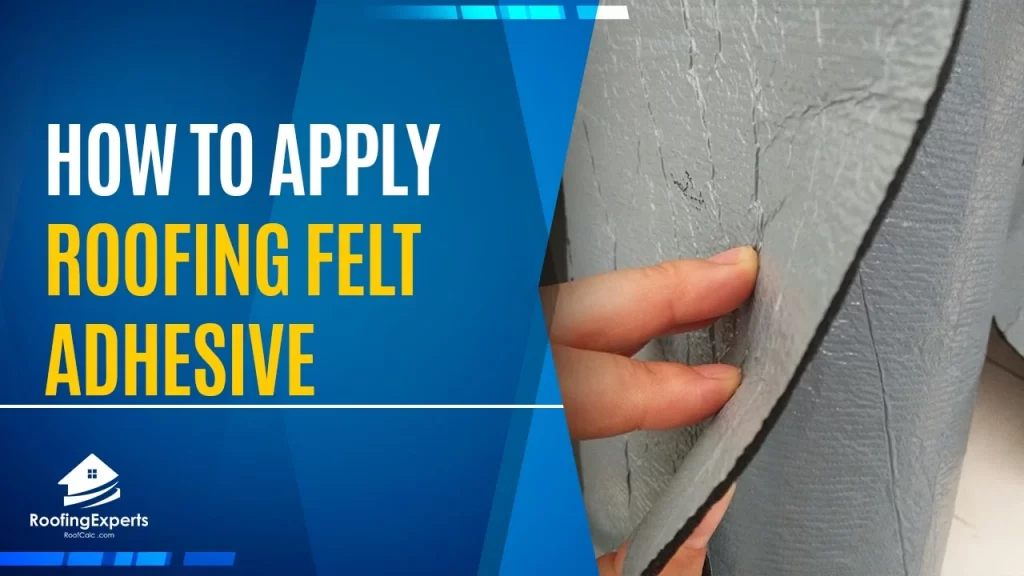
2. Apply the felt adhesive on dry surface – roofing felt adhesive is best applied within 24 hours of installing the roofing felts themselves.
You should also wait until your area has had a chance to dry completely so that the glue will have the right conditions for drying properly too.
3. Place the felt – When the felt is at its optimal thickness, put it on the adhesive. Stick the felt to make sure it does not come off.
Rub and roll whenever needed to release any trapped air. The felt must be rolled up and a lightweight roller is used to spread the adhesive.
4. Join overlapping sections – The size of overlapping sections should be 75mm for the sides and 150mm at the end.
The felt adhesive is applied under the roofing felt and well compacted to make a solid connection on the sides.
5. Work on the timber structure – The initial layer of felt in a timber structure needs to be fastened down with nails. Then, for the following layers, more adhesive may be needed.
6. Prepare with primer the porous concrete surface – A primer is a necessary preparation for use. The adhesive will be more efficient. Make sure the primer is dry before putting any roofing felt on top.
7. Rest the felt – The felt needs to rest for at least 24 hours. After checking for full adhesive, check every side and end.
What Makes a Good Roofing Felt Adhesive?
Roofing felt melts at high temperatures, so it’s important that your roofing adhesive meets certain standards to ensure it has proper adhesion.
Roofing felt adhesive must be able to withstand heat, dampness, high roof traffic and remain flexible.
Roofers also need to know that once they have applied the adhesive everything will stay dry underneath the felts.
Pros for Using Roofing Felt Adhesive
Roofers are able to get a better hold with this type of glue than with nails or staples.
Rather than putting 200 nails in every square foot of roof, one adhesive holds the entire job together – saving you money on labor costs.
Cons for Using Roofing Felt Adhesive
Some adhesives can reduce the effectiveness of certain types of roofing felts. In order to be as efficient as possible, many types of felt require a product that is designed specifically for them.
If you choose a roof adhesive not made by the same manufacturer as your felt, it may not be able to stretch and contract with the roof properly.
The life of a roof felt depends on the strength of its installation. Properly installed roofing felt lasts around 10-20 years. The lifespan of a roof depends on how well it has been managed and maintained.