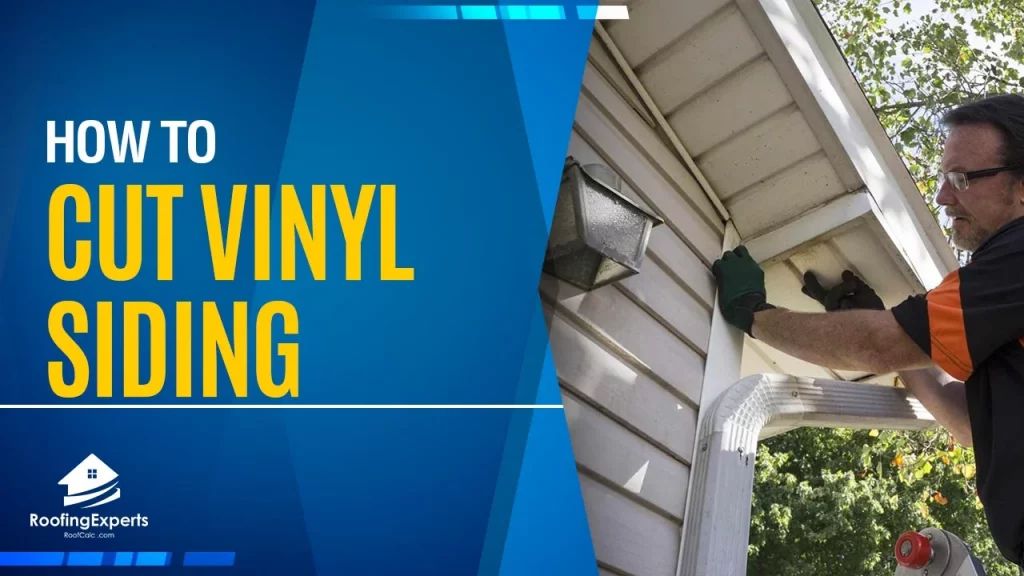
When you are in need of vinyl siding installation, it is important to know how to cut the material. Siding is a very durable product and if it is not installed correctly, then problems can arise such as water seeping into your home or mold growth.
In this blog post we will go over How to Cut Vinyl Siding and install vinyl siding properly!
- What is Vinyl Siding?
- How to Cut Vinyl Siding
- Cutting Process of Vinyl Siding
- Vinyl Siding Installation Tips
- Benefits of Using a Vinyl Siding
- Vinyl Siding Cutting FAQs
- What is the best way to cut vinyl siding?
- What is the best way to cut vinyl siding around a corner?
- What is the best way to cut vinyl siding around a window?
- What is the best way to cut vinyl siding around a door?
- What is the best way to cut vinyl siding for inside corners?
- What is the best way to clean up ragged vinyl siding seams?
- What is the best way to remove seams from two pieces of vinyl siding?
- What is the best way to remove a seam in two pieces of vinyl siding that are not at 45° angles?
- What is the best way to add a piece of vinyl siding?
- What is the best way to create a 45° cut on vinyl siding pieces that aren't straight?
What is Vinyl Siding?
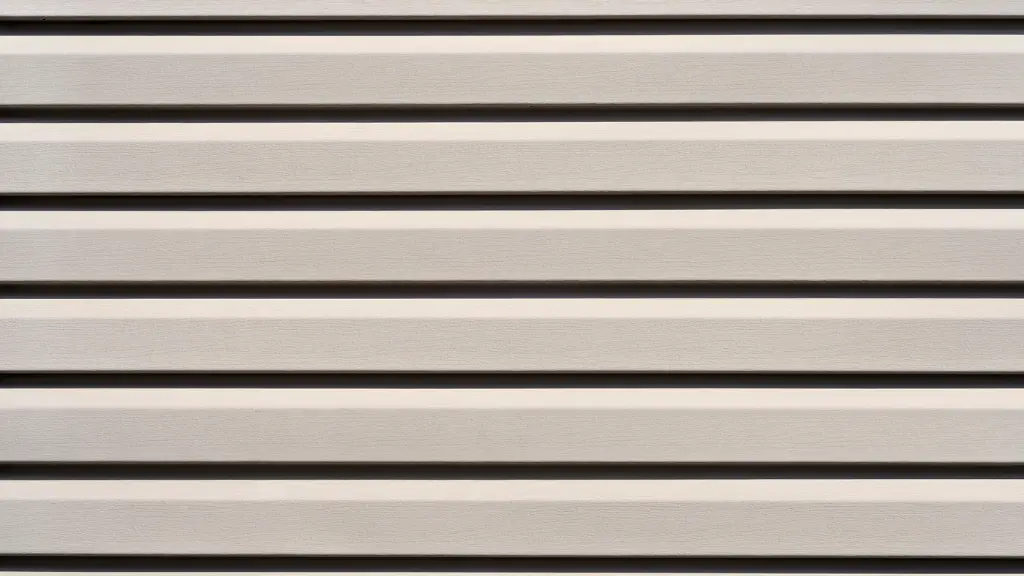
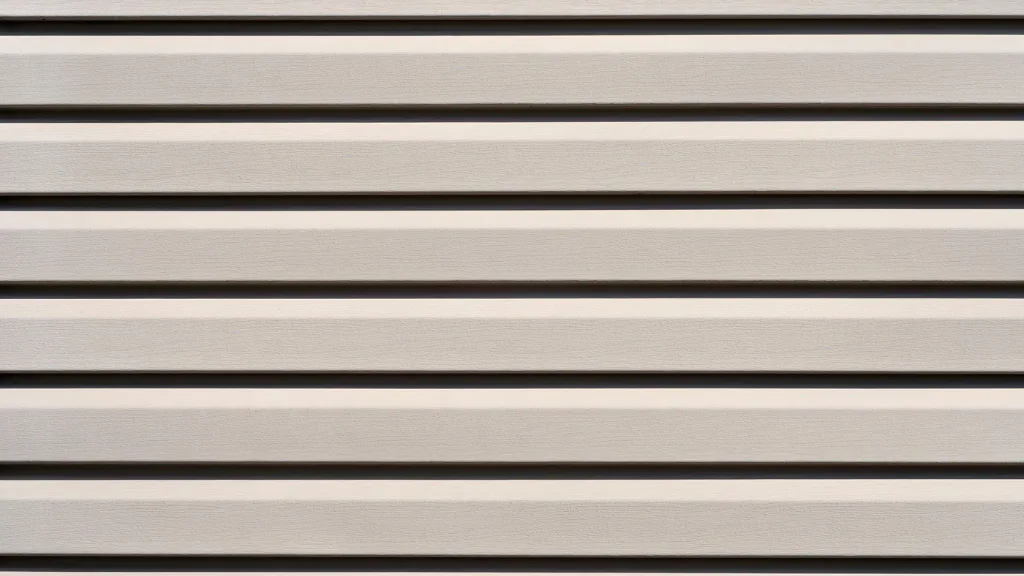
Vinyl siding is a thin material which can be installed on homes to protect the exterior of the home. It comes in different styles, colors, and textures.
The benefits are that it is very durable against weather elements such as rain or snowfall. Vinyl siding installation will help your house retain heat during winter months!
A vinyl siding is a type of building envelope made up of several pieces fastened together that are installed over the wall sheathing of the exterior to protect the home.
Vinyl sidings come in large overlapping panels or smaller boards; sometimes they’re even available as rolls, especially for use with curved surfaces.
The panels and boards can be painted with latex paint to improve the look, though they are often sold in colors that closely match the house’s exterior, giving vinyl sidings a more seamless appearance.
Some manufacturers offer high-end manufacturer siding options designed to have a wood-like grain for people who prefer natural looking materials.
They come in either smooth or textured surfaces and may be painted with the same paints that are used for other exterior surfaces.
A vinyl siding can be made up of several different materials, depending on how it is manufactured.
The core of each panel or board may consist of plywood or fiberboard, often covered with a thin layer of polystyrene foam insulation to provide R-value for the home.
The exterior can include as many as three layers of painted aluminum as well as a tough plastic skin that makes the siding weatherproof and protects it from fading, cracking and denting.
A vinyl siding is considered to be an excellent option for those who live in areas where there are dramatic temperature changes during the year because it holds up well in all types of weather.
This can be a particular advantage when it comes to maintaining the home’s interior temperature and reducing heating and cooling costs during the winter and summer months.
How to Cut Vinyl Siding
The first step to installing vinyl siding is measuring for cuts. For straight cuts, measure the length of material that you will need and subtract six inches from each side.
This way your cut piece can be placed next to another one without leaving a gap in between them! If you are cutting around an existing window or door, measure the height of your opening and then add four inches.
If you want to do a professional job on your siding, you need the right tools. Even the slightest difference will create a sloppy job and cost you money on repairs in the long run.
You might not know what to use when cutting vinyl siding, but this guide will give you a list of tools.
Tools to Cut Vinyl Sidings
- Utility Knife – A utility knife is a useful tool when installing vinyl siding. A utility knife is a small blade that retracts into its handle.
- The blade of the tool is controlled by a sliding button at the top of the handle and it can be used for many purposes.
- The metal wire cutter comes in handy when trying to cut away small pieces of pre-installed vinyl siding.
- Hand-Held Circular Saw – Handheld circular saws are lightweight and portable, making them perfect for cutting vinyl siding.
- The tool is portable, allowing installers to transport it throughout the workspace.
- The circular saw is able to get the job done when it comes to cutting vinyl siding, but should be fitted with a fine-toothed blade.
- Bench Saws – Bench saws are a circular saw attached to a table.
- When cutting vinyl siding, most installers use a miter saw, radial arm saw, jig saw or chop to produce the detail cuts.
- Chop saws can only cut at a right angle, so it is best to use a miter or radial arm saw for more complex cuts.
- Installing a blade backward on your bench saw will give you an uneven cut.
- Fine-toothed blades are made of metal and can cut through tough materials without damaging them.
- Snips – Tin snips are a tool for cutting through metal, vinyl siding, and other soft materials.
- Tin snips are a type of metal clipper that can cut unusual shapes.
- The wedge-shaped blade and compound cutting action of snips makes them more durable than scissors.
Cutting Process of Vinyl Siding
Before we get into the steps of how cut vinyl siding, I wanted to mention a few safety precautions:
- NEVER push down on the back of the blade while cutting ( this will damage the blade and it will break )
- Wear safety goggles since this is a task that involves cutting
- Ensure the work area has enough lighting for you to see what’s beneath the saw while cutting (don’t want to cut into an electrical cable, right?)
- Always make sure your fingers are out of the way of the blade while cutting (duh)
Method 1
Vinyl siding is very easy to cut with a circular saw. All you need to do is set your saw to the appropriate height and lock it into place. Once that’s done, you’re ready to get started.
Okay, now that we’ve got that out of the way, let’s move onto the first step.
1. Mark Where You’ll Be Cutting – At this point you should have already put on your safety goggles and locked the saw into place at the appropriate height for cutting through vinyl siding (which is usually about 4 inches).
2. Now that you have done all of that, it’s time to mark where you’ll be cutting. Before you do anything, make sure the work area is clear and there’s nothing in your way (like an electrical wire) so if the saw accidentally slips it won’t cause any damage.
3. Next, you should place a small piece of wood on the ground to help keep your saw steady. This is especially important if you are cutting at an angle.
4. Cut Vinyl Siding – The steps for cutting vinyl siding are quite simple. First, place the circular saw against the side of the siding that you want to cut.
Make sure it’s flush along one edge and then hold that edge of the blade against your mark. Now all you need to do is apply gentle pressure until you feel the blade cut through the vinyl .
5. Once the blade is finished cutting, pull it out slowly so as not to damage any electrical wires or other things that are beneath the piece of siding.
6. Repeat these steps on any other pieces of siding you want to cut.
Overall, cutting vinyl siding using a circular saw is quite easy and it should only take about five minutes per piece.
However, if you don’t feel confident enough after reading this article I would suggest watching some how-to videos on YouTube for added guidance before attempting this for the first time.
Second Method
To calculate the amount of siding needed, measure horizontally starting from the top to find out how much will cover. The amount of siding you will need to cut is the total height minus how much you subtracted from it.
1. If the wall is 5 inches tall and the siding is 12 inches, cut it off at 7 inches
2. A carpenter’s pencil is used to mark a straight, vertical cut from one side of the siding to the other. If you rush when marking your measurements, it will be difficult to get a straight line.
3. Put the vinyl on a flat surface so it doesn’t move as you measure and cut. The easiest way to do this is to use a workbench.
4. To remove siding from a house, cut the top off with a utility knife. If you’re cutting, don’t worry about completely cutting through the siding.
5. You are going to snap the vinyl siding using both hands, by placing one hand on each side of the scoreline.
To break the siding, hold it firmly and bend it back and forth until you can break the line. You can make another scoreline if the siding does not break after the first time.
Third Method
Use measuring tape to subtract the desired amount of siding from a piece that is being cut. Be sure to measure the siding needed for your house and make sure it is minimal. It’s best to mark the line that will be cut with a carpenter’s pencil.
Make sure to grip your siding close to the line before cutting so it does not shift.
The user should use the tin snips to cut along a marked line on the siding, but they shouldn’t close their blades completely. Slowly open and close the snips across the vinyl until you are at the other end of it, to get a clean uniform cut.
Cut the remaining siding to size with a piece of previously cut siding as your guide.
Vinyl Siding Installation Tips
- Be sure to use a sharp utility knife when cutting vinyl siding! This will help you get a nice clean line on your cut edge. If necessary, use sandpaper to smooth out the edges after making your cuts so that they are not sharp and safe to be around.
- When it comes time to install the siding, make sure you start on one side of your home and work across, making cuts as needed. Use a pry bar or hammer to attach the sheeting so that there is no movement between each piece!
Benefits of Using a Vinyl Siding
There are several benefits to using a vinyl siding. Here are some:
- A Vinyl Siding is used on homes, barns and other buildings to protect against weather such as rain and snow.
- A vinyl siding can be installed on the exterior of a home with little effort and at a relatively low cost.
- It is an alternative to replacing the look of one’s property by adding an aesthetically pleasing vinyl product that provides protection.
- Has low cost, low-maintenance exterior cladding that is available in a range of colors and styles to fit any home or office building.
- It’s competitively priced, easily installed on site by an experienced professional, and made of environmentally safe materials – offering homeowners numerous benefits for their home exterior.
- They are strong, easy to maintain and will never rot, peel or flake.
- A vinyl siding is attractive and can be stained or painted any color.
- It’s an especially popular type of exterior cladding in this day and age because it offers homeowners the opportunity to easily update the look of their home without investing a lot of money.
- It’s also easy to maintain due to its weather-resistant properties and low cost.
Vinyl is a popular choice for re-siding homes because it lasts and costs less money. Vinyl siding is a protective barrier to your home’s exterior walls.
Vinyl Siding Cutting FAQs
What is the best way to cut vinyl siding?
The best way to cut vinyl siding is with a sharp blade on a circular saw. Many people prefer using jigsaws or hand saws but these are not as easy to control and less accurate.
Some people use power shears, which basically look like tin snips, but the results are usually ragged and extremely difficult to clean up.
What is the best way to cut vinyl siding around a corner?
Cutting vinyl siding around a corner is nearly as easy as making straight cuts, you just need to adjust your cutting angle. To keep things simple, start with the outside of the corner and work towards the inside.
What is the best way to cut vinyl siding around a window?
Even though cutting vinyl siding around a window might seem like a difficult task, it’s actually just as easy as making straight cuts.
You just need to adjust your cutting angle and decide which part of the material you want to keep: the top or bottom piece. To keep things simple, start with the bottom of the window and work towards the top.
What is the best way to cut vinyl siding around a door?
Cutting vinyl siding around a door is nearly as easy as making straight cuts, you just need to adjust your cutting angle.
Start by making two diagonal cuts that meet at the top of the door. Then work your way downwards, cutting just enough to remove one corner at a time.
What is the best way to cut vinyl siding for inside corners?
Cutting vinyl siding around an inside corner is easy if you know where to make the cuts.
The most important thing to remember is that you need two pieces of siding for each corner, one piece will be the front and one piece will be the back.
To make a nice neat cut you need to take a little bit off of all four sides of both pieces, then butt them together at 90° in the center.
What is the best way to clean up ragged vinyl siding seams?
Even though it is a little more work, some people prefer to make a nice neat trim along all of their vinyl siding seams. To do this you have to have a good utility knife and something that will protect the siding from being cut by mistake.
The best thing to use is wide masking tape or blue painters tape. If you don’t have either of those you can use any kind of tape that will leave a clean line.
When you make the cut you always want to pull the material away from where you are cutting, if it gets caught on the blade it could jam and cause injury.
What is the best way to remove seams from two pieces of vinyl siding?
The best way to remove seams from two pieces of vinyl siding is by cutting them at a 45° angle. This will make it easier to cover the seam with trim or caulk.
To do this you only need a utility knife and access to both pieces so that you can mark your cut lines on both surfaces. First measure out where your cut should be, then mark the intersecting point on both surfaces.
Take one of your pieces and line up with either vertical seam. Make sure that you are lining things up in the middle of the vinyl siding, just enough to cover it completely when you put them together.
Now mark where the 45° angle needs to go into that seam.
Once your mark is made, just go ahead and cut. To make a cleaner cut you can use a piece of scrap wood to push the blade up against when you are cutting into the surface.
This will keep it from “digging in” and damaging your siding. Repeat this step on the other vinyl siding seam that needs to be removed.
What is the best way to remove a seam in two pieces of vinyl siding that are not at 45° angles?
Cutting out a vinyl siding seam that isn’t at a 45° angle isn’t very difficult, it just takes a little more time.
To do this you need the same materials as before (utility knife & tape), plus access to both pieces of siding so that you can mark your cut lines on both surfaces.
First measure out where your cut should be, then make a small vertical slit with your utility knife at the intersection point on one surface.
Use a flathead screwdriver or something similar to gently pry up the vinyl siding on the surface that has the cut mark on it. Then make a matching slit on the other side, as close as possible to the first slit without actually cutting into it.
Now you need to match up those two slits and make another small vertical cut between them with your utility knife.
Now you should have access to all of the vinyl siding in between the slits, this should make it easy to remove these short pieces. Repeat this step on the other vinyl siding seam that needs to be removed.
What is the best way to add a piece of vinyl siding?
The easiest way to add a piece of vinyl siding is by making a 45° cut on each side of the new piece. To do this you need to measure out where your cut should be, then use a level and pencil to mark your lines on both surfaces.
Once your marks are made, just go ahead and cut along them with your utility knife.
To make a cleaner cut you can use a piece of scrap wood to push the blade up against when you are cutting into the surface. This will keep it from “digging in” and damaging your siding.
Now that both sides of the new vinyl siding piece have been cut, just butt them together at a 90° angle in the center. Make sure that they are perfectly aligned before applying any pressure, if they are not lined up they will be difficult to attach.
Once they are together just pull them tight and tape the seams together with your wide masking tape or blue painters tape. Now you can either attach it with nails or staples, whichever you prefer.
What is the best way to create a 45° cut on vinyl siding pieces that aren’t straight?
Creating a 45° cut on vinyl siding pieces that aren’t straight is surprisingly easy, and doesn’t require anything you wouldn’t already have at home.
First measure out where your cut should be, then use a level and pencil to mark your lines on both surfaces of the siding piece. Make sure that you mark them as straight as possible, to do this just use a ruler and level to create the line.
Now you need to measure out where your 45° cut should be along those lines.
This is very easy with a digital angle gauge, it will tell you exactly what angle you need so that the ends of each piece will meet up perfectly. Once you have the exact angle measured out just go ahead and cut along it with your utility knife.
Now that you know how to get started working with vinyl siding, you will be prepared for whatever projects come your way!