


Are you looking to replace or install a casement window in your home? Casement windows are a popular choice for their energy efficiency and easy operation.
Whether you’re a DIY enthusiast or plan to hire a professional, this guide will walk you through the steps of installing or replacing your casement window, helping you make your home more comfortable and secure.
Understanding Your Casement Window
If you’re planning to install or replace your casement window, it’s important to first understand the different parts of the window and the various types available.
This will help you choose the right window and ensure a successful installation.
Parts of a Casement Window
A casement window consists of several parts, including:
- Frame: The outermost part of the window that holds the glass and other components in place.
- Sash: The part of the window that holds the glass and can be opened or closed.
- Hinges: The hardware that allows the window to open and close.
- Locking mechanism: The part of the window that secures it in place when closed.
- Weatherstripping: The material that seals the window to prevent drafts and leaks.
Understanding these parts will help you identify any issues with your current window and choose the right replacement parts if needed.
Types of Casement Windows
There are several types of casement windows to choose from, including:
- Single casement: A window with one sash that opens outward.
- Double casement: Two windows that open outward, hinged on opposite sides.
- Push-out casement: A window that opens outward with a handle that pushes the sash open.
- Top-hung casement: A window with the hinge at the top, allowing the sash to swing open from the bottom.
Each type of window offers its own benefits and drawbacks, so it’s important to choose the right one for your needs. For example, a single casement window is a good choice for smaller openings, while a top-hung casement window is ideal for ventilation in rooms with high ceilings.
By understanding the parts and types of casement windows, you’ll be better equipped to choose the right window for your home and ensure a successful installation.


Preparing for Installation
Before you begin to install your new casement window, you need to prepare the area. This includes measuring your window, gathering the necessary tools and materials, and removing the old window.
Here are the steps you need to follow:
Measuring Your Window
The first step in preparing for your new casement window installation is to measure your window opening. This will ensure that you order the correct size window. Measure the width and height of the opening, and make sure to measure from the inside of the frame.
You will need to measure the width at the top, middle, and bottom of the opening, and the height from the sill to the top of the opening.
Gathering Tools and Materials
To install your new casement window, you will need a few tools and materials. Here is a list of what you will need:
- Tape measure
- Level
- Screwdriver
- Hammer
- Pry bar
- Caulk gun
- Silicone caulk
- Shims
- Screws
Make sure you have all of these tools and materials on hand before you begin your installation.
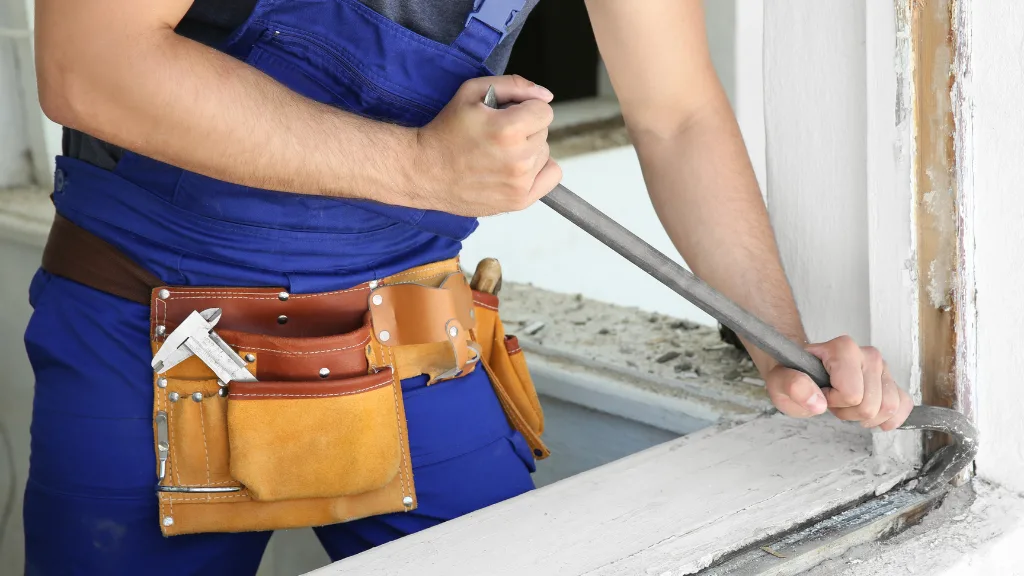
Removing the Old Window
Before you can install your new casement window, you need to remove the old window. Start by removing the window sash and any hardware attached to it. Then, use a pry bar to remove the window trim and any caulking or sealant around the frame. Once the trim is removed, you can remove the window frame from the opening. Make sure to clean up any debris or old caulking around the opening before you begin the installation.
By following these steps, you can prepare the area for your new casement window installation. Make sure to measure your window, gather the necessary tools and materials, and remove the old window before you begin the installation process.


Installing Your Casement Window
Installing a casement window may seem like a daunting task, but with the right tools and a little bit of know-how, it can be a smooth process. Here are the steps to install your casement window properly.
Installing the Frame
Before you start installing the frame, ensure that the opening is square and level. Once you have confirmed this, follow these steps:
- Place the frame in the opening and center it.
- Use shims to level and secure the frame in place.
- Fasten the frame to the rough opening with screws.
Installing the Sash
Now that the frame is in place, it’s time to install the sash. Follow these steps:
- Install the hinges on the sash.
- Place the sash in the frame and secure it with screws.
- Test the sash to ensure it opens and closes smoothly.
Sealing and Insulating
To ensure that your casement window is weather-tight, it’s important to seal and insulate it properly. Follow these steps:
- Install weather stripping around the window to ensure a tight seal with the frame.
- Caulk between the top of the casing and overlap on both sides of the window to provide extra sealing power against wind and rain intrusion.
- Use expanding foam insulation to fill any gaps between the frame and the rough opening.
By following these steps, you can install your casement window properly and ensure that it will provide you with years of energy-efficient use.

Replacing Your Casement Window
Replacing your casement window can seem like a daunting task, but with the right tools and knowledge, it can be a straightforward process. Here are the steps you need to follow to replace your casement window.
Removing the Old Window
The first step in replacing your casement window is to remove the old one. Here’s how to do it:
- Remove the window screen, if there is one.
- Open the window and remove any hardware or screws holding it in place.
- Carefully remove the window from the frame.
- Remove any remaining screws or nails from the frame.
Preparing for Replacement
Once you’ve removed the old window, it’s time to prepare for the replacement. Here are the steps you need to follow:
- Measure the opening to ensure you get the right-sized replacement window.
- Check the frame for any damage or rot. Repair or replace as necessary.
- Install weather stripping around the frame to ensure a tight seal.
- Apply caulk between the top of the casing and the overlap on both sides of the window to provide extra sealing power against wind and rain intrusion.
Installing the New Window
Now it’s time to install the new window. Here’s how to do it:
- Place the new window into the frame, making sure it’s level and plumb.
- Secure the window in place with screws or nails.
- Check that the window opens and closes properly.
- Install any hardware, such as locks or handles.
- Apply a final bead of caulk around the window to ensure a tight seal.
By following these steps, you can replace your casement window with ease. Remember to take your time and be careful during the process to ensure a successful installation.


Troubleshooting and Maintenance
Common Issues and Solutions
Even with proper installation, casement windows can develop issues over time. Here are some common issues you may encounter and their solutions:
- Difficulty opening or closing: This can be caused by a buildup of dirt or debris in the tracks or hinges. Clean the tracks and hinges with a soft brush and lubricate with silicone spray or a dry lubricant.
- Drafts or air leaks: Check the weatherstripping around the window frame. If it’s worn or damaged, replace it with new weatherstripping.
- Water leaks: If water is entering the room through the window, check the caulking around the frame. If it’s cracked or missing, apply new caulking to seal any gaps.
- Broken or damaged glass: If the glass is cracked or broken, it will need to be replaced. Contact a professional to replace the glass.
Maintenance Tips
Proper maintenance can help prevent issues with your casement windows. Here are some maintenance tips to keep in mind:
- Clean the windows regularly: Dirt and debris can accumulate on the glass and frame, which can lead to issues with the window. Clean the windows with a soft cloth and mild soap and water.
- Inspect the weatherstripping: Check the weatherstripping around the window frame regularly to ensure it’s in good condition. If it’s worn or damaged, replace it with new weatherstripping.
- Lubricate the tracks and hinges: Use a silicone spray or dry lubricant to lubricate the tracks and hinges. This will help the window open and close smoothly.
- Check the caulking: Inspect the caulking around the window frame regularly to ensure it’s in good condition. If it’s cracked or missing, apply new caulking to seal any gaps.
- Trim any nearby trees or bushes: If there are trees or bushes near the window, trim them regularly to prevent branches from rubbing against the window and causing damage.
By following these troubleshooting and maintenance tips, you can keep your casement windows in good condition and prevent issues from developing.
