Roofs can last for decades and be leak-free, but there will come a day when the old roof has to be replaced. If you’re not prepared, this could turn into a major headache.
This blog post will help you get started on your next roof project by guiding you through the steps of how to patch a roof.
Having a leaky roof is the worst thing that can happen to any homeowner. It is important to know how to properly patch a roof in order not only fix your leaking issue, but also prevent future problems from happening.
Tools and materials needed to patch a roof:
- Roofing Nails
- Putty Knife
- Hammer
- Utility Knife
- Ladder
- Roofing Patch
- Safety Glasses, Gloves and Mask
- Adhesive
- Shingles

Step-by-step Instructions on How to Patch a Roof
Step 1: You will need to remove any debris and material that is on top of the roof. Be sure to use a large ladder when working near steep roofs
Step 2: Inspect your shingles for damage or missing pieces; this can be done by looking at the surface of the roof from within your attic
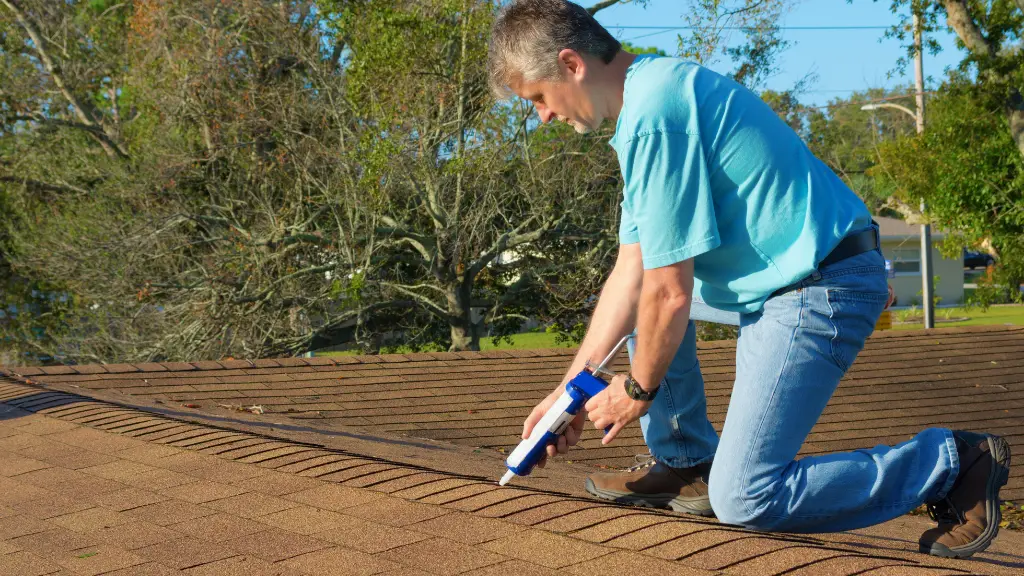
Step 3: After you have assessed the damage, it is time to patch your roof. First apply a layer of adhesive directly on top of all visible nails
Step 4: Once that has dried, place new shingles over the area and nail them down with roofing cement
Step 5: Seal any cracks or holes in order prevent water from further damaging your roof
As a final step, don’t forget to reattach your roof vents and ridge cap. This will ensure that the new patch is sealed properly!
The way you patch a roof can be difficult if you have never done it before. Luckily this guide has provided all of the steps needed for fixing any size issue.
It may seem to be a daunting task, but if you follow all of these steps carefully your roof will look as good as new.
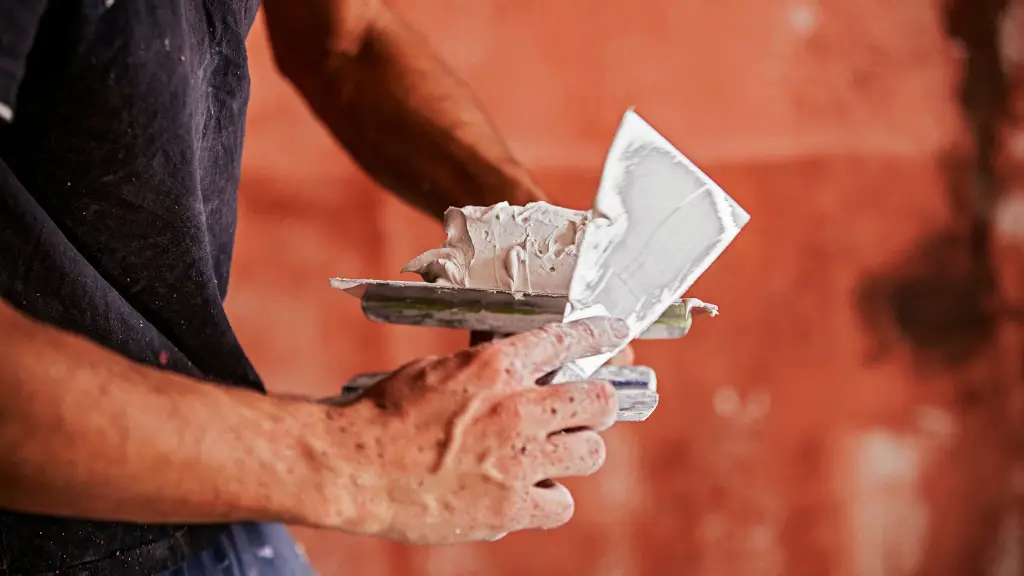
What Are Patching Materials?
Patch material, also known as shingle cement, comes in several different types including asphalt-based compounds that are used for asphalt shingles, rubberized asphalt patches that are used for metal roof repair and epoxy compounds which can be used to patch all types of roofs.
Patch material is only effective if it has been allowed to dry completely before you apply any additional materials or walk on the area in question.
If there is too much moisture present during installation, the patch material will not adhere properly and the problem may return.
What Are the Different Types of Roof Patch?
There are three types of roof patches.
The first type is a cutback roof patch, which can be done to replace or reinforce an existing shingle that has been damaged by water leaks.
The second type of roof patch is the butt joint, where one part fits against another piece without overlapping it. Pre-molded butted seams are available in a variety of sizes.
The third type is the tube patch, which can be used for small holes or tears in your roofing material.
These patches are similar to pre-molded butted seams except they come with adhesive already on them and require no additional preparation before installation.
After you have patched your roof using one of the three types of roof patches, you should then go through the same inspection process that is outlined in this blog post.
Once all issues have been addressed and repaired, your roof will be ready to protect against any future leaks.
What Are the Warning Signs That a Roof Needs to Be Patched?
There are several warning signs, such as:
- If your roof is losing shingles on a regular basis it may signal that there is an issue with the underlying deck.
- Your deck can be repaired if damaged or replaced entirely to prevent any future leaks from happening.
- Check for loose granules at the base of your roof; this can be a sign that your roof is losing its structure and needs to be patched.
- If water spots on the ceiling of your first floor indicate leaks, you should inspect for loose or missing shingles on top of your roof as well as debris buildup around any vents; these are also signs that it may need repairing.
- If there are any visible holes in your roof, whether they be large or small it is important to inspect them for a possible cause.
- This could include the presence of mold, mildew and water stains on top of your ceiling that indicate leaks.
- It is also important to check if you have any loose flashing around vents, chimneys, skylights or any other openings in your roof.
All of these can be signs that there is an issue with the structure underneath and needs to be patched before it gets worse.
It’s important to address any issues with your roof as soon as they happen so that you do not have to deal with a major emergency.
If the damage is too severe, it may be best to consult a professional contractor or contact your insurance company (if applicable).
What Are Some Tips for Applying a Shingle Cement?
It is important to try and apply your patch as soon as possible after you have noticed that there is an issue with your roof; this way it has less time to dry out or evaporate before you can get it into place.
You should also try not to apply shingle compound on top of another material, such as old patching materials or paint; this can lead to improper adhesion and may cause your roof problem to return even after you have patched it the first time.
If there are any holes in your roof that need repairing make sure they are properly patched before you do anything else.
If the damage is too severe, it may be best to consult a professional contractor or contact your insurance company.
Final Thought
With the right tools and knowledge, you can patch a leaking roof. When it comes to fixing leaks on your home’s roof, there are many ways of doing so – some more effective than others.
It is crucial that you know how to do this properly in order for the repair to be successful.