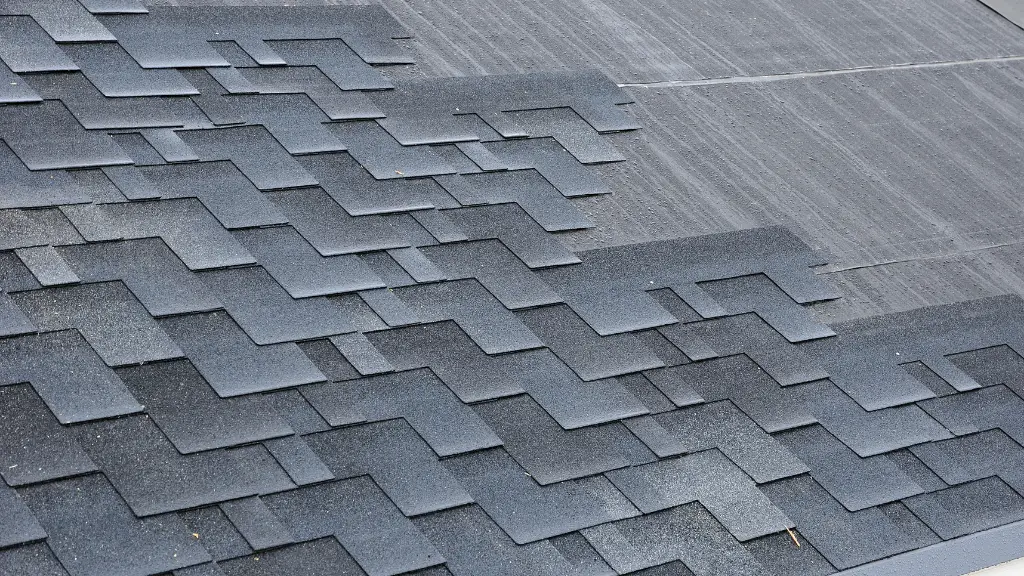
Most sheds have a basic roof style. They are typically flat with a few slopes, and then they end in an overhang.
This type of roof is called shingled or shed style roof because it resembles the look of a traditional thatched roof minus the straw.
It’s not uncommon to see this type of roof on small buildings such as sheds and boathouses due to its simplicity and low cost.
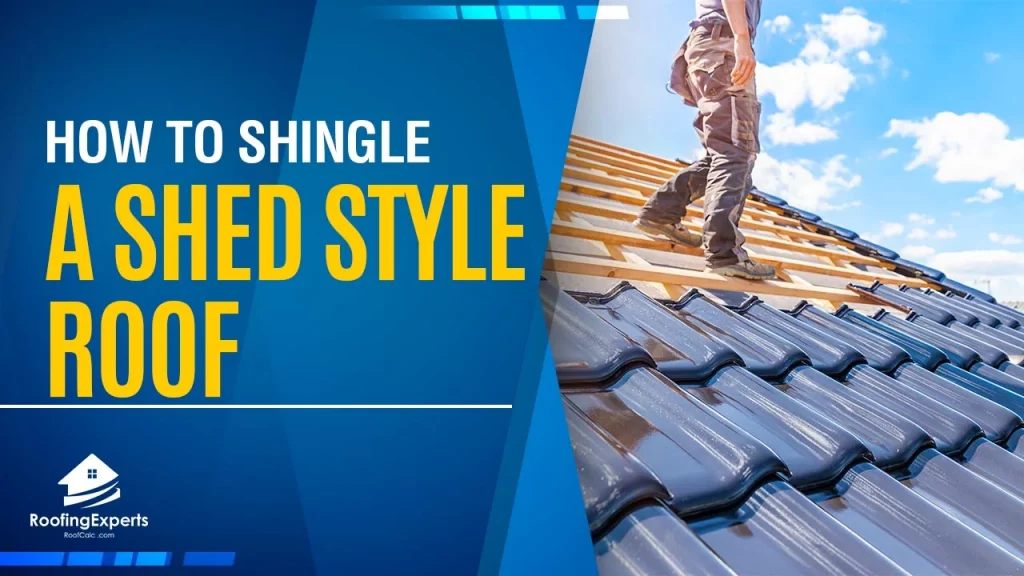
A common question we get asked at Sheds Unlimited is: how do I shingle my shed?
Shingling a Shed Style Roof
If shingles are not used to cover the shed, water will seep through it. Water can cause damage to what’s inside if it gets in. There are then steps to follow, to avoid this; and this is by shingling your roof.
1. Begin by removing any objects that are on top of your shed.
This will create space for you to work and ensure there’s nothing obstructing the roof when it comes time to shingle.
2. Next, clear out all debris from inside the structure so everything is clean before starting this project.
Take a good look around to make sure there are no weak or broken boards that can cause problems down the road.
3. If you have wood floors, check them for rot and replace if necessary before getting started.
If your shed has a concrete floor, it’s best to remove all objects from the surface so they don’t break when walked on during repairs.
4. It’s also important to remove any objects that are close to the roofline. Although you want things out of your way, make sure they’re not in a position where water can collect and cause damage.

Shingle Underlayment
Once everything is cleared away, it’s time to lay down underlayment over the flooring surface.
The underlayment serves two purposes, it keeps moisture from getting through the floor to the interior of your structure and acts as a barrier between rot-friendly soil.
The most common type of underlayment is asphalt felt paper which comes in large rolls that are similar to tarps. Lay out sheets along each side wall until you’ve covered all the space between the walls.
After laying out the paper, lay some shingles over it to keep it in place while you’re working around your shed.
You can also use nails or staples if necessary but make sure they are not long enough to puncture through both sheets of underlayment.
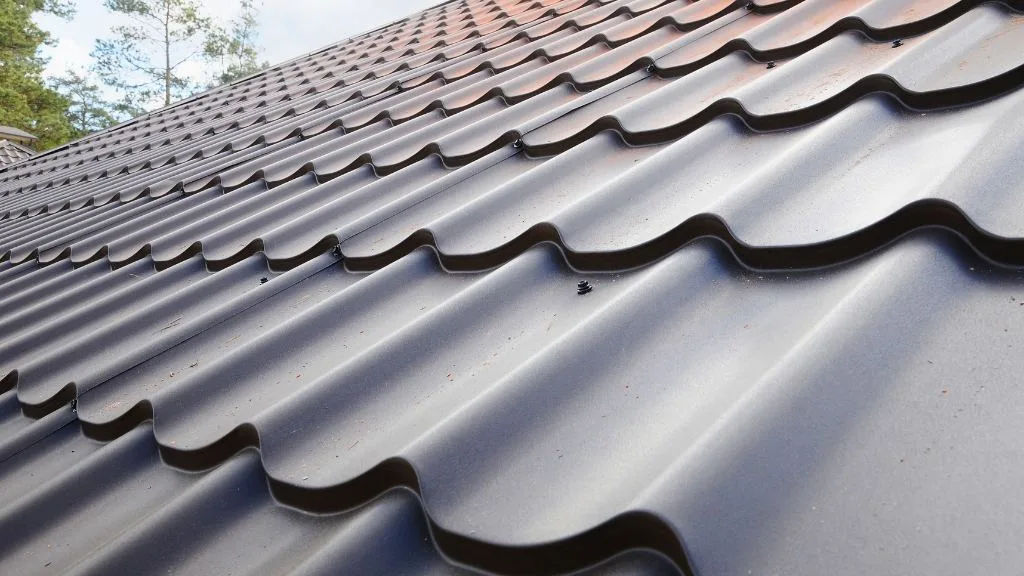
Take Your Time with Roof Shingles
Shingling a shed roof isn’t difficult to do, but it does require time and attention. Take your time with each shingle as you put them into place because this will be the finished look of your structure.
You want everything to fit together properly without any gaps or overlapping lines; otherwise, water can get through these areas and cause damage to your roof.
When getting started, begin with the lowest edge of the roof and work your way up.
It’s best to go from left to right because you don’t want water running down the side of your shed while it sits on this angle; however, make sure you’re not shingling in one direction for too long or it can cause lines to form.
The same applies for the top edge of your roof.
You don’t want water running down this slope either, so make sure you alternate shingles as you move along the overhang; otherwise, you’ll end up with wet spots on one side without any protective layer in place.
Shingling Tips
If you’re new to shingling, make sure to take your time. It’s easy for mistakes to happen if you rush through the process without getting every step right.
For example, it can be difficult not to overlap or leave gaps between individual shingles; but once they are all in place and secured down with roofing nails or staples, you can’t go back and fix them.
When working around roof vents and any other openings in the structure’s exterior wall, make sure to leave a small gap between shingles that are on either side of the opening.
This will prevent water from pooling into these areas when it rains or snows; plus it gives your roof ventilation so the inside of your shed doesn’t get too hot during warm weather months.
As you shingle, keep an eye on any weak or broken boards in case they need to be replaced before finishing up the project.
If it’s only a small section that is damaged, you can remove these individual pieces and replace them without having to start all over again. You should also make sure there are no weak or broken boards that can cause problems down the road.
Moving objects, especially heavy ones, can cause damage to the floor of your shed if they are allowed on its surface during this process.
If you have any heavy equipment that needs to be stored in one area of your shed while you’re working on another section, wheel them onto a piece of plywood or cinder blocks so the floor is left undamaged.