
If you’re planning a roofing project, you may be wondering whether metal roofing can be installed over plywood. The good news is that it’s possible, and in this article, we’ll show you how.
We’ll cover everything you need to know, from preparing the plywood to installing the metal roofing panels. Whether you’re a DIY enthusiast or a professional roofer, our step-by-step guide will help you complete the project successfully.
So, if you’re ready to give your roof a new look with metal roofing, keep reading to learn more!
Preparing the Plywood Decking
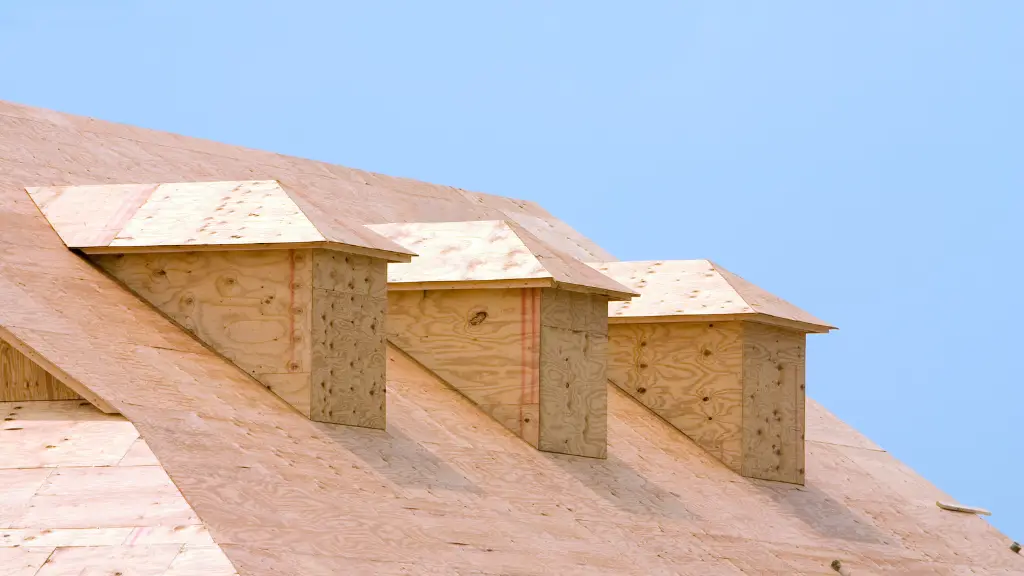
Before installing metal roofing over plywood, it is essential to ensure that your plywood decking is in good condition. This involves inspecting the plywood decking, repairing any damage, and adding a slip sheet.
Inspecting the Plywood Decking
Inspecting the plywood decking is the first step in preparing it for metal roofing installation. Check for any signs of wood rot, such as warped or rotted areas, raised nail heads, or bare plywood.
If you find any of these issues, you will need to make repairs before proceeding with the installation.
Repairing the Plywood Decking
If you find any signs of wood rot or damage, you will need to make repairs to the plywood decking. Start by removing any damaged or rotted areas, and then replace them with new plywood.
Use tar or other appropriate materials to seal any gaps or holes in the plywood.
Adding a Slip Sheet
Adding a slip sheet is an optional step, but it can help prolong the life of your metal roofing. A slip sheet is a layer of material that is placed between the metal roofing and the plywood decking.
It helps to prevent moisture from getting trapped between the metal and the plywood, which can cause rust and other damage.
To add a slip sheet, start by laying a layer of felt paper or other appropriate material over the plywood decking. Then, install the metal roofing as usual on top of the slip sheet.
By inspecting and repairing your plywood decking and adding a slip sheet, you can ensure that your metal roofing installation will be strong and long-lasting.

Installing the Metal Roofing
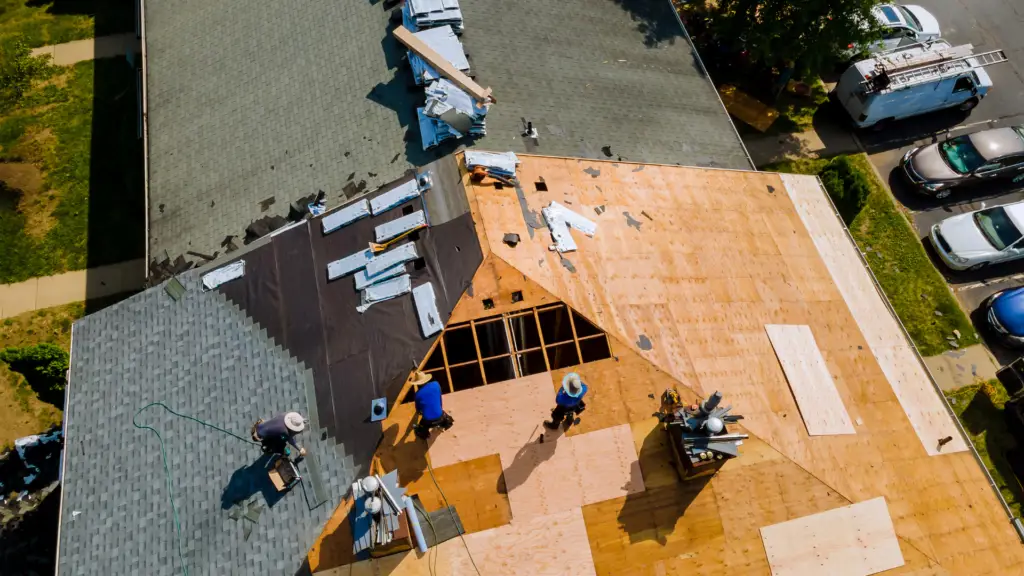
When it comes to installing metal roofing over plywood, there are a few steps you need to follow to ensure the job is done correctly. Here are the three main steps you need to take to install your metal roof:
Measuring and Cutting the Metal Panels
Before you start installing your metal roofing, you need to measure the size of your roof and the length of the metal panels you will need. Once you have the measurements, you can use metal snips to cut the panels to the appropriate size.
It’s important to make sure the panels are cut accurately to ensure a tight fit and prevent any leaks.
Preparing the Underlayment and Eave Trim
Once you have cut your metal panels, you need to prepare the underlayment and eave trim. You should start by installing a waterproof felt over the plywood decking to act as a moisture barrier.
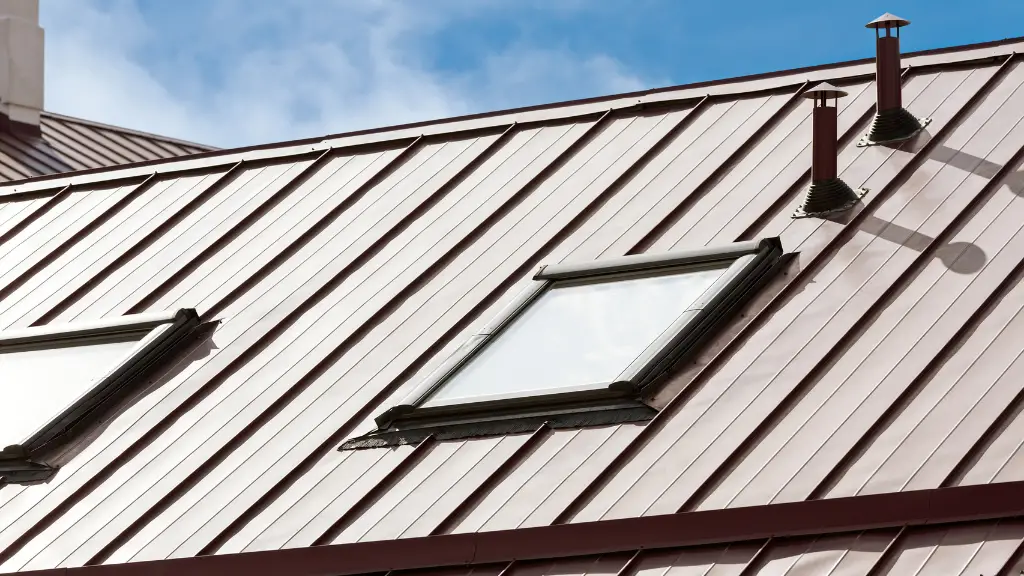
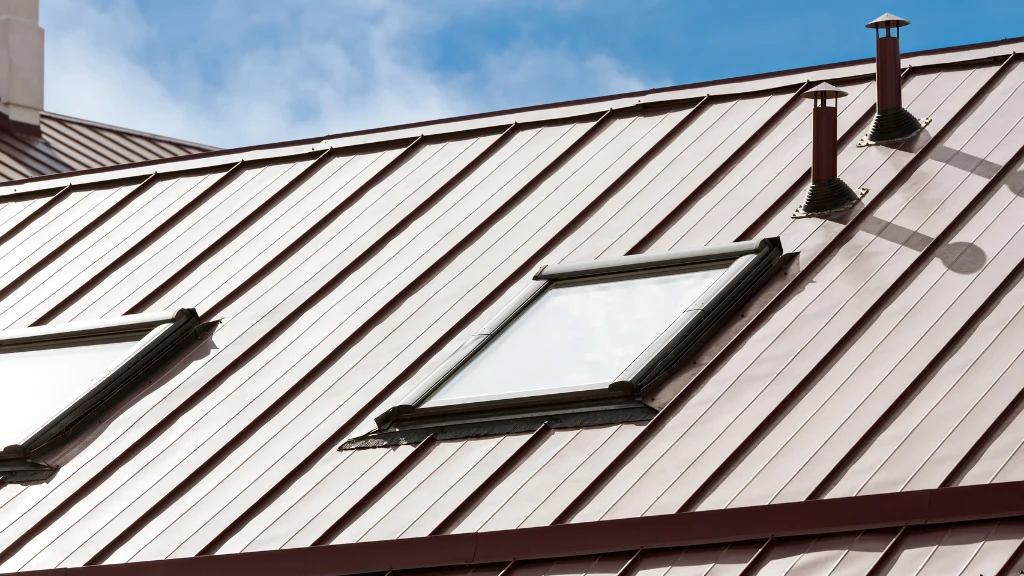
After that, you can install a drip edge along the eaves to prevent water from seeping under the metal roofing. You should also install a metal flashing around any protrusions, such as vent pipes or solar panels, to ensure they are properly sealed.
Fastening the Metal Panels
Now that your underlayment and eave trim are in place, you can start fastening the metal panels to the roof. You should start at the peak of the roof and work your way down, making sure each panel overlaps the previous one by at least one rib.
You can use galvanized metal screws to fasten the panels to the substrate, making sure to place them in the valleys to prevent leaks. You can also use a roofing harness and hammer drill to ensure the panels are securely fastened.
It’s important to note that the slope of the roof will affect the number of fasteners you need to use. If your roof has a steep slope, you may need to use more fasteners to ensure the panels are securely attached.
Additionally, you should use rubber pipe boot kits around any vent pipes to prevent leaks.
In conclusion, installing metal roofing over plywood can be a straightforward process if you follow these steps and take the necessary precautions. Make sure to prepare your underlayment and eave trim properly, measure and cut your metal panels accurately, and use the appropriate fasteners to ensure a tight fit.
With the right tools and preparation, you can install a metal roof that is both quiet and durable, and comes in a wide variety of colors and styles to suit your needs.
Adding the Finishing Touches
Once you’ve installed your metal roofing over plywood, it’s time to add the finishing touches. This includes installing the ridge cap, gutters and downspouts, and sealing protrusions to ensure that your roof is fully protected against the elements.
Installing the Ridge Cap
The ridge cap is the metal flashing that covers the peak of your roof. To install the ridge cap, you will need to:
- Measure the length of the ridge and cut the ridge cap to fit using metal snips.
- Install the ridge cap by placing it over the peak of the roof and securing it in place with metal screws.
- Apply a bead of roofing sealant along the edges of the ridge cap to prevent water from seeping in.
Installing Gutters and Downspouts
Gutters and downspouts are essential for directing rainwater away from your home’s foundation. To install gutters and downspouts, you will need to:
- Measure the length of the roof’s edge where the gutters will be installed using a tape measure.
- Cut the gutters to the appropriate length using metal snips.
- Secure the gutters in place using metal screws and brackets.
- Install the downspouts by attaching them to the gutters using metal screws.
- Direct the downspouts away from the foundation of your home.
Sealing Protrusions
Protrusions such as vent pipes and chimneys can create gaps where water can seep in. To seal these protrusions, you will need to:
- Cut a piece of metal flashing material to fit around the protrusion.
- Apply roofing sealant to the back of the flashing material.
- Place the flashing material over the protrusion and secure it in place with metal screws.
- Apply another layer of roofing sealant around the edges of the flashing material to ensure a watertight seal.
By following these steps, you can ensure that your metal roofing installation over plywood is complete and fully protected against the elements.

Conclusion
In conclusion, installing metal roofing over plywood can be a viable option for your roofing needs. However, it is essential to ensure that the plywood is in excellent condition and free from any rotting or corroding.
Proper preparation is also crucial, such as getting rid of raised nails and installing waterproof felt, to ensure the success of your metal roof installation.
Metal roofing offers several benefits, including durability, long-lasting, and affordability. It is available in different types, colors, and styles that can fit any budget and preference.
Metal roofs are also energy-efficient and can help reduce your energy bills, especially during summer months.
When installing metal roofing over plywood, it is important to follow building codes and regulations. You must also ensure that the substructure and structural support can handle the weight of the metal roofing.
You can use metal flashing to prevent water from seeping into your roof and causing damage.
If you plan to do a DIY project, using a chalk box can help ensure that the metal panels are correctly aligned. You can also use galvanized metal screws to secure the panels in place.
Overall, metal roofing over plywood can be a great option for your roofing needs. It is long-lasting, affordable, and can withstand various weather conditions.
However, it is crucial to ensure that the plywood is in excellent condition, and proper preparation is done to ensure the success of your metal roof installation.
