

Roofing tar is an essential material for any roofing project, but sometimes it can be too thick to work with. If you’re struggling to apply your roofing tar, it may be time to thin it out.
In this article, we’ll show you how to thin roofing tar to the perfect consistency for easy application. We’ll cover the tools and materials you’ll need, the step-by-step process, and some tips to ensure you get the best results.
Whether you’re a DIY enthusiast or a professional roofer, this guide has got you covered. So, let’s get started and learn how to thin roofing tar like a pro!
[exz-toc]
Understanding Roofing Tar
What is Roofing Tar?
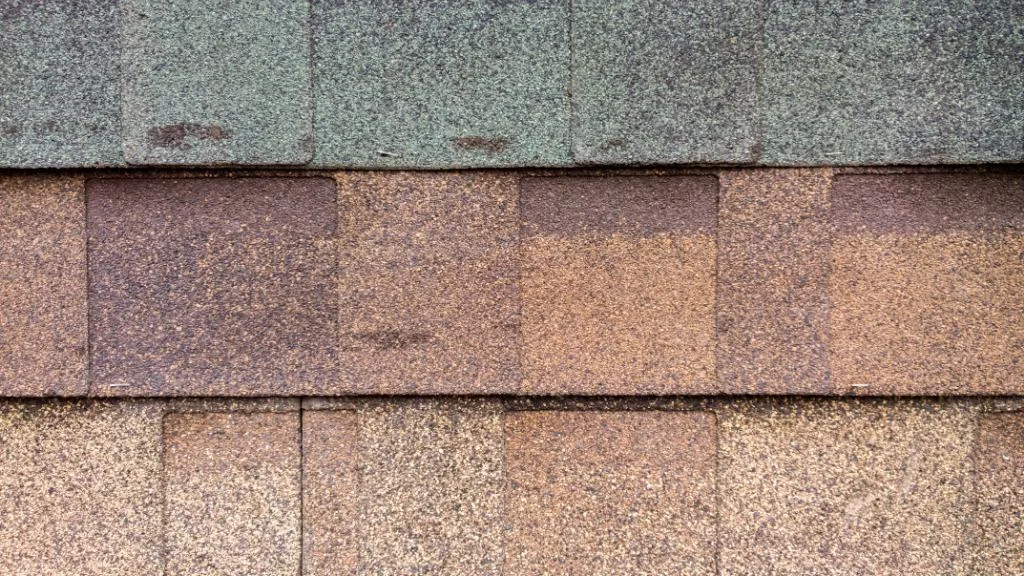
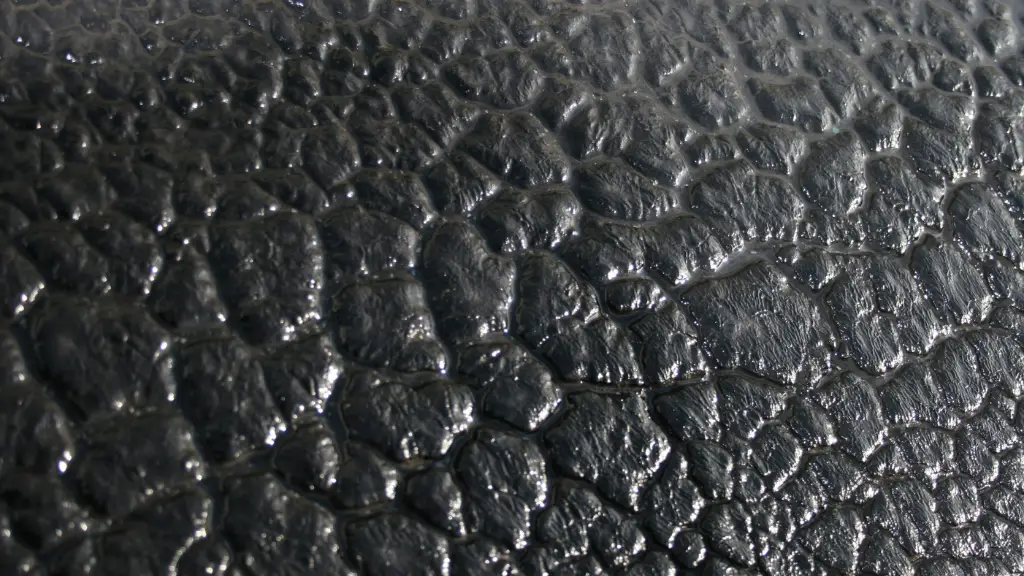
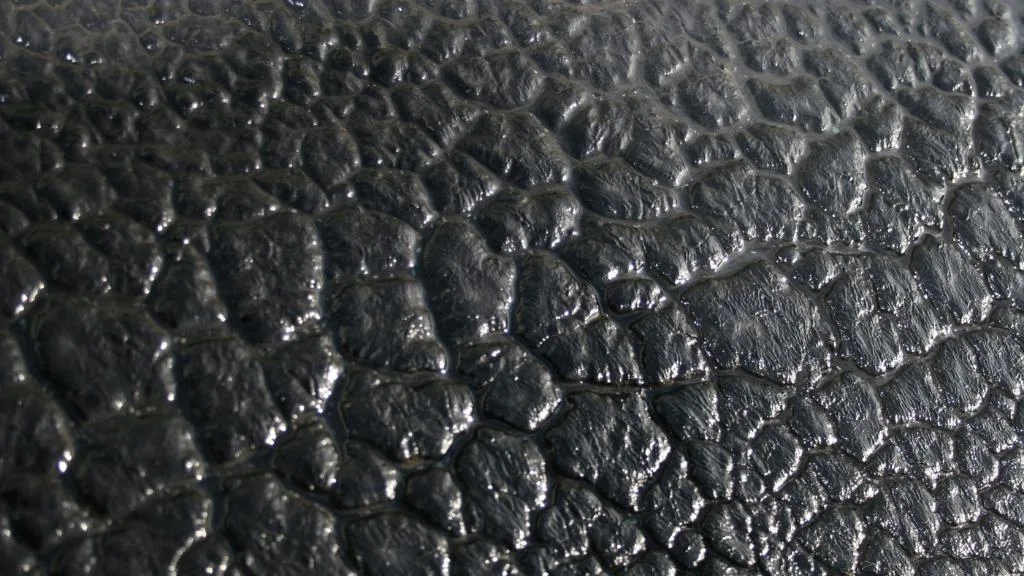
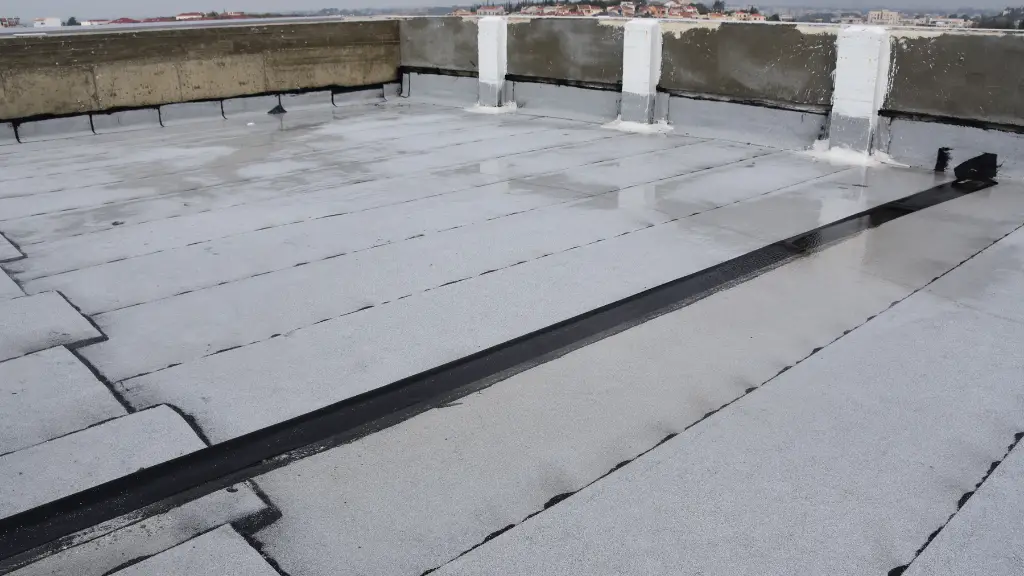
Roofing tar is a thick, black, and sticky substance that is used to waterproof and weatherproof roofs. It is made from a mixture of asphalt, bitumen, and petroleum byproducts.
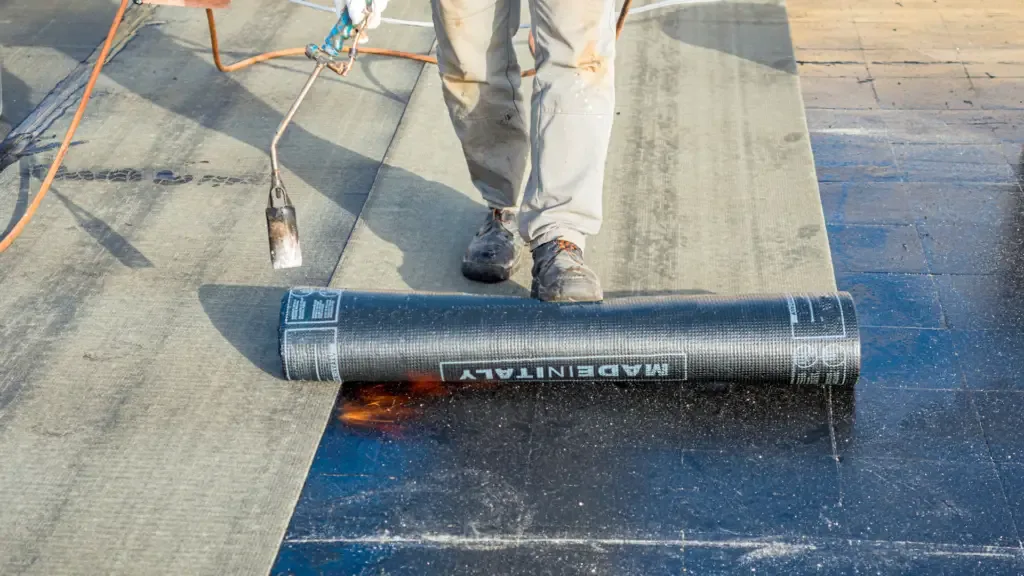
The tar is applied to a roof with a trowel or brush, and it hardens over time to create a protective barrier against the elements.
Types of Roofing Tar
There are two main types of roofing tar: coal tar and asphalt. Coal tar is made from coal and is a byproduct of the coke manufacturing process. It is a thick, viscous liquid that is black in color.
Asphalt, on the other hand, is made from petroleum and is a byproduct of the oil refining process. It is also black in color but is less viscous than coal tar.
Both coal tar and asphalt have their advantages and disadvantages. Coal tar is more durable and longer-lasting than asphalt, but it is also more expensive and can be difficult to work with.
Asphalt is easier to apply and less expensive than coal tar, but it is not as durable and may need to be replaced more frequently.
When choosing a roofing tar, it is important to consider the climate and weather conditions in your area, as well as the type of roof you have. A professional roofer can help you choose the right type of tar for your specific needs.
Overall, roofing tar is an essential component of any roofing system. It provides a durable and long-lasting protective barrier against the elements, helping to keep your home safe and dry for years to come.

Why Thin Roofing Tar?
When it comes to roofing, one of the most common materials used is roofing tar. However, over time, roofing tar can become thick and difficult to work with. This is where thinning comes in.
Thinning roofing tar has several benefits, and knowing when to thin it can save you time and money in the long run.
Benefits of Thinning Roofing Tar
Thinning roofing tar has several benefits that make it easier to work with. When you thin roofing tar, it becomes more liquid and easier to spread.
This makes it easier to apply to your roof, and it also helps to ensure that the tar is spread evenly. Additionally, thinning roofing tar can help to improve its water resistance and durability, ensuring that your roof stays protected for longer.
When to Thin Roofing Tar
Knowing when to thin roofing tar is important. Generally, you will need to thin roofing tar if it has become too thick to work with.
This can happen if the tar has been left open for too long or if it has been exposed to cold temperatures.
Additionally, if you are working with roofing tar that has been stored for a long time, it may have become solid and will need to be thinned before use.
One thing to keep in mind is that you should never thin roofing tar with gasoline or other flammable solvents. This can be dangerous and can cause the tar to ignite.
Instead, use water or a thinner that is specifically designed for use with roofing tar.
In summary, thinning roofing tar is an important step in the roofing process. It can help to improve the water resistance and durability of the tar, making your roof more protected and longer-lasting.
Knowing when to thin roofing tar can save you time and money, and it is important to follow proper safety guidelines when doing so.
Tools and Materials
When it comes to thinning roofing tar, it’s important to have the right tools and materials on hand. Here are the tools needed and materials needed to get the job done right:
Tools Needed
- Ladder: You’ll need a sturdy ladder to reach your roof safely.
- Roofing Tar Roller: A roofing tar roller will help you apply the tar evenly.
- Face Mask: A face mask will protect you from inhaling harmful fumes.
- Gloves: Gloves will protect your hands from the sticky tar.
- Shoes: Wear shoes with good traction to prevent slipping.
- Trowel: A trowel will come in handy for spreading the tar.
- Brush: A brush will help you spread the tar evenly.
Materials Needed
- Roofing Tar: This is the main material you’ll need to thin out.
- Water: Adding water is one way to thin out roofing tar.
- Thinner: You can also use paint thinner or mineral spirits to thin out the tar.
- Bucket: You’ll need a bucket to mix the tar and water or thinner.
- Sponge: A sponge will help you apply the water or thinner evenly.
Make sure you have all of these tools and materials on hand before you start thinning out your roofing tar. With the right tools and materials, you’ll be able to thin out your roofing tar quickly and easily.
Preparing to Thin Roofing Tar
Before you start thinning roofing tar, it is essential to prepare the roof surface properly. This involves inspecting and measuring the roof area and cleaning the surface.
Inspection and Measurements
The first step is to inspect the roof surface for any damage or debris. Look for any cracks, holes, or missing shingles. Check for any dirt, gravel, or debris that can interfere with the adhesion of the roofing tar.
Next, measure the roof area to determine the amount of roofing tar needed. You can use a measuring tape or a laser distance meter to get accurate measurements.
It is important to calculate the amount of tar required to avoid running out of it in the middle of the job.
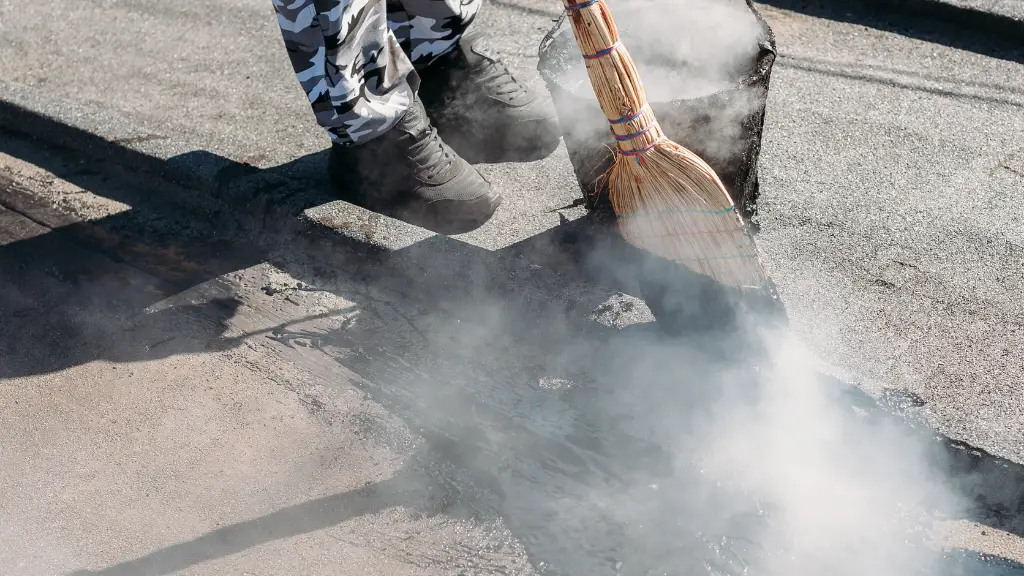
Cleaning the Roof Surface
Before applying the roofing tar, it is crucial to clean the roof surface thoroughly. This ensures that the tar adheres to the surface properly.
Use a broom or a blower to remove any dirt, debris, or loose gravel from the roof surface.
If there is any stubborn dirt or grime on the roof surface, use a pressure washer to clean it off. Be careful not to damage the roof surface while pressure washing.
If the roof surface is made of concrete, concrete block, or brick, use a mild detergent to clean it.
Once the surface is clean, let it dry completely before applying the roofing tar.
In summary, preparing the roof surface is crucial before thinning roofing tar. Inspect and measure the roof area and clean the surface thoroughly to ensure proper adhesion of the tar.
Thinning Roofing Tar
If you have a can of roofing tar that has been sitting around for a while, it may have thickened and become difficult to work with. Fortunately, there are several ways to thin roofing tar so that you can use it again.
Here are three methods you can try:
Adding Water
One of the easiest ways to thin roofing tar is to add water. To do this, follow these steps:
- Determine the ratio of tar to water you need. This will depend on how thick your tar is and how much you need to thin it. A common ratio is 1 part tar to 3/4 parts water.
- Mix the tar and water together thoroughly. You can use a stir stick or a power mixer to do this.
- Apply the thinned tar as you normally would.
Keep in mind that adding too much water can make the tar too thin and cause it to run. It’s best to add water in small amounts and test the consistency as you go.
Using Mineral Spirits
Another way to thin roofing tar is to use mineral spirits. Mineral spirits are a type of solvent that can dissolve the tar and make it easier to work with. Here’s how to use them:
- Pour some mineral spirits into a container.
- Add a small amount of roofing tar to the container and mix it in with the mineral spirits.
- Keep adding small amounts of tar until you reach the desired consistency.
- Apply the thinned tar as you normally would.
Be careful when using mineral spirits, as they are flammable and can be harmful if inhaled or ingested.
Using Solvents
In addition to mineral spirits, there are other solvents you can use to thin roofing tar. These include paint thinner, turpentine, and kerosene. Here’s how to use them:
- Pour some solvent into a container.
- Add a small amount of roofing tar to the container and mix it in with the solvent.
- Keep adding small amounts of tar until you reach the desired consistency.
- Apply the thinned tar as you normally would.
Again, be careful when using solvents, as they can be flammable and harmful if not used properly.
With these methods, you should be able to thin your roofing tar and make it easier to work with. Just remember to follow all safety precautions and test the consistency as you go.

Applying Thinned Roofing Tar
Once you have thinned out your roofing tar, it’s time to apply it to your roof. Here are the steps to follow:
Mixing the Thinned Roofing Tar
First, make sure you have mixed the thinned roofing tar thoroughly. You can use a paint stick or a trowel to do this. If you are using a trowel, make sure it is clean and free of any debris.
Applying the Thinned Roofing Tar
There are a few tools you can use to apply thinned roofing tar: a roller, a brush, or a trowel. Here are the steps for each tool:
Using a Roller
- Dip the roller into the thinned roofing tar and roll it back and forth to saturate the roller.
- Start at one end of the roof and roll the thinned roofing tar onto the roof in a straight line.
- Work your way across the roof, making sure to apply the thinned roofing tar evenly.
- Once you have covered the entire roof, let the thinned roofing tar dry completely.
Using a Brush
- Dip the brush into the thinned roofing tar and brush it onto the roof in a straight line.
- Work your way across the roof, making sure to apply the thinned roofing tar evenly.
- Once you have covered the entire roof, let the thinned roofing tar dry completely.
Using a Trowel
- Dip the trowel into the thinned roofing tar and scoop some onto the trowel.
- Spread the thinned roofing tar onto the roof in a straight line.
- Work your way across the roof, making sure to apply the thinned roofing tar evenly.
- Once you have covered the entire roof, let the thinned roofing tar dry completely.
Remember to apply the thinned roofing tar in thin layers. This will ensure that it dries properly and provides the best protection for your roof.
Finishing Up
Once you have applied the thinned roofing tar, there are a few important steps you need to take to ensure that it cures properly and provides the best protection for your roof.
Curing Time
Roofing tar typically takes about 24-48 hours to cure completely, depending on the temperature and humidity levels in your area. During this time, it is important to keep foot traffic to a minimum and avoid any heavy objects or equipment on the roof.
Inspection
After the curing time is complete, it is important to inspect the roof for any gaps, cracks, or areas where the tar may have not adhered properly. This is especially important if you were applying the tar to repair leaks or water damage.
Repair
If you do find any issues during the inspection, it is important to address them immediately. Use additional roofing tar to fill in any gaps or cracks, and make sure that all flashing is properly sealed.
Failure to address these issues can lead to further water damage and leakage.
Overall, thinning roofing tar is a simple process that can help you save time and money on repairs. By following these steps and taking the time to properly inspect and repair your roof, you can ensure that it will provide the protection your home needs for years to come.

Conclusion
In conclusion, thinning roofing tar is a necessary step if you want to use it as an adhesive or sealant. It will make it easier to apply and help you achieve the desired result. Here are some key takeaways to keep in mind:
- Always warm up the tar before starting the thinning process.
- Use an appropriate ratio of tar to water, depending on the thickness of the tar and the desired consistency.
- Mix the tar and water thoroughly until you achieve a smooth and consistent mixture.
- Use the thinned tar immediately after mixing, as it may harden over time.
- Consider using waterproof cement in addition to thinned roofing tar for added durability.
By following these guidelines, you can achieve the best possible result when using roofing tar. Remember to take safety precautions, such as wearing gloves and eye protection, and follow all manufacturer instructions.
With a little practice, you can become proficient at thinning roofing tar and using it for a variety of applications.
