
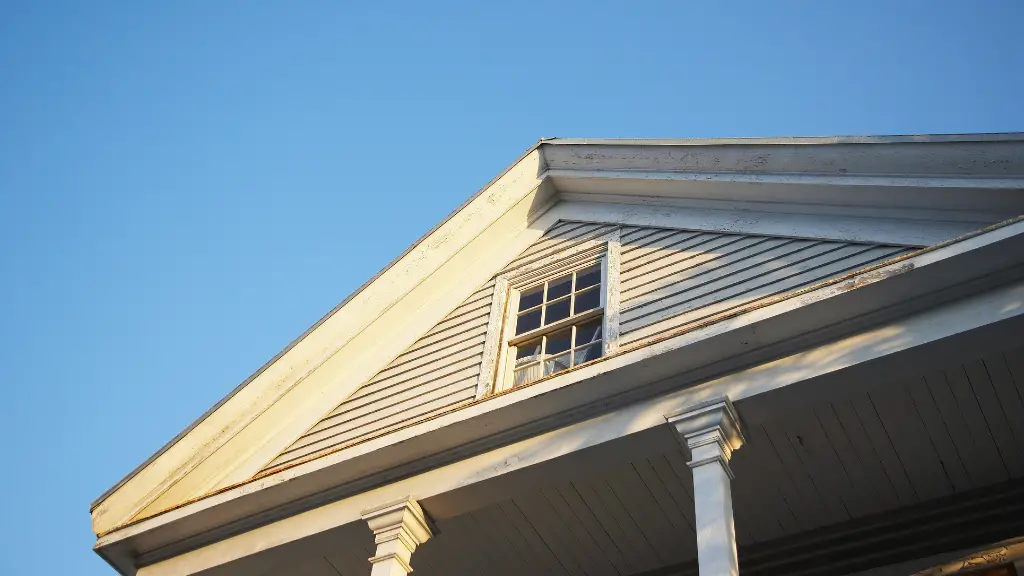

A porch is a fantastic addition to any home, providing a cozy outdoor space to relax and entertain. If you’re considering building a porch, you might be wondering how to construct a gable porch roof.
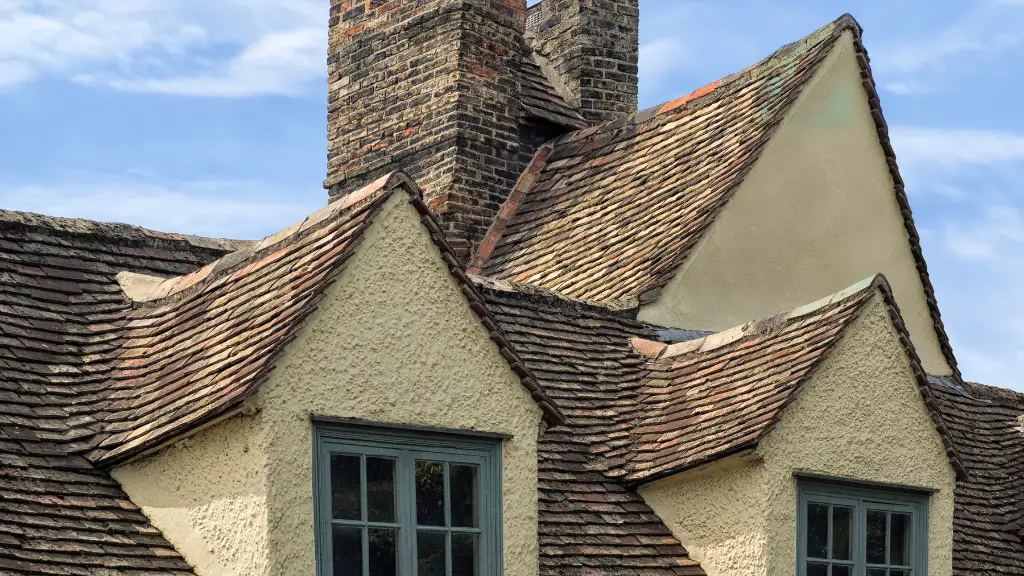
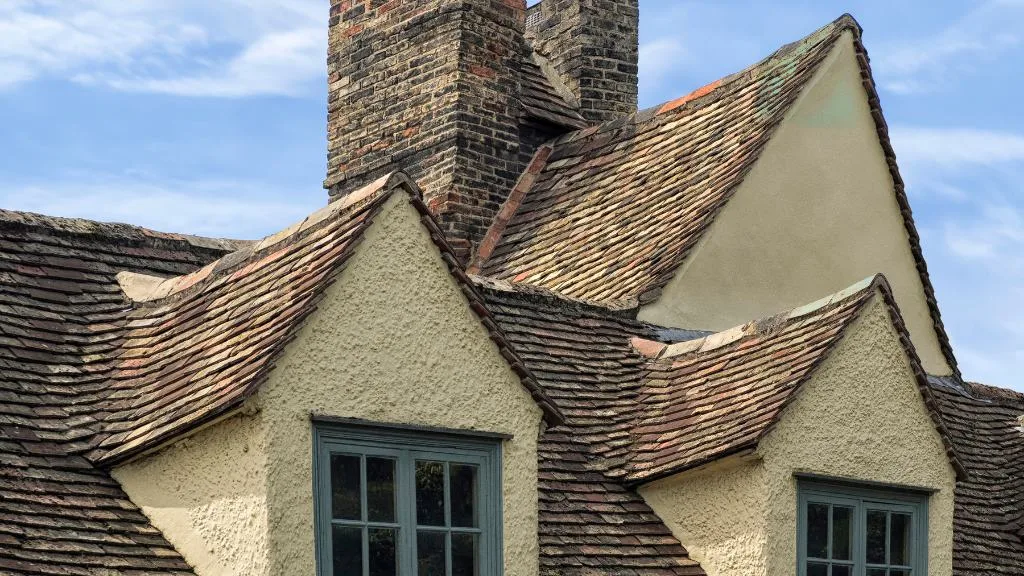
A gable porch roof is a popular choice for its simplicity and classic design.
In this article, we’ll provide you with a step-by-step guide to building a gable porch roof, including everything from materials and tools to the construction process itself.
By following these steps, you’ll be able to create a beautiful and functional porch roof that will enhance your home’s aesthetic appeal and value.
Planning and Preparation
Local Building Codes
Before starting the process of building a gable porch roof, it is important to research and understand your local building codes. These codes dictate the requirements for your project, including the type of materials that may be used, regulations around roofing and rafters, and any necessary permits.
Draw Up Plans
Next, create a detailed plan of your gable porch roof, including dimensions, roofing materials, siding, sheathing, and any windows or other features.
Make sure to consider the overall design of your porch roof, and how it will complement your existing structure.
While sketching your plan, keep in mind the size and placement of rafters, the type of shingles, and the appropriate thickness of your plywood or lumber.
Obtaining a Building Permit
Once your plans are complete, you may need to obtain a building permit, depending on the scale of the project and your local requirements. Contact your local building department to inquire about the application process, and be prepared to submit your plans for review.
Tools and Equipment
Gather the necessary tools and equipment for your project, including:
- Measuring tape
- Circular saw
- Hammer
- Drill
- Square
- Level
- Extension ladder
- Nail gun (optional)
Make sure your tools are in good working order, and ensure you have all necessary safety equipment such as goggles, gloves, and ear protection.
Materials and Cost
Create a list of materials needed for your project, and estimate the overall cost. Some common items to consider include:
- Rafters
- Lumber or wooden boards
- Plywood or sheathing
- Siding material
- Roofing shingles
- Flashing
- Nails, screws, and other fasteners
Keep in mind that the cost of materials may vary depending on the size of your porch roof, the specific materials you choose, and any additional features such as windows, skylights, or decorative elements.

Creating the Gable Porch Roof Structure
Setting Up the Support Posts
First, prepare the foundation for your gable porch roof. Dig holes on the ground for each support post spot with a width of 12-18 inches and a depth of 18 inches.
Fill the holes with quick-set concrete in a cylindrical shape, then place post anchors while the concrete is still wet. Let it sit for at least 24 hours before you proceed.
Cut 6×6 support posts according to the measurements required for your roof, and secure them to the post anchors using lag screws.
Installing the Header Beam
Next, you’ll need to install the header beam connecting the support posts. Measure and cut the header beam based on the width of your porch.
Use a circular saw or handsaw for the job. Position the beam on top of the support posts, ensuring it’s level, and toenail it to the support posts for added stability. You may want to use metal brackets for extra security.
Fitting the Ridge Board
To create the peak of your gable porch roof, you’ll need to install a ridge board. Measure the desired slope of your roof to calculate the correct length for the ridge board.
Cut the board accordingly, then position it above the header beam, directly at the center. You’ll need to support the ridge board temporarily using wooden braces until the rafters are in place.
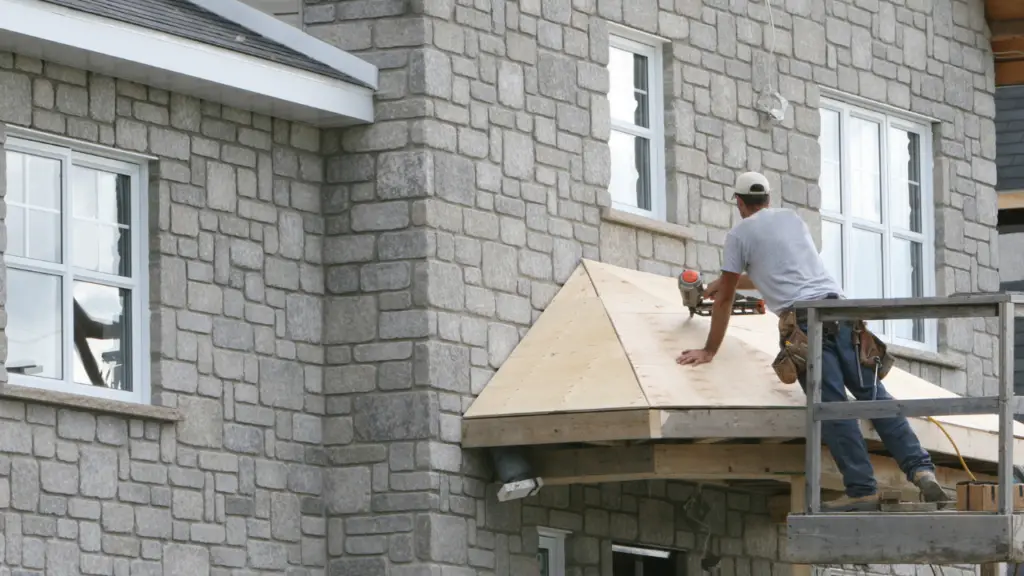
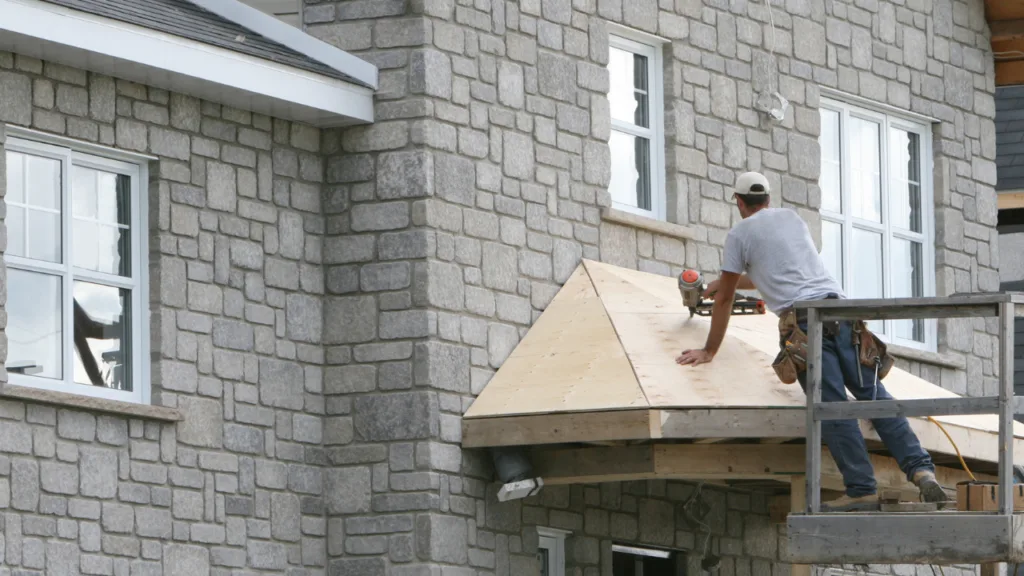
Cutting and Installing Rafters
With your ridge board and support posts ready, it’s time to create your roof trusses. Using a circular saw and a speed square, carefully cut the rafters according to your roof’s measurements, slope, and overhang. Remember to account for the birdsmouth cut, which should fit snugly on the header beam.
Once you’ve cut the rafters, position them along the ridge board, equally spaced from each other, and secure them using a hammer and nails. Be sure to toenail the rafters into the header beam as well.
Securing with Rafter Hangers
For added support, install rafter hangers at the connection points between the rafters and the header beam. This will provide extra stability to your gable porch roof structure. Finally, add sheathing to the roof by attaching plywood sheets to the rafters.
Ensure that the edges of the plywood line up with the rafters, and use construction nails to keep them in place. Offset the seams between the plywood sheets by 24 inches to create a strong, unified structure.
Now that the gable porch roof structure is complete, you can proceed to finishing touches like adding shingles and painting, depending on your preferences.
Adding Sheathing and Roofing Material
Installing the Plywood Sheathing
After you have framed your gable porch roof, it’s time to install the plywood sheathing. This provides a solid surface for your roofing materials and helps strengthen the overall structure. Here’s how you do it:
- Measure your roof’s surface area and calculate the amount of plywood or OSB (oriented strand board) sheets needed. Typically, they come in 4×8 feet sheets.
- Start at the bottom of the roof, and work your way up. Align the long edge of the plywood sheet with the bottom edge of the roof trusses, ensuring it’s flush with the outside edge.
- Secure the plywood with 8d nails, spacing them 6 inches apart along the trusses.
- Stagger the joints of the plywood sheets as you move up, and leave a 1/8-inch gap between the sheets to allow for expansion.
Applying the Drip Edge
The drip edge plays a crucial role in preventing water from seeping under your roofing material, resulting in potential damage to your porch’s structure. Follow these steps to install it:
- Measure and cut the drip edge to fit the length of the roof’s eave.
- Place the drip edge on the sheathing’s edge, and line it up with the fascia board.
- Nail the drip edge in place, spacing the nails about 12 inches apart.
- Continue installing the drip edge along the rake edges of the roof, overlapping the lower drip edge on the eave.
Installing Roof Shingles
With the sheathing and drip edge in place, you’re now ready to add the roof shingles. Asphalt shingles are a popular choice because they’re relatively easy to install and provide good durability.
- Determine your roof pitch to choose the appropriate type of shingle for your porch roof. Typically, higher pitches require thicker and more durable shingles.
- Starting at the lowest edge of the roof, install a layer of starter shingles to initiate the seal process.
- Lay the first course of shingles on top of the starter course, ensuring the bottom edges align.
- Nail each shingle to the sheathing, following the manufacturer’s guidelines for nail placement and spacing.
- Continue to add shingles in rows, working your way up the roof, and overlapping them as instructed by the manufacturer.
- When you reach the peak, install ridge cap shingles to cover the ridge and create a waterproof barrier.
By following these steps and using the proper materials, you can successfully build a gable porch roof and protect your porch from the elements.
Finishing Touches and Maintenance
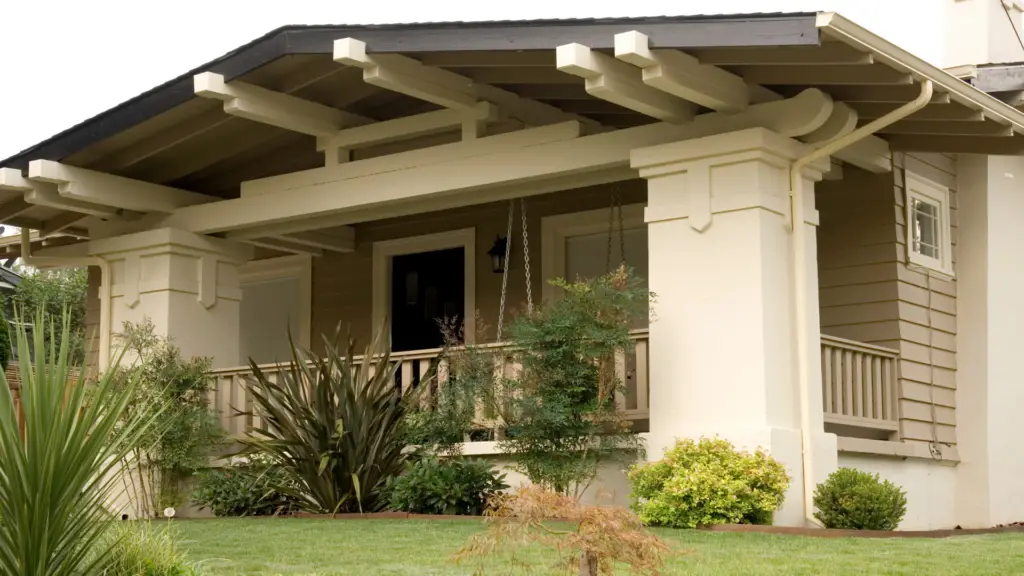
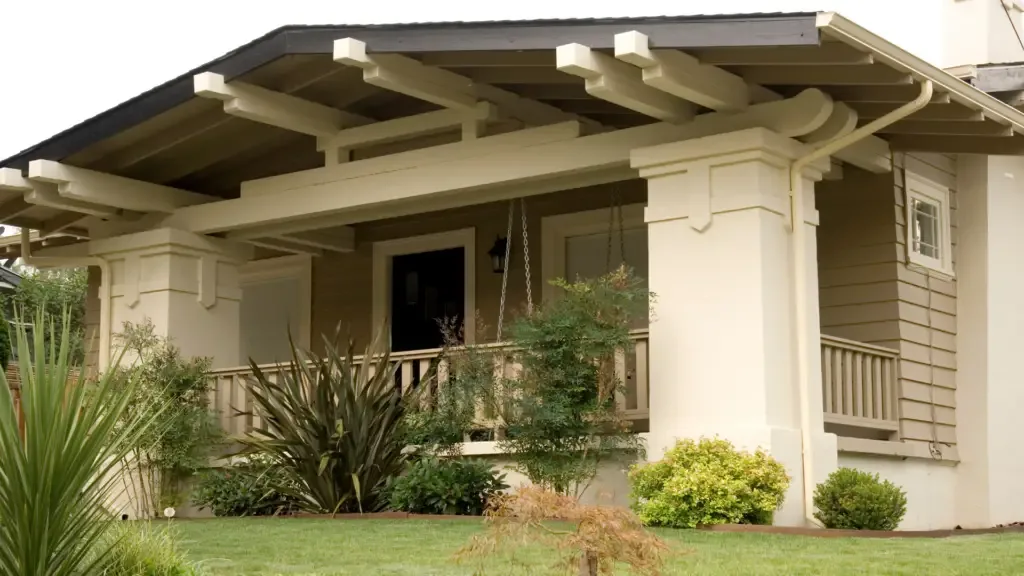
Adding Siding and Trim
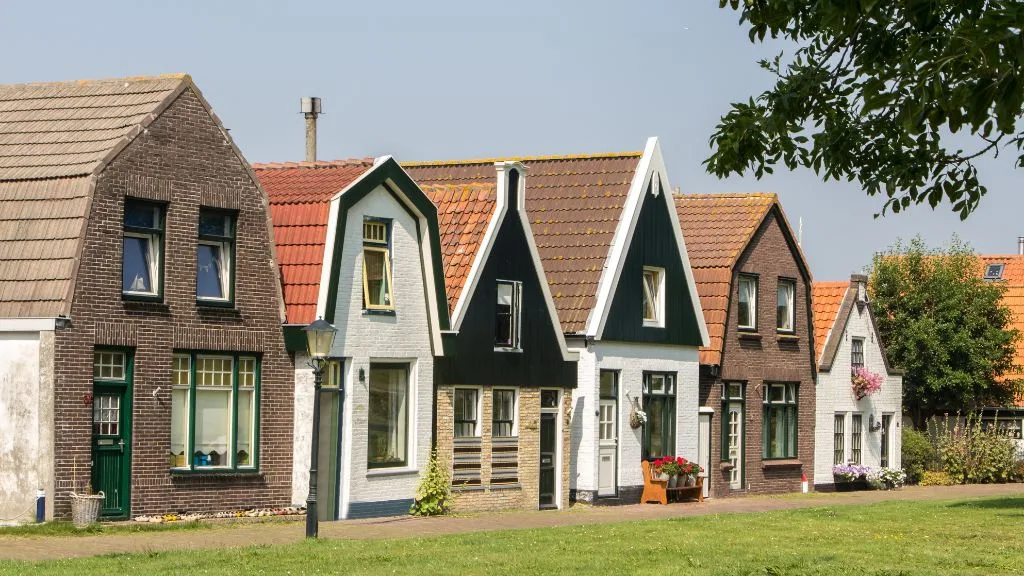
After you have successfully built your gable porch roof, it’s time to add some finishing touches. Dress up the gable ends with siding and trim to suit the style and color scheme of your home.
Siding options include wood, vinyl, or fiber cement. In DIY projects, vinyl siding is popular because it’s lightweight and easy to install.
Make sure that you are following local building codes to ensure compliance when selecting materials.
Inspecting for Proper Drainage and Ventilation
Proper drainage and ventilation are essential for the lifespan of your gable porch roof. Inspect the following areas:
- Roof shingles: Make sure there are no loose, damaged, or missing shingles. Repair or replace them as necessary.
- Gutters: Check that gutters are securely fastened and clean with no debris blocking the flow of water. A well-maintained gutter system ensures better drainage and prevents the accumulation of snow, minimizing the risk of ice damming.
- Roof ventilation: Ensure that your roof has adequate ventilation, allowing air to enter from the lower part and leave through the higher section. This helps to prevent the buildup of heat and moisture in the attic space, reducing the risk of mold and wood rot.
Maintenance and Upkeep
Regular maintenance of your gable porch roof will help to extend its life and keep it looking great. Follow these tips:
- Inspect your roof regularly: Check for signs of damage or wear, particularly after storms or heavy snowfall.
- Clean gutters and downspouts: Clear leaves, twigs, and other debris to ensure proper drainage.
- Address damage promptly: Repair or replace damaged shingles, siding, or trim as soon as possible to prevent further damage.
- Consider installing shades: To reduce heat and sun exposure on the porch, consider installing an awning or shade sails for added comfort and protection.
- Adhere to local opera and building codes: Keep your porch up to code and ensure any additions or modifications follow the rules set by your local government.
By following these guidelines, you can ensure your gable porch roof remains in excellent condition and continues to offer protection and aesthetic appeal for years to come.