

Building a roof deck on a pitched roof can be tricky. There are many things you need to take into account before getting started, so it’s important that you know what you’re doing.
The most beautiful thing is having a roof deck on your roof. If you are going to build a roof deck on your pitched roof, then you will want to know how.
What is a Pitched Roof?
A roof that is pitched is a form of roof that covers a structure with a sloping face along its length. In the past, roofs were constructed using natural materials such as leaves and animal hides.
Modern roofing materials are mainly used now, but the principle of keeping out rain from a space remains the same.
One important factor to consider when constructing a roof that is pitched is ensuring that water does not run or pool on the sloped face of it. This would lead to leaks into a building, which would damage the structure.
There are a number of different types of roofs, and one feature they all share in common is a sloping surface along their length.
The majority of roofs have two slopes that meet to form a gutter at the low point of the roof.
Building A Roof Deck On A Pitched Roof
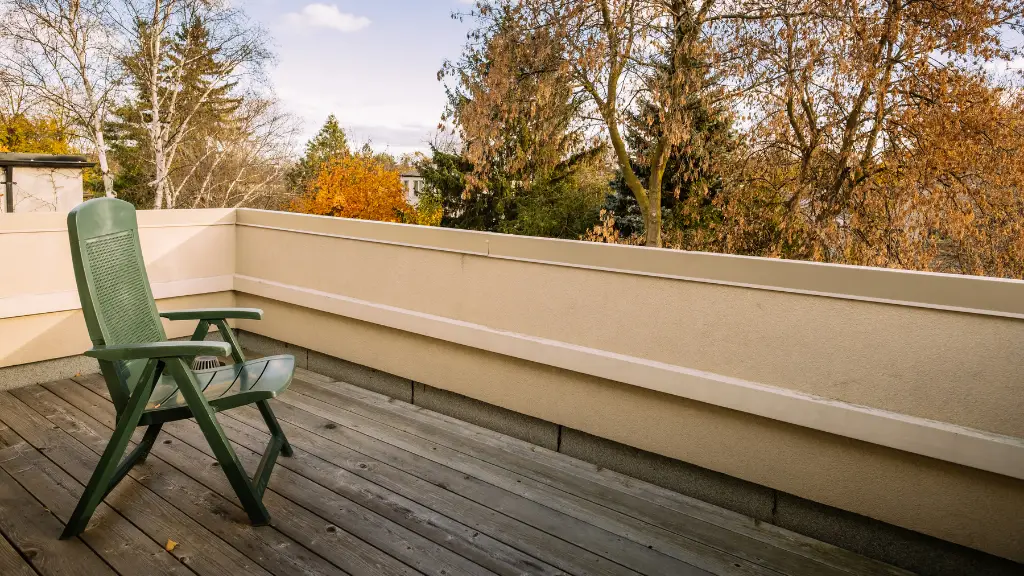
A well designed roof deck can be a wonderful addition to your home. Not only does it add another level of living space, but it also offers great views and creates the perfect outdoor living area.
The challenge with building a roof deck is that it’s difficult to support the weight of all that extra material on top of a roof that is pitched.
Let us discuss ways that you can create the supports necessary for your roof deck to be successful without adding too much weight to your home’s structure.
Before we get started, let me establish one thing: You should always consult with a professional before doing any construction on your home, if only to make sure that you’re not violating any building codes.
With that in mind: there are two different ways to approach the issue of adding a roof deck onto your home: 1) cut into and reinforce the existing roof; or 2) build an entirely new roof.
The first option is cheaper, but might not support the weight of the roof deck as well as you’d like, whereas the second option is more expensive, but will leave you with a sturdier structure. Either way, be prepared to spend some money (unless you’re very skilled yourself).
For the sake of this article, let’s assume that you want to go with option 2. The good news is that building a roof deck doesn’t have to include replacing your entire roof.
There are some construction techniques which can help you avoid removing everything above your living room (which might cost several thousand dollars on its own).
The First Step
The first thing you need to do is to go up on your roof and check it out. You’ll want to make sure that the space above your living room (or wherever else you plan to build) can support all of the extra weight.
This means checking the beams, joists, rafters, etc. The easiest way to do this is to get up on your roof and knock on everything; it should sound pretty solid. If you’re not sure, hire a contractor to come take a look at the structure before committing to this project.
Once you’ve determined that your roof can support the addition of a roof deck, you’ll need to decide how high above your living room you want to build.
For the sake of this article, let’s say that you want to build your roof deck 12 feet above the floor (keep in mind this means building another 10 or 11 feet above your existing roof).
The Second Step
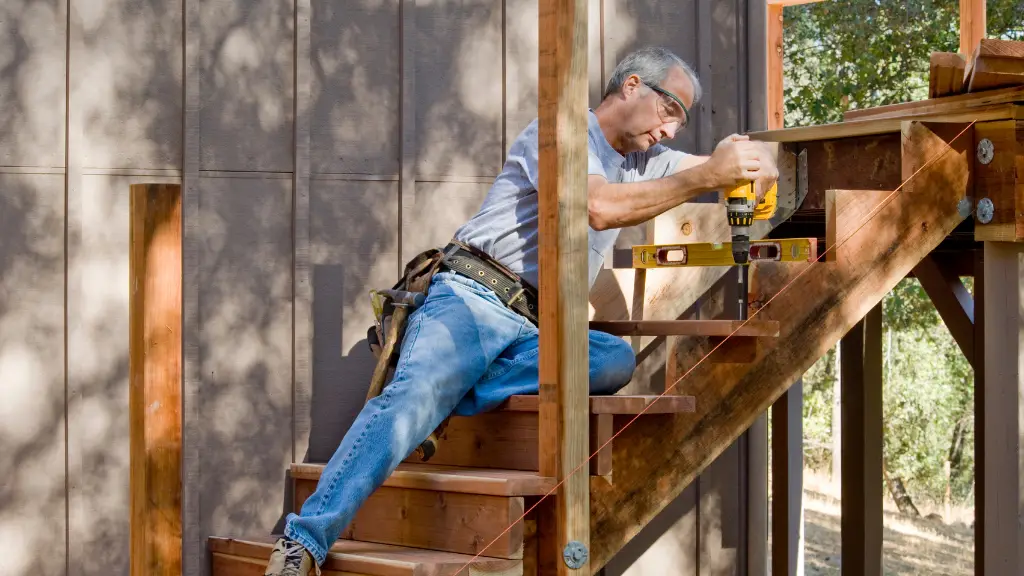
The next step would be to add some more beams and rafters up on your roof (remember: consult a contractor if you’re not sure how to do this).
Your roof deck will rest on top of these beams and rafters, so you’ll definitely want to make sure that they can hold the weight.
The Third Step
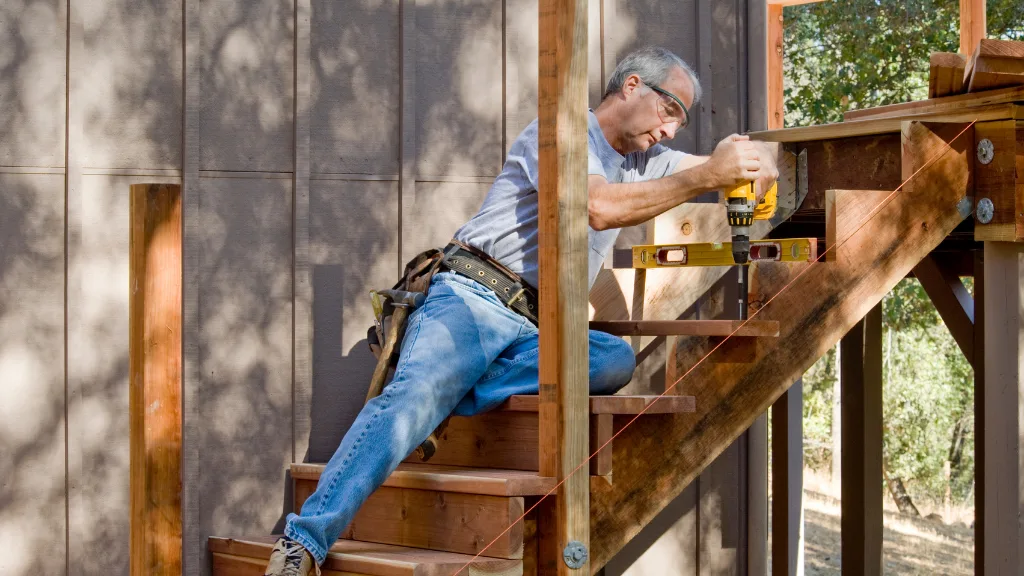
Once those new beams and rafters are in place, you’ll need to build a frame around them which is capable of supporting all of the weight.
This frame will function as your new roof, so again make sure it can hold the weight of everything above it (in this case, 11 feet of solid concrete).
The Fourth Step
Now that you have a sturdy new roof on top of your existing one, you’ll need to pay attention to how much weight it can support.
You’ll want to treat this new roof like an entirely separate structure, which means that you’ll need to make sure that all of the beams and rafters are capable of withstanding all of the weight (including anything else on top of it, like a 10 foot by 10 foot sun deck).
Once again: your best bet is to hire a professional to determine whether or not your beams and joists can support everything on top of them.
The Final Step
Now that you’ve added all of this new material onto your roof, you’ll need to make sure it’s properly waterproofed. If you leave sections open, such as the space between the roof and roof deck, your house could start to take on water.
This isn’t likely to cause any serious damage, but it could damage the insulation in your attic, which would be a bigger problem down the road.
The solution is pretty straightforward: put up some plywood, lay down some heavy-duty plastic, and pour a thin layer of concrete on top.
If you have access to a scissor lift, it’s also possible to add a rubber membrane between the roof and your new roof deck.
Applying these techniques will add significantly to the cost of your project (in fact, we probably wouldn’t even be considering this project unless we were already planning on putting in a sun deck).


Conclusion
Building a roof deck like this is certainly more involved than just slapping down some wood and calling it good.
However, if you feel comfortable with this kind of project, then it can be one of the best investments you ever make.
Not only will it boost the value of your home, but it will also add a lot of extra square footage and some unique design features.
