Installing stove pipe through a metal roof can be tricky, but it doesn’t have to be.
There are many ways to do the installation, and you want to make sure that whichever way you choose will work for both your home’s metal roofing and your wood stove.
What is a Wood Stove Pipe?
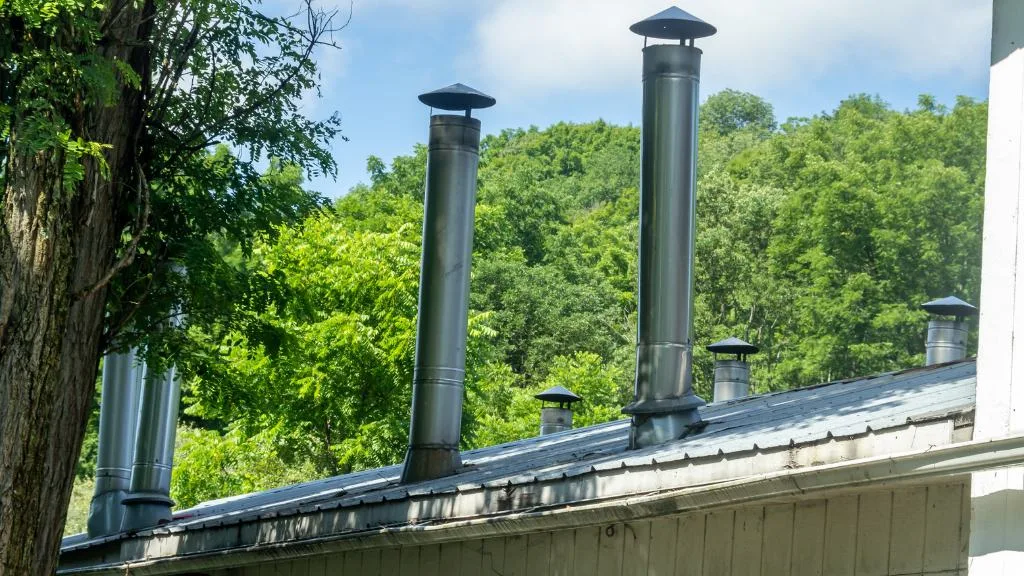
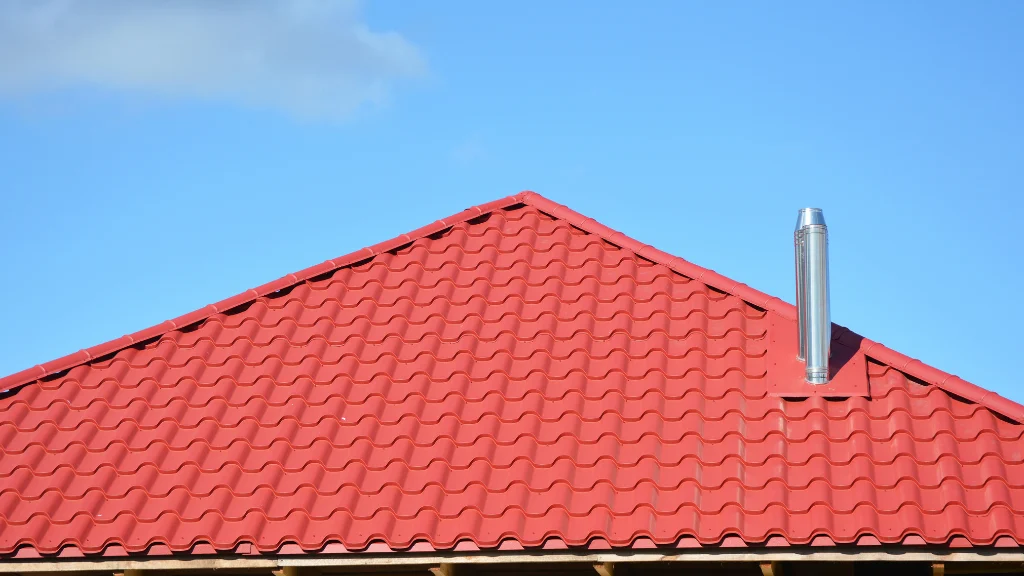
A wood stove pipe is a metal tube that carries the smoke and heated air produced by a wood stove up and out through the roof of your home.
The inside diameter of wood stove pipes are much larger than chimneys, which allows for the slow accumulation of creosote after numerous fires.
Creosote can make its way onto flue tiles, eventually blocking airflow if left unchecked. Pipes should be cleaned each heating season to avoid blockages.
Methods to Install Wood Stove Pipe
There are three basic ways to install a wood stove chimney: Direct-vent, standard masonry and through the roof. Each type has its own benefits and drawbacks.
A chimney installed through the roof is one of the most popular methods of venting a wood stove or fireplace.
Installing this type of chimney starts with choosing the right materials and assembling the right tools.
Preparing for Installation
When installing a wood stove or fireplace, always check with your local building department before starting the project to ensure that you meet all state and local codes.
Ask what types of materials and how much material is required to complete the job.
Depending on your region’s building code requirements, you’ll need between two and four sheets of metal (typically 18-gauge galvanized steel) for the project.
Tools & Materials
Required Tools: Tin snips, tape measure, level, hammer, screwdriver; Optional Tools: Circular saw or reciprocating saw; Required Materials: Galvanized sheet metal (four 10 x 20-inch sheets), roofing screws (1 1/4-inch to 2-inch, galvanized), metal snips; Optional Materials: Damp-proof membrane, nails
What Type of Metal is Best?
The standard construction method uses sheet metal. Standard galvanized steel is inexpensive and easy to work with.
Zincalume steel or aluminum are alternatives to standard galvanized steel.
These products offer the benefit of corrosion resistance, which is important in coastal areas where humidity is high.
When choosing your sheet metal, be sure that it comes pre-painted with a baked-on enamel paint. This type of coating will last longer than plain surfaces and resist rust longer.
Avoid steel that is painted on only one side or that doesn’t have an enamel coating.
Certain types of steel are not recommended for stovepipe applications because they are combustible, conduct heat poorly or are easily damaged by rust.
Be sure to check the metal’s material safety data sheet (MSDS) before use.
How Much Metal is Required?
In order to accommodate wood stove pipe of different diameters, you’ll need a minimum of four 10 x 20-inch sheets of metal.
One sheet will be the roof flap and three sheets will form the lower portion of your venting system.
If your local codes require a specific thickness for the flue, make sure that all of the pieces of metal you buy are at least that thick.
Recycled Materials
Many builders use recycled materials when installing a wood stove or fireplace.
If you want to build this type of chimney, be sure to check with your local recycling center for discarded metals beforehand.
You may be able to get sheets of galvanized steel for free. Some recycling centers also sell recycled materials.
How to Install a Wood Stove Chimney Through the Roof
Here are the steps:
1. Complete your roof framing before installing the chimney, if possible.
If you need additional wood to complete your roof’s framing, wait until after the installation process is complete to cut any metal pieces that might obstruct your ability to access the roof.
2. Apply a 1-inch thick layer of damp-proof membrane over the entire surface of your roof, up to 3 inches from all sides of your chimney flue opening.
This ensures that water doesn’t seep into your venting system and damage it over time.
3. Draw an outline of your venting system on your roof. You can use a basic mason’s level and pencil or invest in a laser-guided leveling tool to assist you with this step.
A laser-guided tool makes the job go more quickly and precisely, but it is not required for successful completion of the project.
4. Drill holes into your roof at least 2 inches in from your outlined vent area. These holes will be used to secure the header panel and roof flap panels during installation.
5. Lay a sheet of galvanized steel on top of your roof, lining up all of its corresponding edges with the lines you drew earlier.
Make sure that it overlaps slightly — about 1/2 inch — and is centered.
6. Insert galvanized roofing screws through the holes in your sheet metal and into your roof sheathing or rafters, making sure to drill pilot holes before inserting each screw.
If you’re using a laser-guided leveling tool, simply follow its instructions for proper alignment before drilling and screwing in your roof screws.
7. Repeat steps 5 and 6 for the three remaining sheets of metal.
8. Attach your wood stove pipe to the top (or side), middle and bottom sections of your venting system, using sheet metal screws.
9. Apply a 1-inch thick layer of roofing cement to all visible seams between your individual vent pieces, as well as any visible seams on your chimney pipe.
10. Attach the sheet metal roof flap to your first lower section of the venting system with sheet metal screws and roofing cement, using pilot holes to prevent cracking or tearing of the material.
Be sure to center the flap over your vent opening before securing it in place.
11. Apply a 3-inch thick layer of roofing cement to the top, middle and bottom sections of your chimney pipe. Be sure to apply sealant underneath these sections as well.
12. Lay the three lower sections of your venting system into place on your roof and secure them with screws and cement in a similar fashion to that described in step 10.

13. Lay the top section of your venting system over the middle and lower sections, center it, and secure it with screws and cement in a similar fashion to that described in steps 10 and 11.
14. Attach your flue insulation board to all sides of your chimney by wrapping its tabs around the flue pipe and securing them with sheet metal screws.
15. Apply a 3-inch thick layer of roofing cement to your chimney flue insulation board, as well as to your entire vent system’s visible seams.
This ensures that no rain or snow leaks into the vent pipe over time.
16. Slide the cap along the upper section of your chimney, lining up the holes in its base with the flue pipe. Secure it to your flue using sheet metal screws.
17. Apply a 3-inch thick layer of roofing cement over all visible seams on the top section of your chimney and around the cap’s hole bases.
This should completely cover any previous sealant application.
18. Insert your metal flashing over the pipe, lining up its holes with the flue’s edges before securing it to your chimney using sheet metal screws.
Apply roofing sealant along all seams on the lower quarter of the flashing and secure it with screws before allowing it to set completely.
19. Slide your stovepipe hood over the flashing and secure it to your wood stove pipe using sheet metal screws.
Apply a 3-inch thick layer of roofing cement over all visible seams on the top quarter of the hood and around its base holes before allowing it to dry completely.
20. Attach your termination cap after the sealant has dried completely, lining up its hole with the pipe and securing it in place using sheet metal screws.
Related Information You Must Know About Wood Stove Pipes
How to Tell if You Need a New Wood Stove Pipe?
You can simply inspect your pipe. If there are holes, dents or cracks in the material, it will need replacing.
Sometimes pipes do not have any external damage so you must look for leaking smoke stains on your roof or near your chimney. A damp spot with creosote deposits usually means you have a problem.
What is the Right Size Wood Stove Pipe?
A wood stove pipe should have a flue size that is 25% larger than the size of the stove pipe.
For example, if you have a four inch pipe then it should be at least 3 inches in diameter for optimal operation.
How to Clean Wood Stove Pipes?
Clean wood stove pipes are critical to ensure the safety of your family when using this heating method.
Clean wood stove pipes when there are visible signs of creosote build up. It is recommended that you clean your pipes once per heating season when using the stove regularly.
If you have a new stove, clean your wood pipe when you first buy the appliance.
What is a Chimney Liner?
A chimney liner is necessary if your chimney does not already have one. A chimney liner is a second structure installed within your existing chimney.
The steel, heavy duty construction of this secondary pipe ensures the safety of your home when in use.
What is Chimney Flashing?
Chimney flashing prevents water from entering your wood stove pipes and flue tiles during rain storms or other weather events.
It also provides a seal between the primary and secondary chimney structure.
How Often Should I Inspect My Wood Stove Pipes?
You should inspect your wood stove pipes at least once per heating season for safety purposes. You will need to clean them if you see any sign of residue build-up.
Regular inspection and cleaning will ensure that you get the most out of your wood stove.
How to Inspect Your Chimney Pipe?
You can inspect the outside of your pipe for any damage or leaks with a flashlight and mirror.
You may also want to use binoculars instead of a mirror if you cannot safely get around the outside of your home.
You can also measure the flue size with a ruler and compare it with the specifications of your stove.
Where to Buy Wood Stove Pipes?
You can buy wood stove pipes through most home improvement stores or you can search for a local supplier online.
It is important to make sure that the material will not rust over time when exposed to heat and rainwater.
You want this secondary chimney to be sturdy and safe for years of continued use.


