If you are in need of an exhaust vent for your home, but don’t want to drill holes through the exterior walls or ceilings, you should consider installing a roof-mounted B Vent.
These vents come with two installation options: they can be installed on top of the roof decking or under the roof decking. This blog post will cover both installation methods!
What is a B Vent for a Roof
The answer to this question is actually quite simple. In modern construction, a “b vent” is a roofing term for a passive roof ventilation system that does not require any power source or complex mechanical equipment.
The B Vent has been described in numerous articles and publications as a method to provide equalization in attic spaces which naturally allows the removal of heat and moisture from those spaces.
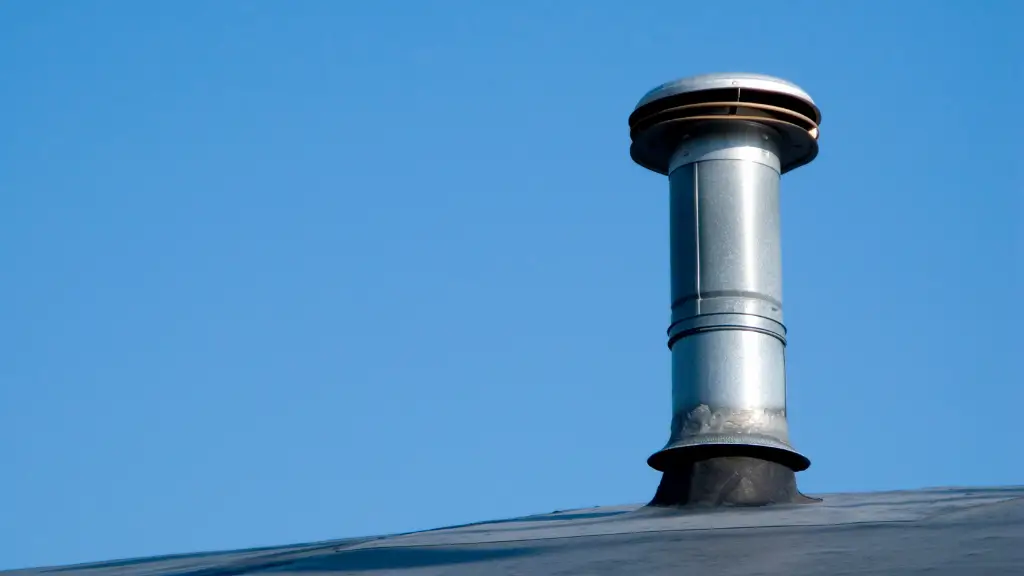
Standard “B vents” are fabricated out of galvanized sheet metal. All ductwork or components are manufactured to the same specifications as the G90 galvanizing process.
The general term for this type of product is a Type 14 B vent, which refers to its UL listing number. This rating means that the product has been tested to a specific standard.
In some cases, the B vent is enclosed with a grille and this allows for the free flow of air while still maintaining some degree of protection from wind-driven rain entering into the attic or living space below. In other cases, there may be no protective components at all, which would require that the opening be protected with a protective cover to ensure that no water enters the living space.
Attic Ventilation is important because heat rises, and when this heat cannot escape through natural ventilation, it causes hot air to get trapped inside the attic.
This trapped heat causes the insulation to deteriorate faster, which means more money spent on energy bills throughout the seasons.
Since attic ventilation is so important, it’s a good thing that the B vent was invented.
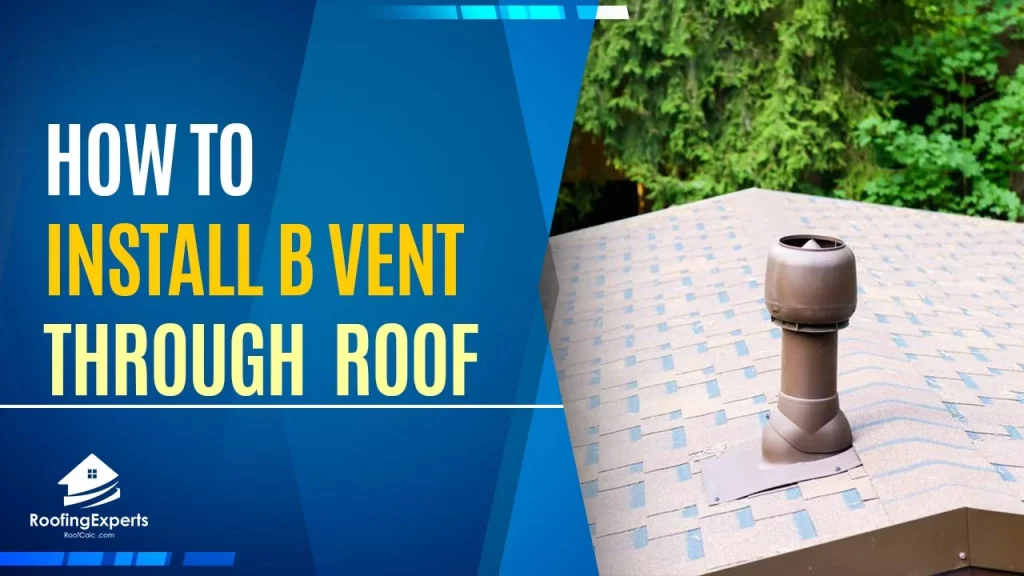
Installing a B Vent Through Roof
Rooftop venting is one of the most important parts of any solar heating system. The purpose of these vents is to expel heat out of your greenhouse in much the same way that opening a window allows heat to escape from your house in the winter.
There are many different types of vents, but today this article will be covering how to install a B Vent through a metal roof.
First, there are three main materials you must have to successfully install a B vent:
a) A hole saw. The size of the hole saw will be based on the size of your vent pipe and is readily available in most hardware stores or home improvement stores.
b) Sealant. For this project, I used some black roofing caulk. It can be purchased in a tube at most hardware stores.
c) Silicone Caulk Gun. A regular caulk gun works, but it is much harder to use because you will likely only use the B vent once or twice a year.
The silicone caulk gun is available at home improvement stores and allows your sealant to be dispensed with little effort.
Step One:
Use a tape measure and mark out where you want the vent to go on the roof of your greenhouse.
It should be noted that this project does require some carpentry skills as it will involve cutting into the roof of your greenhouse.
Step Two:
Using a hole saw, cut the hole in the roof of your greenhouse.
When you make this cut, it will be tempting to try and do it all at once by placing the hole saw on the outside of your greenhouse and drilling through from there, but I would caution against doing this as you may chip the roof of your greenhouse.
Instead, I recommend you make a pilot hole on the inside of your greenhouse first. For this project, it may be easier to mark out where you want the vent using something other than masking tape as it is difficult to use on plastic surfaces.
I used painter’s tape for this step. After marking out where you want to cut with the tape, drill a hole through the roof that is smaller than your pilot bit for your hole saw.
I would recommend using a small drill bit first, then slowly increase the size until it will be just large enough for your pilot bit for your hole saw to fit through.
Step Three:
Place the hole saw on the inside of your greenhouse and drill through the roof.
When you do this, you should ensure that your drill is perpendicular to the roof of your greenhouse as any angle other than 90 degrees will cause problems with water drainage.
Step Four:
After drilling, use a patch approximately one half inch larger than your vent pipe to cover the hole.
This can be done by using a small piece of plywood or a large washer covered in roofing caulk.
Place it around the vent and secure it from underneath with screws. This will give you a good seal when attached to the roof of your greenhouse.

Step Five:
After drilling the hole in your greenhouse, you will need to seal it from underneath.
To do this, simply apply roofing caulk or construction adhesive to the bottom side of the patch and press it onto the roof.
The glue allows you to screw your vent pipe directly into your patch securely sealing any gaps in between.
Step Six:
Attach your vent pipe to the bottom of the hole. The best way to do this is to use 3 screws and black caulk.
Once you have completed this step, simply attach your Vent Pipe Adapter (the threaded piece) onto the end of your vent pipe and secure it with a rubber washer and metal washer.
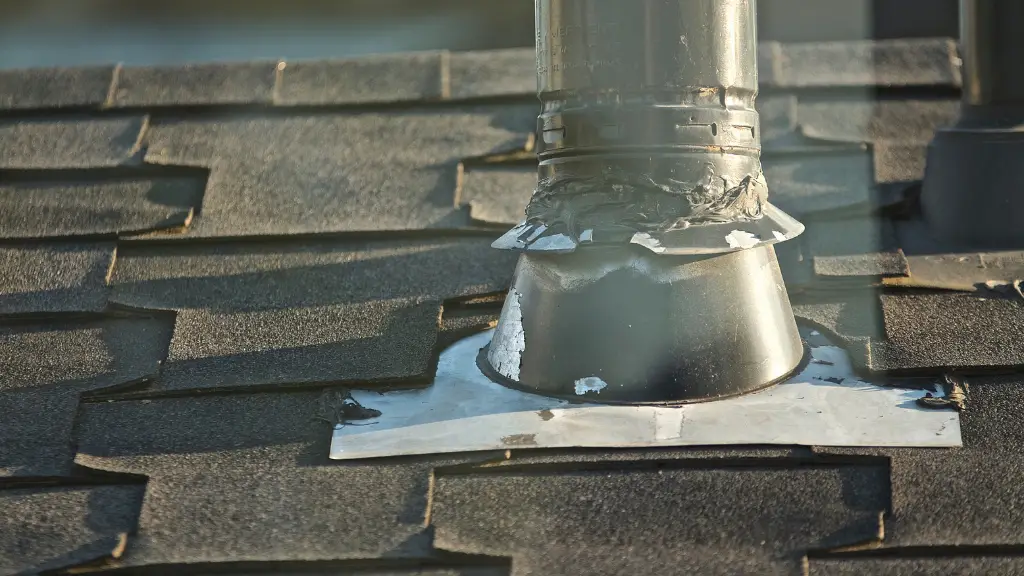
Step Seven:
To create the best seal, caulk around the outside of your Vent Pipe Adapter (where it meets your greenhouse).
You can also do this with silicone caulk or construction adhesive to ensure that no moisture gets in between your vent pipe and your greenhouse wall.
Step Eight:
Attach the B-Vent to the adapter.
This can be done by simply screwing it in and tightening with an adjustable wrench.
The vent must face downward at all times for proper drainage.
These steps are very important to ensure that your vent system works properly.
You may also want to consider adding a rain guard by attaching metal flashing or rubber tubing to the top of your B-Vent Pipe where it exits through the roof of your greenhouse.
This will prevent snow from accumulating on the pipe in winter months when your greenhouse is not in use.
Final Thoughts
You can install a b vent through your roof if you have access from above. If not, the only other option is to cut into the side of your house and install it that way.
If you are not sure of how to do the steps above, make sure to get a contractor to do this for you. They can help you install and save all the time you have to spend for it.