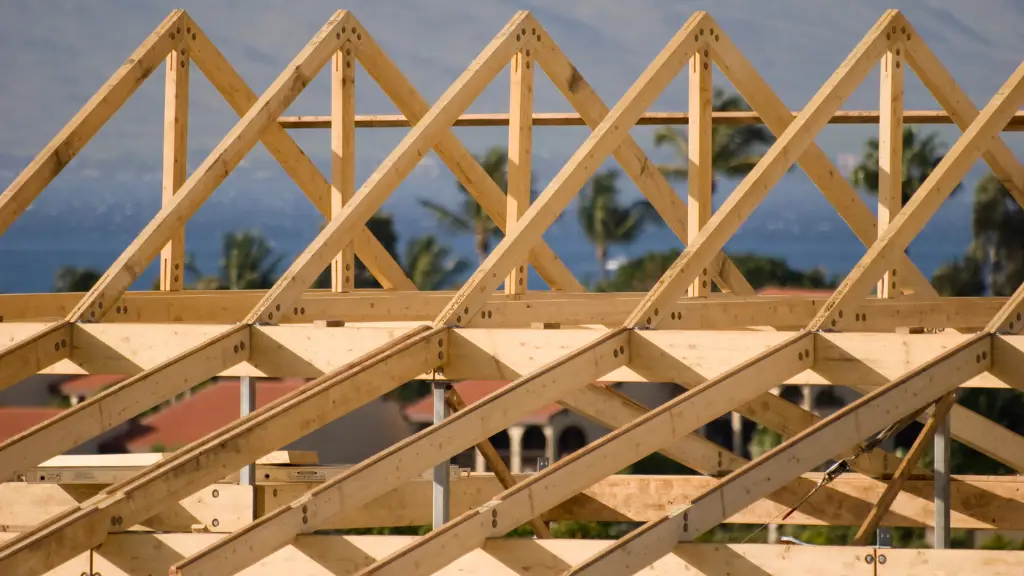
A roof truss is a structural framing system that supports the weight of the roof on top of a building. They are typically used in houses, barns, and other agricultural buildings.
The roof trusses are assembled together to form an open space inside the house for your attic or loft area. Installing them can be difficult if you don’t have any prior experience with construction projects.
It’s important to know what type of materials you need before starting construction, as well as how to cut boards, measure angles, and attach joints correctly.
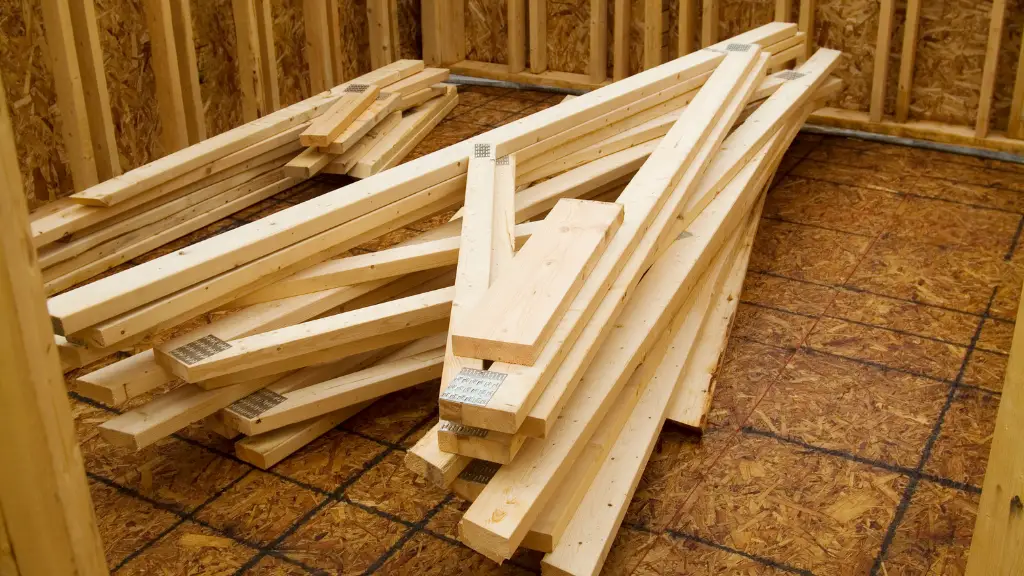
The Truss Manufacturing Process
Trusses are designed by engineers who determine their size based on expected loads as well as whether it will be built from combined materials or solid wood.
When the trusses are ready they are cut to size, joined together and glued with waterproof adhesives.
They are then planed, sanded and treated with preservatives before being installed into the roof structure.

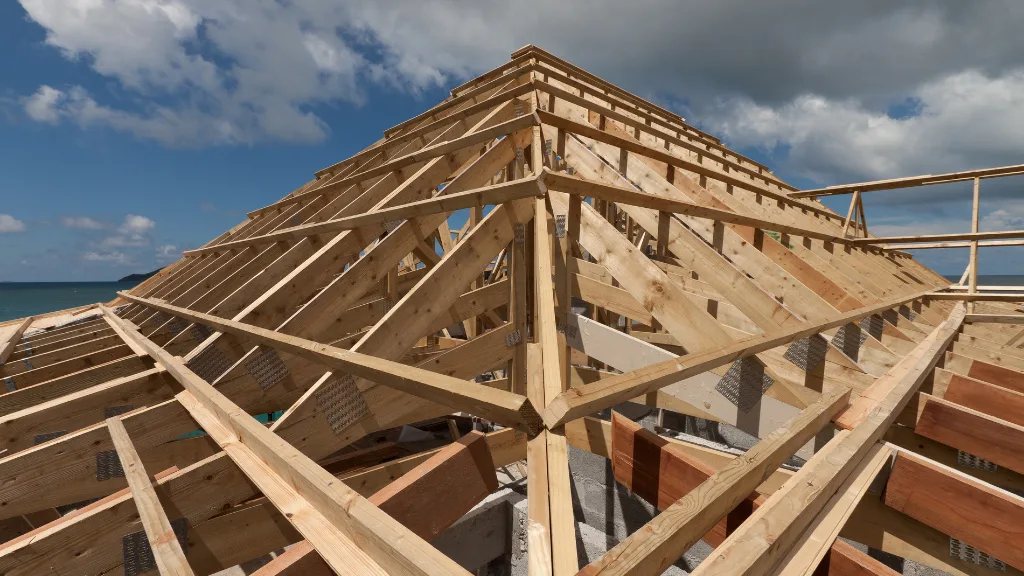
The Truss Installation Process
When installing the trusses, it can be fitted up in situ or pre-assembled on the ground on top of the roof structure. They are slid into place on either pre-built or prefabricated ledgers.
The latter have grooves cut into them to accept the bottom chord and hold it securely in place; they can also house pipes and wiring which can be run up through the trusses.
Once the trusses are in place, the roofing materials are fitted on top of them. This can be asphalt shingles for a standard roof or other waterproof building materials such as tiles, metal sheeting or plastic depending on the needed protection and aesthetics.
Here’s an overview of the steps in installing the roof trusses:
1. First, the roof decking is installed on top of the structural support beams (joists).
2. Next, the ceiling insulation is laid down with additional panels added to create an air barrier in colder climates or for reducing noise transmission in multi-family dwellings.
3. The exterior wall sheathing goes up next, made of weather-resistant material such as plywood or oriented strand board (OSB).
The trusses are installed according to the building’s blueprints, with the top chords resting on prefabricated ledgers.
4. Installing shingles is one of the last steps in completing an asphalt roof installation.
On a flat roof, tar paper and a layer of gravel are installed to protect the roof from leaks caused by ice dams.
5. The top chords of the trusses can be used to channel snow and rainwater into gutters, which must slope away from the building’s foundation.
6. Before installing any shingles, underlayment is applied over the entire roof decking. A starter strip of shingles is then laid down over the bottom chord and secured with nails.
This layer must be installed at an angle to create a sloping effect even if the trusses are being used for a flat roof, as otherwise all water will run off in one direction.
7. Narrow roof vents can also be added to the top chords of the trusses to allow heated air to escape and let colder air into the attic.

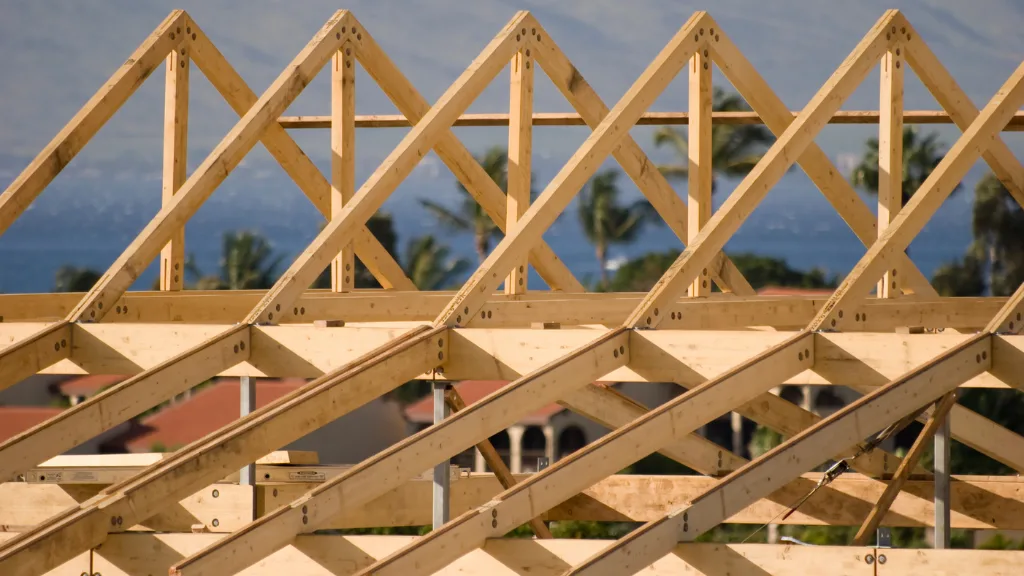
What are Roof Trusses
The truss is a key element in most building construction.
Generally consisting of a web of wood or metal that has been engineered to distribute weight efficiently, they can be used for floors, roofs and ceiling assemblies.
The type of truss selected will depend on the structure’s use and size as well as the materials available for its construction.
A roof truss is a diagonal structural element that helps to support roofs. It can be used on all types of roof, from flat to gable and hip styles, whether low-pitched or steeply angled.
Although they are most frequently made of wood they can also be built of steel beams or a combination of both.
The truss is built from either solid wood or engineered lumber, and comprises top and bottom chords – typically boards – that are connected together to form a triangle shape with a central web.
This design distributes the weight to the joints at either end of the chord as well as along its length, making it particularly useful in roof construction.
The truss is also designed to make maximum use of the strength of the individual boards, with their size and direction determined by architectural factors such as load bearing requirements, expected wind loading and standard sizing used in Europe or North America .
Trusses are able to support much greater loads than a simple beam along its length because of the triangular design, which distributes weight more evenly than a single beam.
The top chord is often used to house electrical wiring and plumbing, with specific designs created for this purpose.
Main Benefits of Roof Trusses
When compared to solid wood trusses, engineered wood trusses offer many advantages.
They are cheaper, lighter and easier to install, which means fewer materials are needed for their assembly.
This type of truss can also carry higher loads than solid wood trusses because the mechanisms that keep them under tension are engineered precisely for this purpose.
Finally, since each truss is made from several boards glued together, they are less likely to warp or crack over time.
Therefore, engineered wood trusses are a good choice for homeowners who want to save money and time on their construction project, as well as getting the maximum strength possible from each piece.