Metal roofing is a great way to protect your home from the elements. However, it can be tricky to install if you’re not used to working with metal.
One of the most difficult parts about installing metal roofing is getting the metal ridge cap on top of your hip roof. In this blog post, we will show you How To Install Metal Ridge Cap On Hip Roof!
A metal ridge cap is a long piece of sturdy, durable material that covers your roofing and provides an extra layer of protection. It also makes the top of your house look nice!
Without it, you would see all sorts of ridges protruding from the hip roofs around your property. These ridges can add to leaks and other problems.
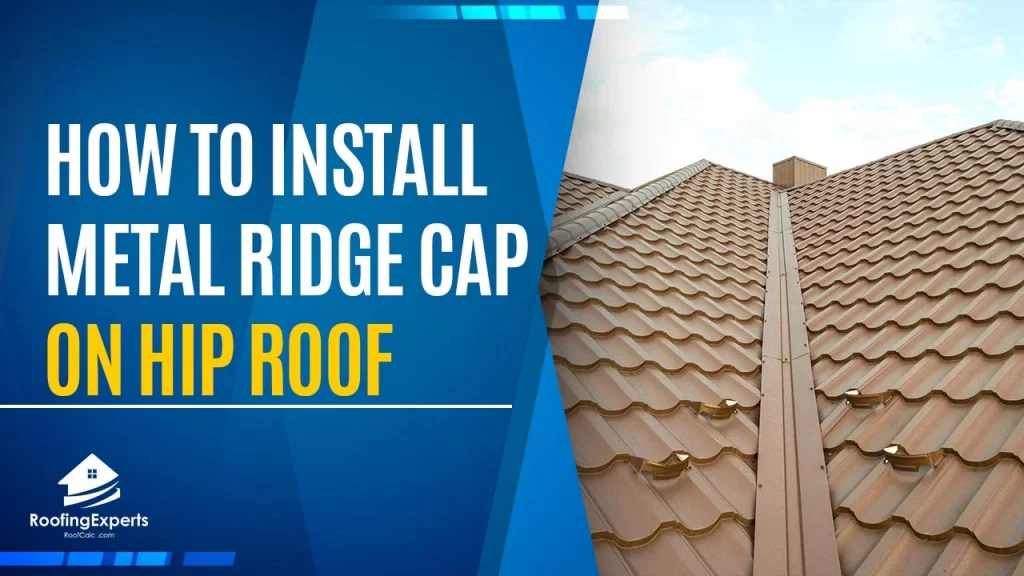
How To Install Metal Ridge Cap On Hip Roof
Here are the steps you need to take:
Find a ladder that is tall enough for you to comfortably work on your hip roof. Make sure the ladder has a secure footing and won’t slide while you’re working!
If at all possible, try get someone there with you who can hold it in place or make other arrangements if necessary. Place the ladder against the hip roof near the ridge cap.
Make sure it is stable and won’t slip or fall over when you step on it!
Step one: Place the first piece of metal ridge over your hips. Make sure that you have a good side up, as the color will show when it is time for installation!
If any nails are sticking out from underneath or above, remove them with pliers before proceeding further.
Step two: Nail down the ridge cap. The next step is to secure the ridge cap in place with nails and a nail gun, spacing them about every 12 inches or so.
Using your level as a guide, find where you need to install screws. These will help make sure that the metal ridge cap doesn’t slip while it is drying!
Step three: Cut off excess metal ridge cap material. Use a metal cutting blade to cut the excess off of your hip roof, leaving about an inch on all sides .
This will make it easier for you to get rid of any mistakes without damaging your roofing. You can use tin snips or other similar tools if necessary!
Be sure that you are wearing protective gear while doing this.
Step four: Smooth down edges with a propane torch. Use a propane torch to heat up the edges of your hip roof and smooth them down .
If you don’t have access to such equipment, you can use a hair dryer or simply wait until spring! This will make it easier for you to get rid of any mistakes before they become permanent!
Step five: Use painter’s tape to mark out the sections you want to cover next. Use painter’s tape to mark out the areas that you want to cover next .
This will help ensure that your roofing is even and uniform, so it’s always best to start from one side and work your way across until you are satisfied.
Step six: Repeat until all areas have been covered. Repeat steps two through four until all areas have been covered.
Try your best not to overlap any pieces of metal ridge cap, as this will result in too much weight being put on one area and can cause damage even faster!
Once you are satisfied with your work, you can remove the painter’s tape. It is important to note that this will not be a permanent fix!
You may need to do some touch ups here and there over time if necessary. However, your metal ridge cap should last anywhere from five to fifteen years without any significant problems.
What Are the Materials Required to Install a Ridge Cap?
The following materials are required in installing a metal ridge cap on your hip roof:
- A tape measure
- Utility knife or saw for cutting the ridge cap to size (if necessary)
- Nails that match your metal roofing sheets (red iron nails are recommended)
- Hammer and pliers for removing nails and securing the cap in place.
- Krylon Fusion or Rust-Oleum Professional spray paints (optional) for colouring your ridge metal to match your roof’s color scheme.
FAQs
How hard is it to install a metal ridge on a hip roof?
Installing a metal ridge cap on top of your hip roof can be difficult if you’re not used to working with metal. If you find that the first pieces of your ridge cap are too long for your roof, simply cut them down and continue on as normal!
What other types of roofs can a metal ridge be installed on?
A metal ridge can be installed onto any type or style of roofing, including shingles, cedar shakes, metal roofs and more!
What are some disadvantages?
The biggest disadvantage with ridge caps is that they can be difficult for those who aren’t used to working with metal.
You will want a level surface in order to install it properly, as well as nails! If you do not have a level surface, you may wish to consider wooden ridge caps instead.
What are the benefits of installing metal ridges?
Installing metal ridges on your property has many advantages! Ridge cap not only protects from leaks and other problems caused by rough edges, it also adds an extra layer of protection against the elements such as snow or rain.
Ridge cap is also resistant to rot or warp over time, so it will look nice for years to come with no maintenance on your part!
How do I calculate ridge length?
Before you go out and buy metal ridge caps, you’ll need to know how much material you’ll need in order to fit the entire roof’s edge.
Your roof’s ridge will be the length of your first side, and its height will depend on how much overhang you want it to have.
For example: If your roof is 12′ wide by 14′ long, then a total metal ridge cap installation would require approximately 15 feet of material (12 x .83 + 14 = 15).
What is a pinch-weld cap?
A pinch-weld cap is a metal roofing system that attaches to the top of your existing roof.
Pinch weld caps are designed to provide extra protection from leaks and other problems caused by rough edges, as well as add an extra layer of defense against the elements such as snow or rain.
Most importantly, metal ridge caps are resistant to rot or warp over time so they look nice for years with absolutely no maintenance on your part!
Conclusion
A ridge cap is a great way to finish off your roof and give it the appearance of being complete. After you’ve learned the right way and techniques on how to install a ridge cap for your hip roof, it’s time to get started.
Now that you know all about what needs to be done when installing this type of roofing material, are you ready? If so, then let’s continue with our guide! You can’t go wrong by following these steps because they’re designed specifically for this purpose.