How to seal a metal roof around a chimney is an important question for many homeowners. Whether you are building a new home, or repairing your old one, the cost of re-roofing can be astronomical.
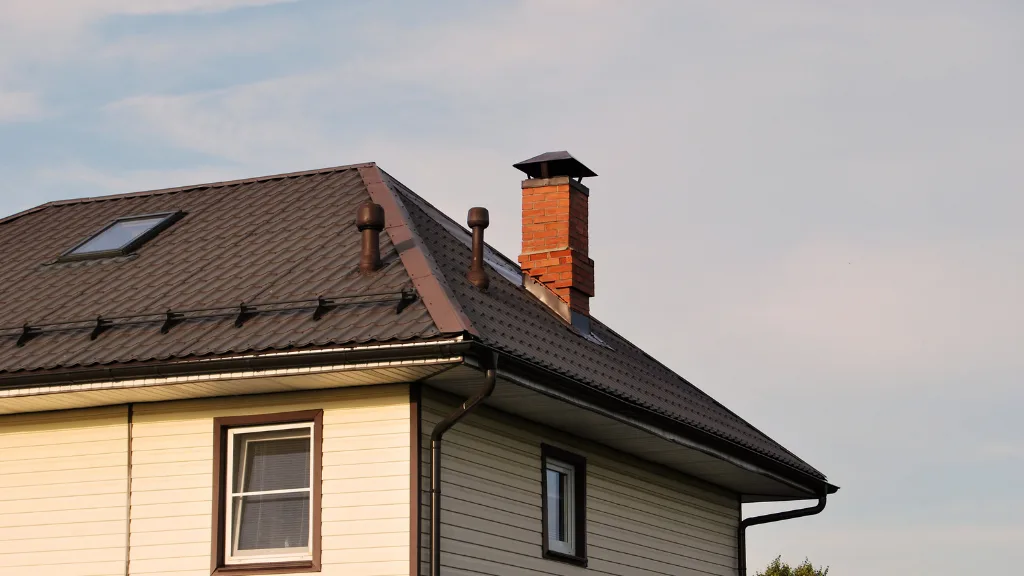
A common problem that leads to roof leaks is when the flashing around chimneys isn’t sealed.
Metal shingles are supposed to be installed with a fairly large gap between them so water can flow out…but if any of those gaps aren’t filled in, they create entry points for water.
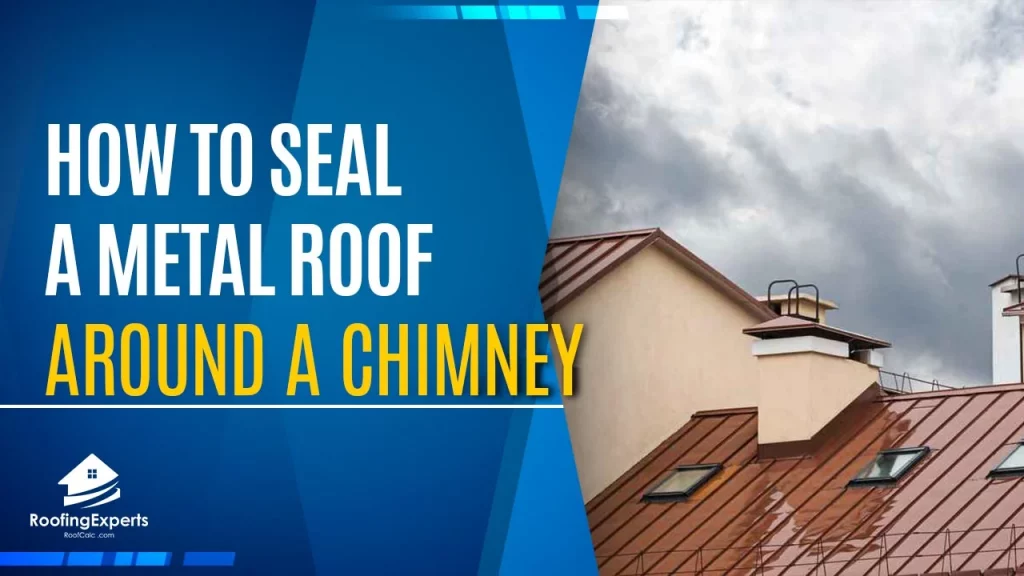
Sealing a Metal Roof Around a Chimney
Sealing a metal roof around a chimney is an important part of maintaining your home’s roofing system.
This project can be done in a few hours and with little cost to you, but failing to do so could result in expensive leaks.
Part One: Preparation
Preparation for this project involves the following steps:
- Remove loose debris from the roof.
- Clean your chimney thoroughly to remove any soot or creosote buildup.
- Creosote is highly flammable and can cause a dangerous situation if not removed before sealing around the chimney.
Part Two: Sealing Around The Chimney
To seal around a chimney, you will need:
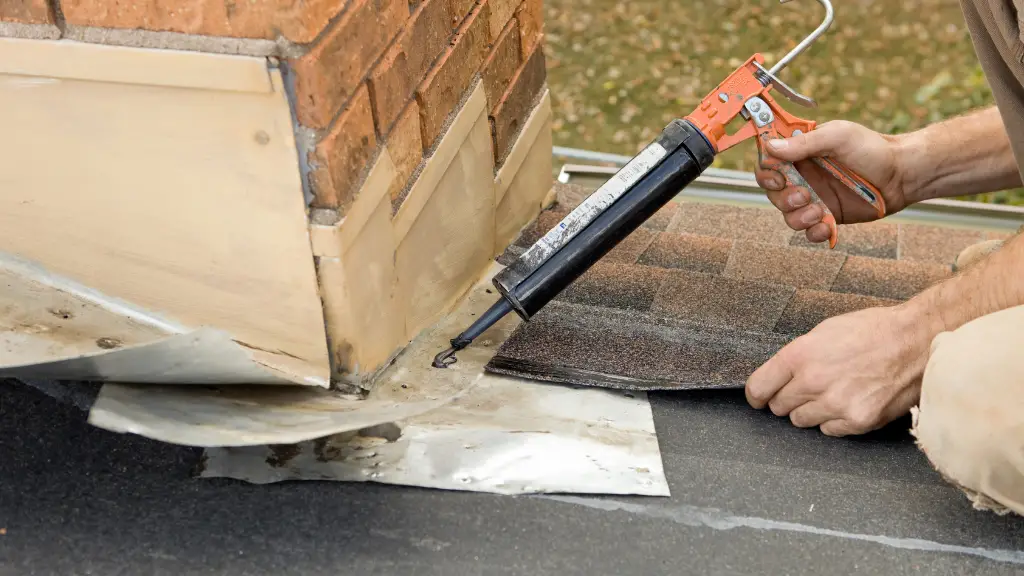
A caulking gun and caulk. We recommend using an acrylic latex or silicone-based sealant as it resists fire and heat much better than other types of caulk.
Step One – Apply The Caulk
Begin by applying the latex/silicone caulk to the top of your chimney.
Slowly work your way around the perimeter, filling any gaps or holes that are present in order to create a watertight seal.
You may find it easier if you take this time to remove old caulking from previous jobs by cutting through it with a utility knife before applying new material.
Step Two – Press The Caulk
After applying the caulk around your chimney, you will need to press down on it with a finger in order to create a tight seal.
You may find that using rubber gloves for this part is helpful, as latex can cause irritation if handled directly.
Step Three – Remove Excess Material
Once you have finished applying the caulk around your chimney, go back and remove any excess material that has been squeezed out of the seams.
You can do this by using a finger to press down on it from one side, while simultaneously pulling up with a utility knife or scraper from the other.
Step Four – Allow To Cure
You should allow the caulk to cure for a day before you continue on with your project.
This allows time for it to dry and set up, making it less likely that rain will wash away any of the material from around your chimney.
Your seal is complete! You can now move on to the remaining areas of your roof and start this project with confidence.

Part Three: Additional Steps
As we mentioned earlier, sealing a metal roof around a chimney is an important part of maintaining your home’s roofing system.
1. Inspect The Gutter System – It is critical that you inspect your gutter system and remove any leaves or debris that may have accumulated.
This can prevent water from penetrating your roofing system and creating leaks, as well as damage to the fascia boards at the edge of your home’s eaves.
2. Check Your Flashing – The flashing around chimneys is an important part of keeping moisture out of a structure.
Inspect this material and make any repairs that are needed, as well as ensure that the flashing is installed properly to begin with! This can be rectified by simply resealing or resetting it in place if necessary.
3. Maintain Your Roof – Finally, make sure you maintain your roofing system on a regular basis (at least once a year) to prevent any damage.
Inspect your roof for loose or missing shingles, curled up edges, and anything else that could potentially allow water into the home’s structure!
This is important to do at every stage of the roofing process, as it ensures that you are keeping your home safe and secure from any leaks or other damage.
Why is Sealing A Metal Roof Around A Chimney Important?
Metal roofs are often used to cover flat surfaces, like for example for sheds, porches and garages.
And even though they give an attractive appearance (maybe with the help of some tin roofing paint) to whatever structure you want to protect, keeping them safe is important.
One of the most important things you might ever do is seal and caulk metal roofs around chimneys. Here’s why:
You don’t want rain and snow entering your roof, so you seal below the roofline between the house and flat surface to prevent water from seeping through any cracks in the roof decking or penetrations such as pipes and vents.
You may not be aware of it but since most flat roofs are used for garages, porches and storage sheds, they aren’t built over the house… so you want to keep the roof itself sealed so water doesn’t get in.
Chimneys or any other openings on metal roofs require caulk or sealant to protect the home from leaks. This is because wood-framed chimneys that are covered with metal roofing need the same protection from leaks.
The problem is that if you don’t caulk at the chimney, water can get behind the flashing and start to rot away your roof decking (especially on garages).
If there’s no caulk around the chimney or any other penetration through the roof, water can find its way in under the roof panels and cause damage.
To keep this from happening, you need to seal metal roofs around chimneys by applying caulk or sealant to fill voids that may allow leaks.
To learn more about how we can help you protect your roofing system, feel free to contact us via our website today!
We offer a variety of services for homeowners, including roof inspections, repairs, and general maintenance.