Rubber roofs are a great way to replace your old roofing material. They provide excellent protection from the sun and rain, which will help extend the life of your home’s exterior for many years.
Here we’ll show you how to install rubber roofing yourself!
What is a Rubber Roof?
A rubber roof, or membrane roof, is a durable, low-maintenance alternative to traditional materials like asphalt shingles.
Rubber roofs are typically found on commercial buildings, warehouses, garages and other industrial sites where conventional roofing materials are not ideal.
Typically made of EPDM – Ethylene Propylene Diene Monomer – a synthetic rubber that is resistant to ozone, ultraviolet light and aging. The roofing material is then molded into shingles or sheets.

While most roofs are built with layers of felt paper, asphalt and shingles on top, a rubber roof consists of a single sheet of EPDM membrane glued to the surface underneath.
Because this material is a single layer, it does not have seams that can trap water or moisture.
Compared to asphalt shingles, rubber roofs are more durable and offer better insulation from temperature extremes.
Rubber roofing’s long lifespan means lower maintenance costs throughout its lifetime. In addition, EPDM becomes softer in hot weather and stiffer in cold weather, so it won’t crack as asphalt shingles commonly do.
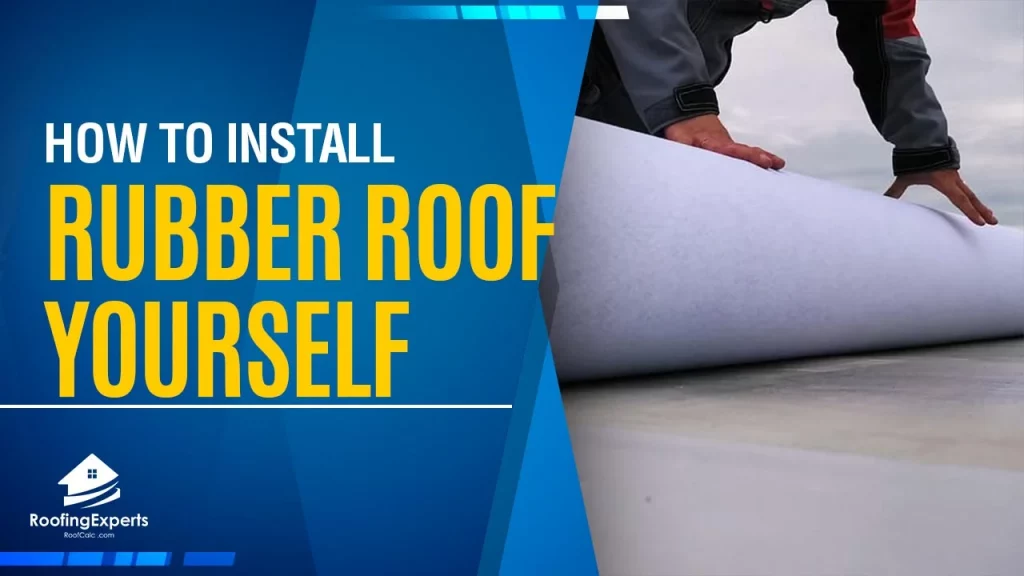
How to Install a Rubber Roof Yourself
A rubber roof is a great choice to ensure against leaks from rainwater or snow. Water on the roof is possible to get into. A rubber roof will stop the water from leaking onto your house.
Installing a rubber roof is an easy process that can be repeated. Follow these steps to install a rubber roof:
1. Clean the roof – Clean the roof thoroughly before installing a rubber roof. Any dirt, rubble or debris can cause holes to develop in your new roof.
2. Get your rubber membrane rolled out – The rubber membrane for your roof is usually rolled out on the ground.
The roll of rubber will have a plastic backing to keep it waterproof. Locate the first bit of membrane and cut off any excess plastic.
3. Apply your adhesive – The adhesive must be done with a foam roller to ensure an even application. Ensure that it is spread evenly over the membrane.
4. Fix the bottom of your rubber roof – Cut along the edge of your roof to match up with the pattern you have laid down on top of your house.
Fold this piece under and seal it in place by applying a bead of adhesive along the edge.
5. Secure the bottom – Use a staple gun to secure your membrane around all of the edges. Pull it tight and staple every few inches so that there is no chance of it moving in high winds.
6. Repeat – Repeat these steps until your house is fully covered with a rubber roof, making sure you overlap each piece by at least four inches.
Why Does a Rubber Roof Prevent Leaks?
A rubber roof is an ideal choice for any building because it can provide insulation, prevent leaks, and lower heating costs.
A thick layer of rubber along with reinforcing fibers are used to create a durable rubber roofing membrane that serves as the first line of defense against the elements.
The top side of this material will be exposed to sun, rain and wind. On the under side, there is another protective layer that will not allow any water or moisture to pass through it.
When any roof starts failing, the first thing you want to check is whether it’s time for a new roofing shingle installation or if some additional repairs can be made.
Water stains on ceilings may indicate that the roof has a minor leak. This is probably what you will find in simple cases of roof failure.
However, these stains may also be caused by other issues- poorly installed flashing, flashing that has been damaged as a result of hail damage or high winds, and caulking around skylights, chimneys or vent pipes that have been disturbed.
Final Thoughts
A rubber roof is an ideal choice to ensure against leaks from rainwater or snow. A thick layer of EPDM along with reinforcing fibers are used to create a durable membrane that serves as the first line of defense against the elements.
This material will be exposed on top and under side, it has another protective layer which can not allow any water or moisture to pass through it.