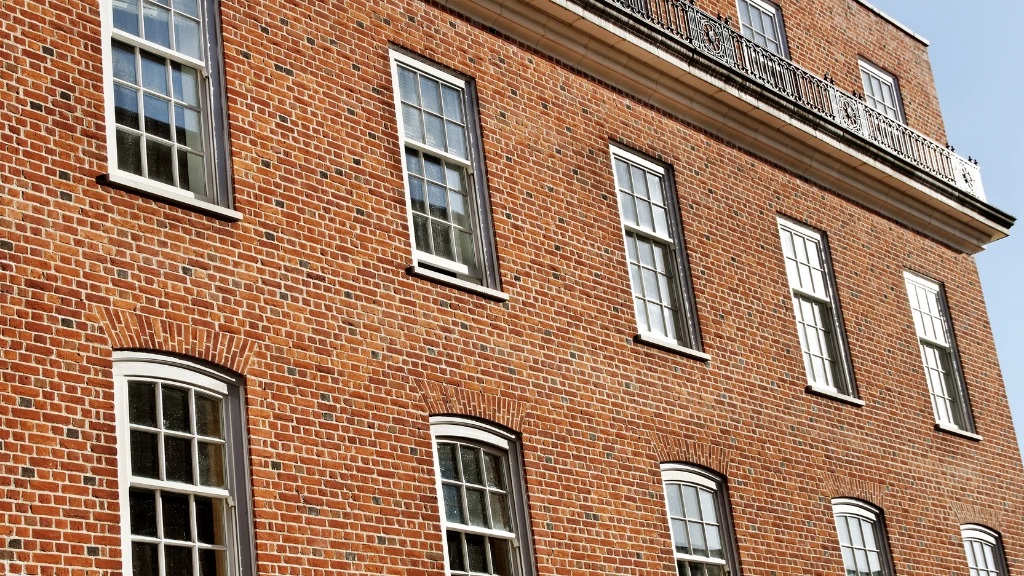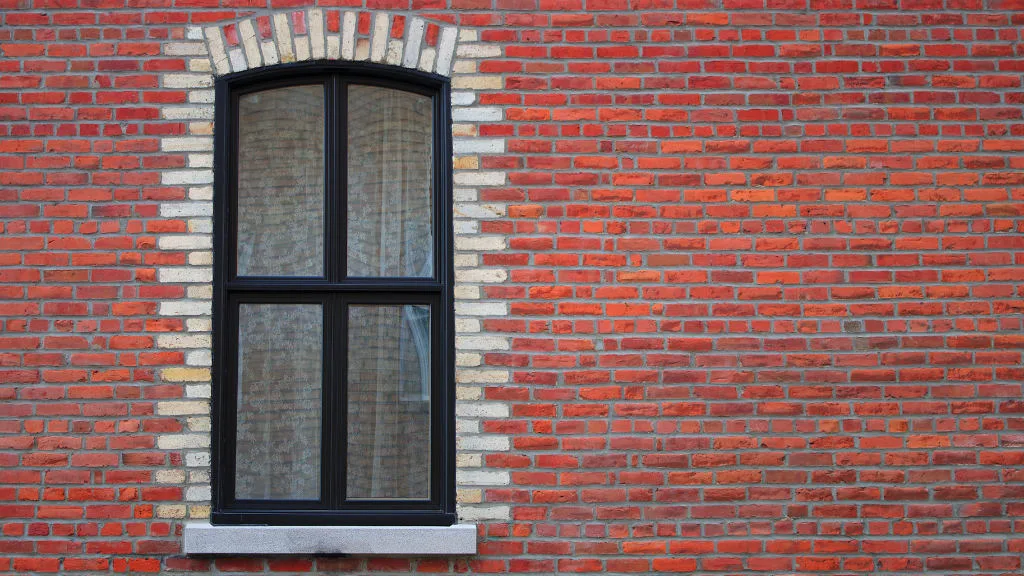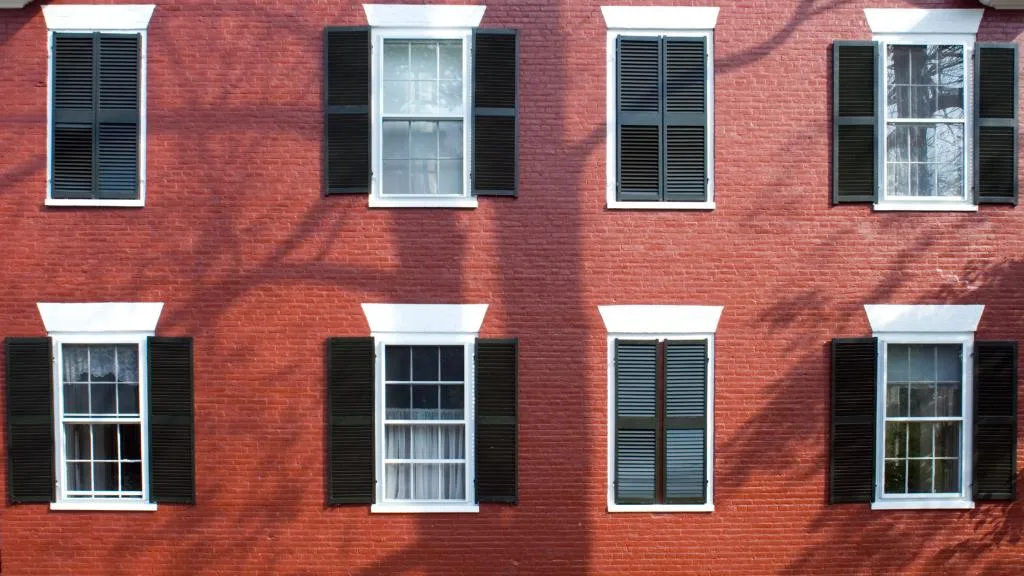
Looking to replace windows in your brick home but not sure where to start? Replacing windows in a brick home may seem daunting, but with the right tools and techniques, it can be a manageable DIY project.
In this helpful guide, we will provide you with step-by-step instructions on how to replace windows in a brick home, so you can enhance your home’s curb appeal, energy efficiency, and overall comfort.
Assessing Your Windows
Before you replace your windows, it is important to assess the condition of your existing windows and determine the type of replacement windows that will be best suited for your brick home.
In this section, we will discuss how to identify the type of window you have and how to measure your windows accurately.
Identifying the Type of Window
The first step in assessing your windows is to identify the type of window you have. There are several types of windows commonly found in brick homes, including double-hung, casement, awning, and sliding windows.
Each type of window has its own unique features and benefits, so it is important to choose the right replacement windows for your needs.
To identify the type of window you have, look for the following features:
- Double-hung windows have two sashes that slide up and down.
- Casement windows have a crank that opens the window outward.
- Awning windows have a hinge at the top and open outward from the bottom.
- Sliding windows have one or more panels that slide horizontally.
Measuring Your Windows
Once you have identified the type of window you have, it is important to measure your windows accurately to ensure that your replacement windows fit properly. Here are the steps to follow:
- Measure the width of the window from the inside of the frame at the top, middle, and bottom. Record the smallest measurement.
- Measure the height of the window from the inside of the frame at the left, center, and right. Record the smallest measurement.
- Measure the depth of the window frame from the inside of the frame to the outside of the brick. This measurement will help you determine the type of replacement window that will be best suited for your brick home.
It is important to take accurate measurements to ensure that your replacement windows fit properly and provide a secure seal. If you are unsure about how to measure your windows, consider hiring a professional to help you.
In summary, assessing your windows is an important step in the window replacement process. By identifying the type of window you have and taking accurate measurements, you can choose the right replacement windows for your brick home and ensure a secure, energy-efficient seal.

Preparing Your Home
Before you begin replacing windows in your brick home, it’s important to prepare your home for the process. Here are the steps you should follow:
Removing the Old Windows
First, you’ll need to remove the old windows. This can be a bit tricky, especially if the windows are old and difficult to remove. Here are some tips to help you get started:
- Use a pry bar to remove the window sash and frame.
- Remove any screws or nails holding the window in place.
- Cut through any caulking or sealant with a utility knife.
- Once the window is removed, clean the opening thoroughly.
Prepping the Brickwork
Once the old windows are removed, it’s time to prep the brickwork for the new windows. Here’s what you need to do:
- Measure the opening to ensure that the replacement windows will fit properly.
- Use a reciprocating saw to cut out any excess brick or mortar.
- Clean the opening thoroughly, removing any debris or loose mortar.
- Apply a bead of caulk around the perimeter of the opening to create a seal.
By following these steps, you can ensure that your home is properly prepared for the installation of replacement windows.

Installing Your Replacement Windows
When it comes to replacing windows in a brick home, there are a few things you need to consider. In this section, we will cover the steps to install replacement windows in your brick home.
Choosing Your Replacement Windows
Before you start the installation process, you need to choose the right replacement windows for your home. Here are some things to consider when choosing your replacement windows:
- Window type: There are different types of windows, including double-hung, casement, and sliding windows. Choose the type that suits your needs and preferences.
- Window material: Replacement windows are made of different materials, such as vinyl, wood, and fiberglass. Consider the material’s durability, energy efficiency, and maintenance requirements.
- Window size: Measure the size of your existing windows to ensure you get the right size replacement windows.
Installing Full-Frame Windows
Full-frame windows are ideal if you’re replacing the entire window, including the frame. Here are the steps to install full-frame windows:
- Remove the old window and frame carefully, making sure not to damage the brickwork.
- Install the new window frame into the opening, making sure it’s level and plumb.
- Secure the frame to the brickwork using screws or nails.
- Install the sash and window glass into the frame.
- Apply caulk around the window frame to seal any gaps.
Installing Insert Windows
Insert windows are ideal if you’re only replacing the window sash and not the frame. Here are the steps to install insert windows:
- Remove the old window sash carefully, making sure not to damage the frame or brickwork.
- Install the new window sash into the existing frame.
- Secure the sash to the frame using screws or nails.
- Install the window glass into the sash.
- Apply caulk around the sash to seal any gaps.
By following these steps, you can successfully install replacement windows in your brick home.

Finishing Touches
Now that you have successfully installed your new windows, it’s time to add some finishing touches to ensure that they are properly insulated and trimmed.
Insulating Your Windows
Insulating your windows is an important step in ensuring that your home remains energy efficient. Proper insulation helps to keep your home warm in the winter and cool in the summer, which can help to reduce your energy bills.
To insulate your windows, you will need to use a foam insulation sealant. This sealant can be applied around the edges of the window frame to seal any gaps or cracks.
Simply apply the sealant to the gaps and smooth it out with a putty knife. Be sure to allow the sealant to dry completely before moving on to the next step.
Trimming Your Windows
Trimming your windows is the final step in the installation process. Trim helps to give your windows a finished look and can help to cover up any gaps or rough edges.
To trim your windows, you will need to use a trim kit. These kits come in a variety of sizes and styles, so be sure to choose one that matches the style of your home.
The trim kit will include all of the pieces you need to trim your window, including the sill, apron, and side casings.
Start by installing the sill, which should be cut to fit the width of your window. Next, install the side casings, which should be cut to fit the height of your window.
Finally, install the apron, which should be cut to fit the width of your window.
Once your trim is installed, you can add a coat of paint or stain to match the rest of your home’s decor.
By following these simple steps, you can ensure that your new windows are properly insulated and trimmed, giving your home a finished look and helping to reduce your energy bills.
