
In this blog post, we will give you a step-by-step guide on how to tarp a flat roof. We will cover the different types of tarps as well as their advantages and disadvantages.
By the end of this article, you should have all the information that you need to make an informed decision about what type of tarp would work best for your needs.
A roof tarp is a type of waterproof material that you can use for protecting your flat roof from water damage. It also protects the people and things underneath it from getting wet in the event of rainfall or snowfall.
Types of Tarps
There are several different types of tarps, each with its own benefits and disadvantages depending on the size of your roof, durability, and how long you will use it.
Canvas tarps:
These are made from a thick cloth that is designed to last for an extended period of time. They also provide better insulation than other types of tarp material since they can help reduce heat transfer between the inside and outside areas.
The downside to canvas tarps, however, is that they are not waterproof and can only be used in dry climates.


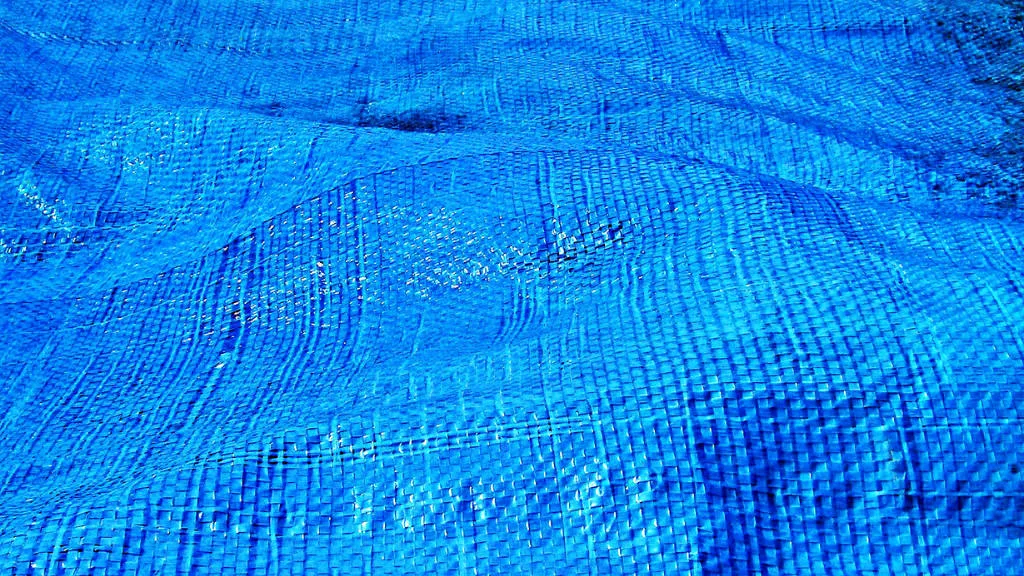
Plastic tarps:
These types of tarp material come with different thicknesses and durability levels. They will last for a long time under most weather conditions but cannot provide the same level of insulation as canvas or vinyl tarps.

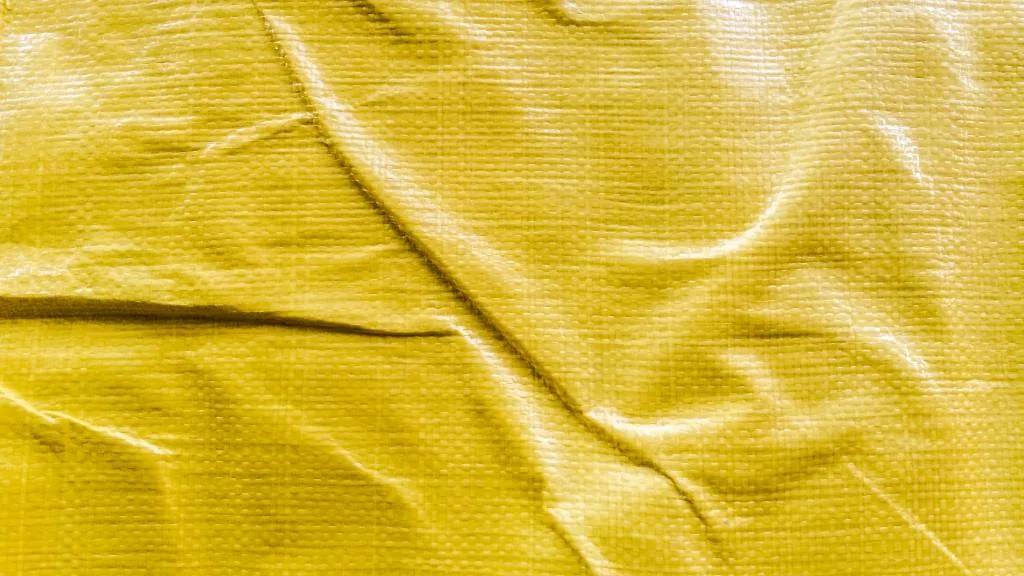
Vinyl tarps:
They are the most durable type of tarp material available, but they also come with a higher price tag compared to other types of roof protection.
They can be used in any climate condition and will provide both insulation and waterproofing capabilities. However, it is important to note that vinyl tarps do not stretch as well and may not be suitable for large roofs.

How to Tarp a Flat Roof – Step-by-Step Guide:
Now that you know about the different types of tarps, let’s take a look at how to properly install them on your flat roof. We will begin by using this step-by-step guide:
Step # 1 – First, measure the size of your roof. It is important to know how much tarp material you will need so that you do not run out during installation and have to make a trip back to the store before finishing.
You can use either a tape measure or yardstick for this task depending on which one works best for your roof.
Step # 2 – Next, you will need to purchase the correct type of tarp material for your flat roof.
Once again, it is important to note that not all tarps are made equal so do some research beforehand in order to find out which one would work best for each individual situation.
You can also contact professional roofers in your area to see if they have any recommendations for specific brands.
Step # 3 – Once you have purchased the tarp material, cut it into strips that are approximately two inches longer than the width of each side of your roof (measure twice and then cut once!).
You can use a pair of scissors or utility knife to do this.
Step # 4 – Next, lay out the strips of tarp material side by side in a crisscross pattern on top of your roof with the shiny surface facing down.
Make sure that you overlap each strip by at least two inches to create an adequately secure fit against strong winds and rain storms. Keep in mind that larger tarps will need to be overlapped more than smaller ones.
Step # 5 – Now that you have laid out your tarp strips, it is time to secure them in place using roofing nails or staples.
Start at one corner of the first strip and use either a hammer or staple gun (depending on which type of fastener works best for your tarp material) to secure it into place.
You should also attach the opposite end of that strip at a diagonal angle to create an X-shape and keep it from coming loose during strong winds or rainfall.
Step # 6 – Repeat this same process with each strip until you have covered all four sides of your roof without leaving any gaps.
You can now begin to check your waterproofing capabilities by spraying water onto the surface of each tarp strip and seeing if any leaks appear through them (if they do, you may need to re-secure some strips using more nails or staples).
Step # 7 – Once you have finished this step, it is time to cover the entire surface of your roof with a layer of thick plastic sheeting.
Make sure that you cut the sheets large enough to cover each strip without leaving any gaps in between, and then secure it into place using either nails or staples (again depending on which one works best for each type of material).
Step # 8 – Lastly, add insulation to your roof by covering the plastic sheets with a layer of any type of material that has an R-value rating above five (this number determines how well it insulates against heat flow).
It is best to use either spray foam insulation or unfaced batts for this step.
With these simple steps, you can now tarp and cover your flat roof to protect it from any potential damage caused by rainfall or strong winds.
FAQs
What is the best tarp to use on a Flat roof?
Tarps used on flat roofs should be made of thick material since they have low R-value insulation. This needs to provide safety from the sun’s heat.
How long can you use a tarp for flat roof?
It is important to note that it depends on the type of material used in its construction. The more durable ones are often capable of lasting several years or even longer.
You should be able to easily identify whether your tarp is made from a high-quality material by checking its thickness.
If it appears to be thicker than one mil, then you should have no problems with it lasting for several years or longer if properly cared for.
How often should you tarp a flat roof?
It is advisable that you check your rooftop on a regular basis in order to spot any potential damage caused by weather elements.
While most homeowners only use tarps when it starts raining, this might not be enough to protect the entire surface from leaks and other types of damages.
As such, we suggest that you check your rooftop at least once per month to ensure it remains in good condition for many years.
What are the best type of nails or staples to use?
Roofing nails and staple guns are often used with tarps since they allow you to attach them properly without risking any damage being caused by strong winds.
While roofing nails are often more effective, they can be a bit tricky to install since you have to hammer them into place. This might not work for some people who do not have the necessary experience in doing so.
Conclusion
Creating a tarp for your flat roof is not as difficult as you might think. The main thing to remember is that the tarps should cover all four sides of your home, and be tight enough to keep water from seeping in.
With these few tips, you can now easily create a tarp system on any type of roof including metal roofs or shingles which will help protect against damage due to rain, hail storms and even snow!


