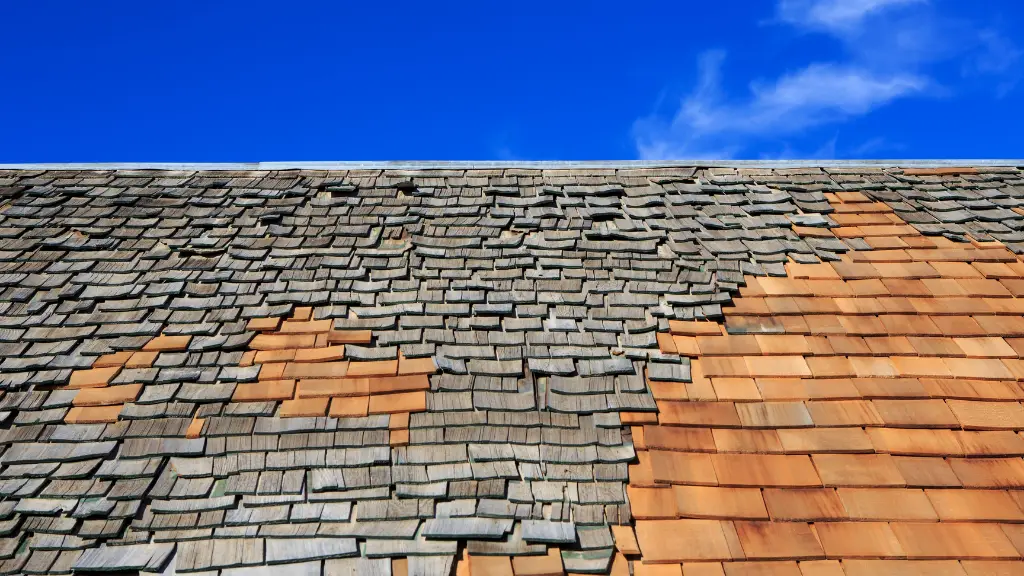
If you are looking to install a roof, but your existing shingles are still in good shape, then you don’t have to do anything. There is an easy-to-install solution that can be used just right over your existing shingles without any major construction work.
You can add new singles to existing ones for energy efficiency benefits. In this blog post we show you How You Can Tie Into Existing Roof Shingles to save money and time!
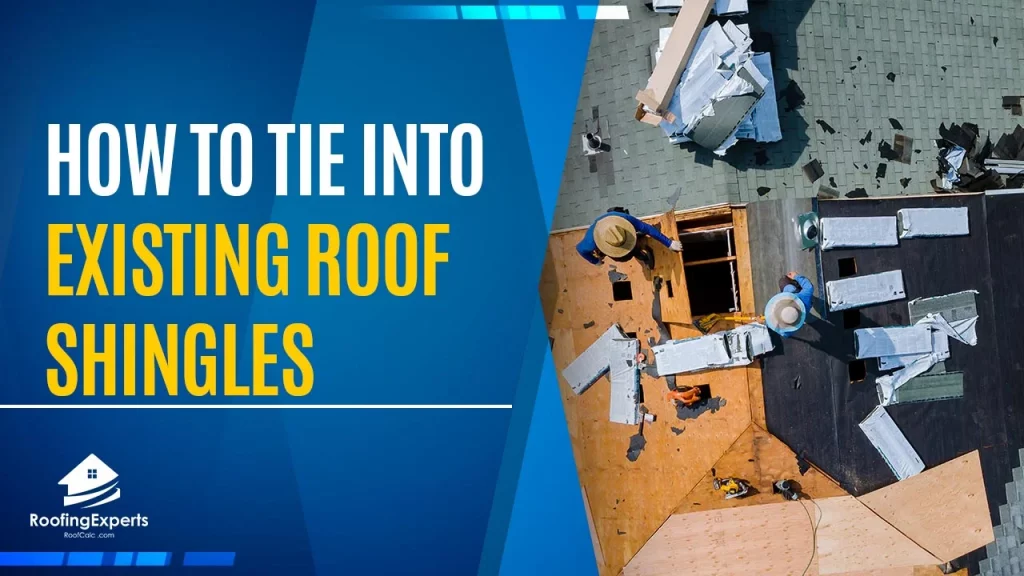
How To Tie Into Existing Roof Shingles
When adding a new roof to an existing one, an inspection of the old one is necessary. By doing so, you should be really careful. For beginners, this won’t be an easy task as 1-2-3. Here’s how:
Step 1: Inspection
When the top of a roof is worn out, it will leave the framing intact. The first step is to do an inspection and identify the most damaged areas.
Step 2: Check if Surfaces are Even
To make the roof surface even, remove all broken and damaged shingles. If these stay on your roof, they can create leakage and other hazards.
Step 3: Structural Support
You need to install a truss as a support. You should be able to hold up the weight of shingles with your truss.
The truss is a sturdy frame that holds the weight of shingles. Take note that the whole structure can collapse without anything to support it.
Step 4: Installation of the Valley Board
Secure the valley board with roofing cement. This board helps in the installation of jack rafters by giving a base to nail them evenly. The use of roofing cement allows water to seal properly.
Step 5: Finally, Tie Your New Shingles
The new shingles have been put in place and are ready for nailing down. Draw a line, and cut the shingles from the bottom of it to make them shorter.
You can either use new shingles after you remove the old ones, or add a layer of new shingles with existing ones. Proper typing is necessary for shingles.
Why Tie Your New Shingles?
Here are some of the reasons you need to know why you have to tie your new shingles.
- Wind causes shingles to lift, separating them from the roof sheathing. This is most commonly noticed after windy storms or when looking at your roof with snow on it.
- If not re-secured, lifted shingles will eventually tear and/or break away from the tabs that hold them down, exposing un-protected areas of roof sheathing.
- This is a major cause of roof leaks, as wind driven rain will find its way into your home that way.
- Once the sheathing underneath gets wet it can rot and destroy the structural integrity of your entire roof.
- The wooden beams called “joists” that sit beneath your roof deck have all sorts of nooks and crannies where water can hide.
- If enough moisture is allowed to stay in one of these nooks or crannies for too long, it will eventually seep through the smallest crack and make its way down your walls to cause rot inside your home’s structure.
- Note that this process usually takes several years, but by avoiding a potential leak you are actually protecting your home from further damage.
- When the sheathing gets wet it swells, causing even more separation between shingles and therefore allowing water to get underneath them more easily.
- In some cases, replacement of a few wet pieces of roof sheathing can make a big difference in whether you wind up with a huge bill to fix damage inside your home’s structure.
- Keeping your shingles tightly secured to the roof deck with a quality metal tie is a small investment that can save you tons of money in future repair costs.
- Installing metal ties every few feet along the tops of your new shingles also forces them to drain towards the side, reducing their chances to lift from wind or snow.
- If your roof is fairly new, you don’t even need to hire anyone.
- Many homeowners are replacing their shingles with stronger materials that can be tied down without an installer.
- You can prevent most major roof problems with a simple metal tie every few feet along the edge of your shingles.
- Installing one takes only a minute and is best done with the help of a helper to avoid nicking your hands on any sharp edges.
- All winter long extended periods of wind work in conjunction with snow to pull up your shingles and even rip the sheathing right off of your wooden roof beams.
- Early in spring is when you’ll notice most problems with loose shingles, and trying to fix one single problem will usually only lead to discovering more problems until you find yourself under a large pile of shingles and flashing wondering how on earth you are going to fix the whole roof.
Installing metal ties is such an easy way to prevent damage that many insurance companies will actually discount your premiums if you do it regularly!
Just make sure not to step on them until they have had a chance to dry out completely!
For tiles or shakes, use stainless steel fasteners which will last a lifetime.
For asphalt shingles, use galvanized steel fasteners which will not rust. If you have any doubts about your roof’s condition – or if it is more than a few years old – call a professional to take a look!